£5.00
Not Available
Peg Bird
Categories Junk Model, Paper
Tags bird, junk, peg
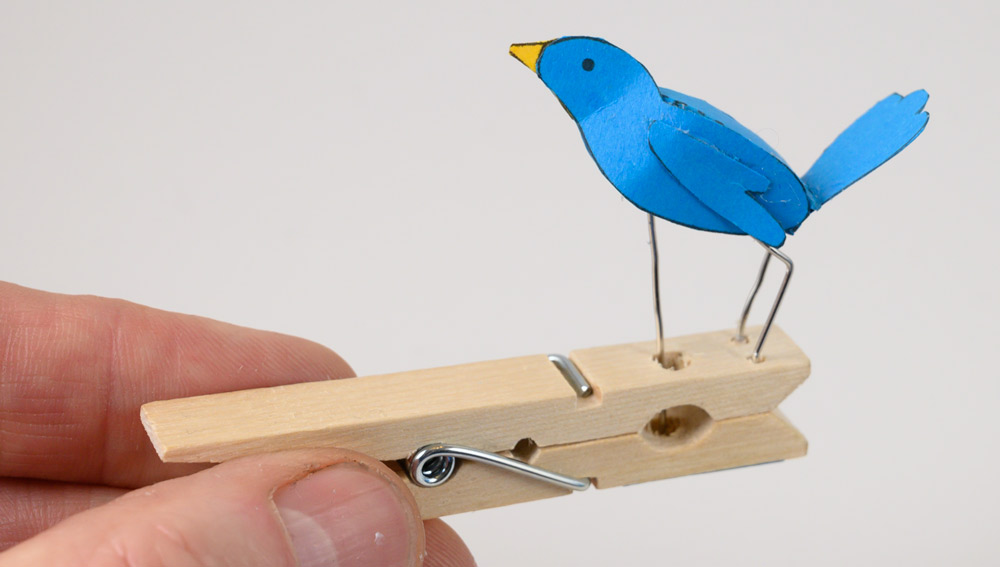
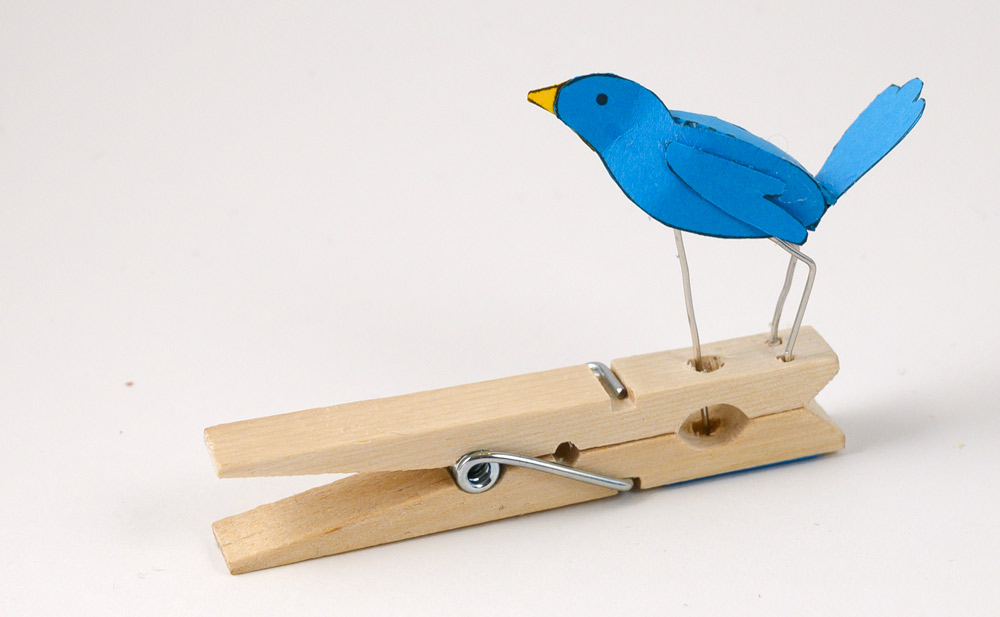
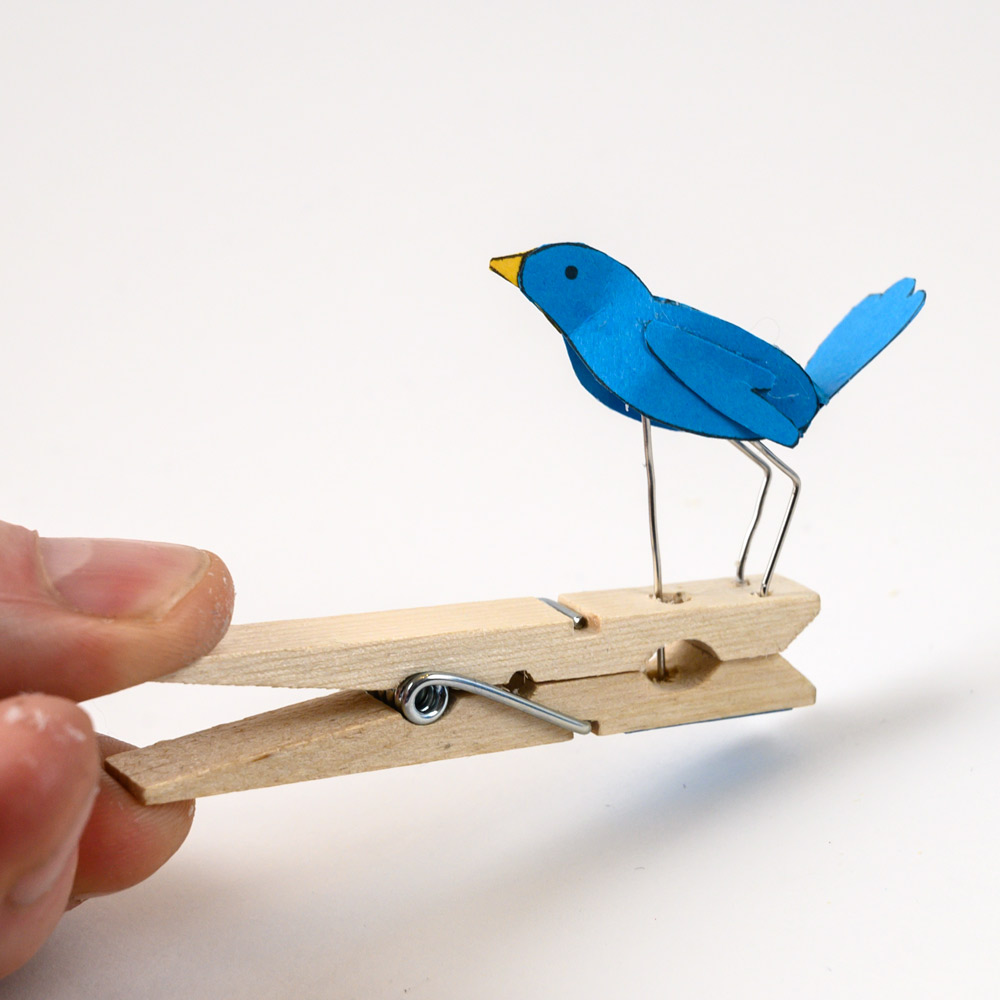
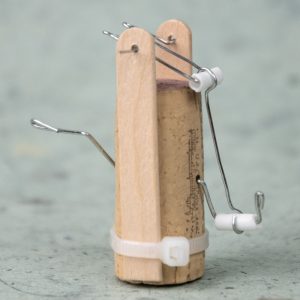
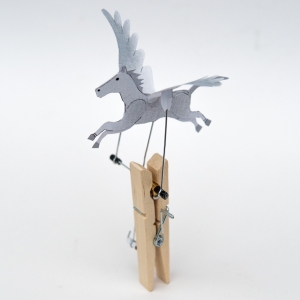
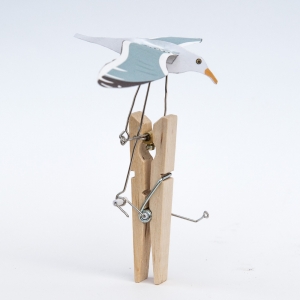
Peg Bird Junk Automata. Download the template files and add a few household items to make this delightful model yourself.
https://www.instagram.com/p/BrkFv03no83/
Members can download the parts for free at the link, non-members can join in the fun for £2.50 or equivalent or why not become a member to download this and dozens of other projects for free!
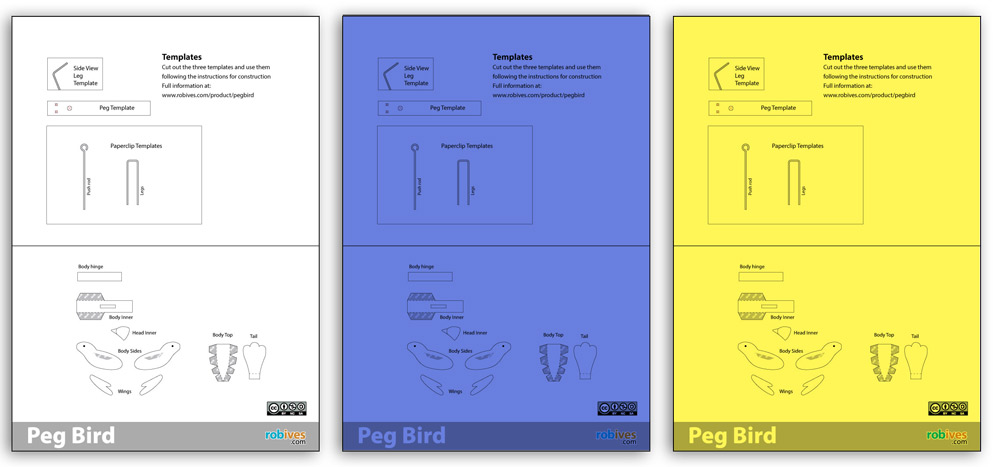
As well as the parts and templates file you will need a wooden clothes peg, a couple of paper clips and a couple of cocktail sticks.
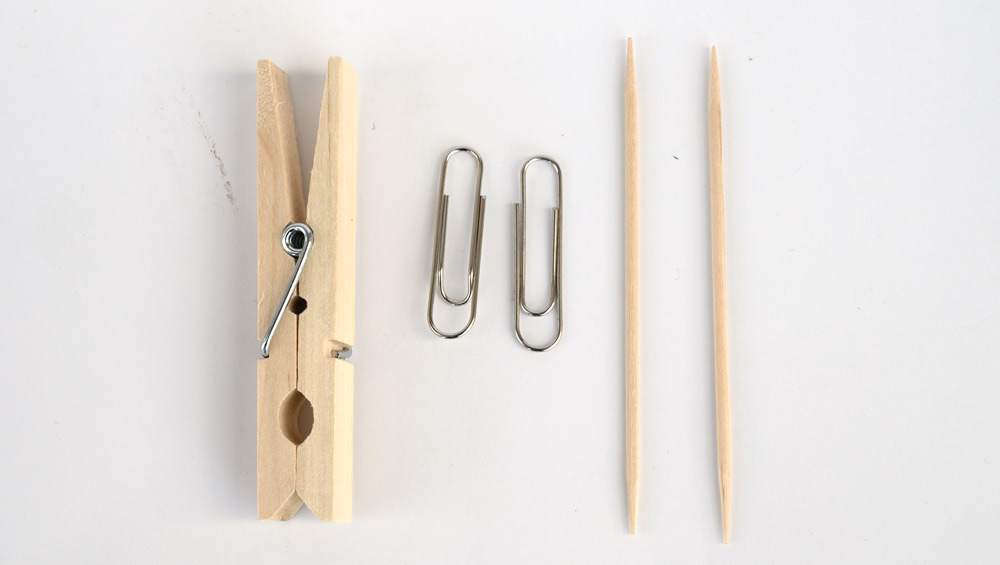
Print out the parts and template sheet onto thin card. I printed it out three times onto white, blue and yellow card to make a colourful bird.
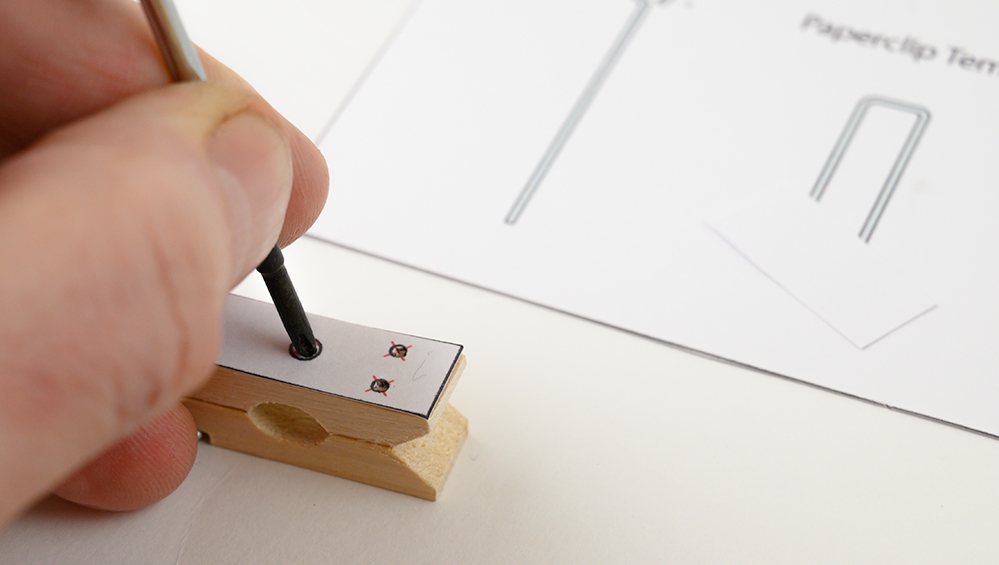
Use the peg template and a fine screwdriver to mark the positions of the three holes in the top of the peg. Make sure you are at the ‘gripping’ end of the peg!
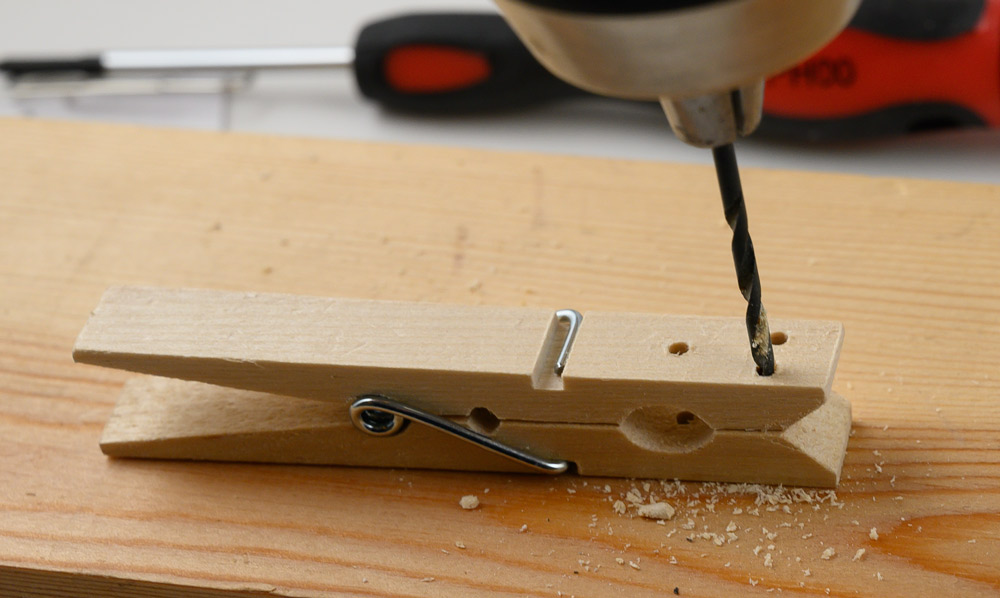
Drill through the three holes with a 2mm diameter drill. The two end holes only need to go through the top half of the peg. The centre hole needs to go through both layers.
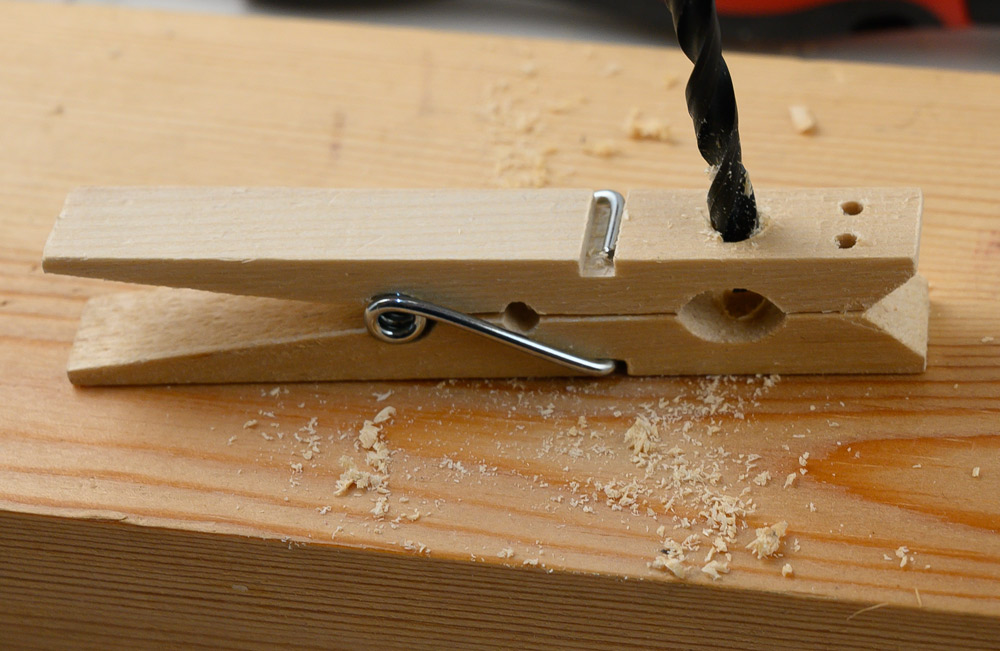
Widen out the centre hole on the top half of the peg. Use a 3mm drill. Leave the bottom half of the peg at 2mm.
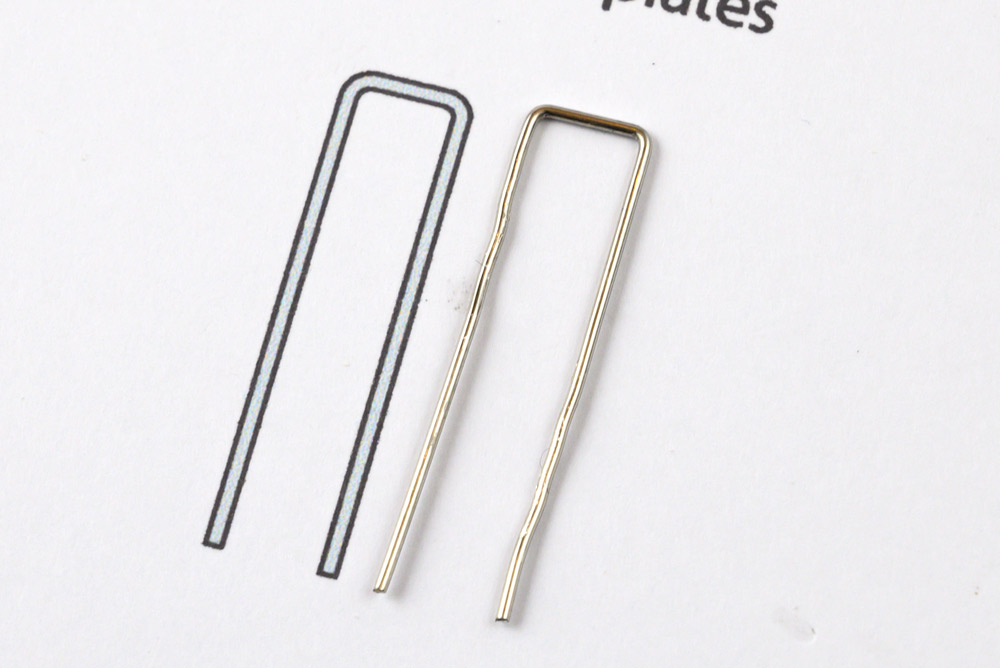
Use the templates to shape a paper clip into the legs initial shape.
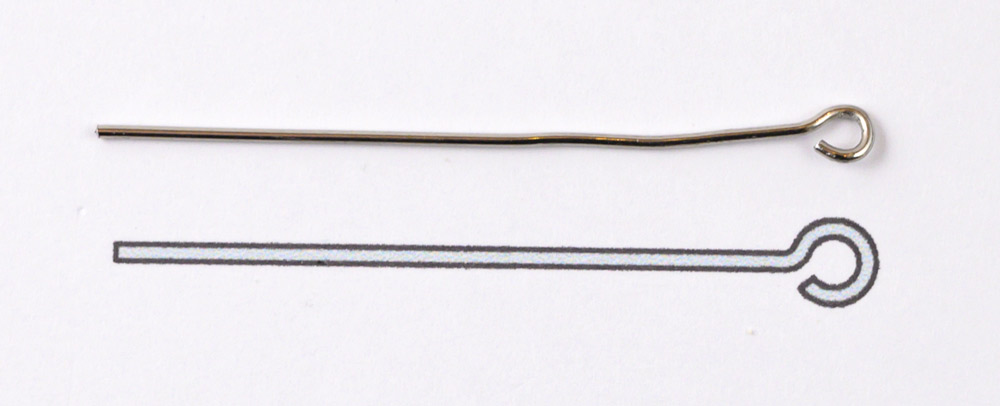
Shape the other paper clip to make the push rod. The hole in the push rod loop should fit a cocktail stick so that it is free to rotate.
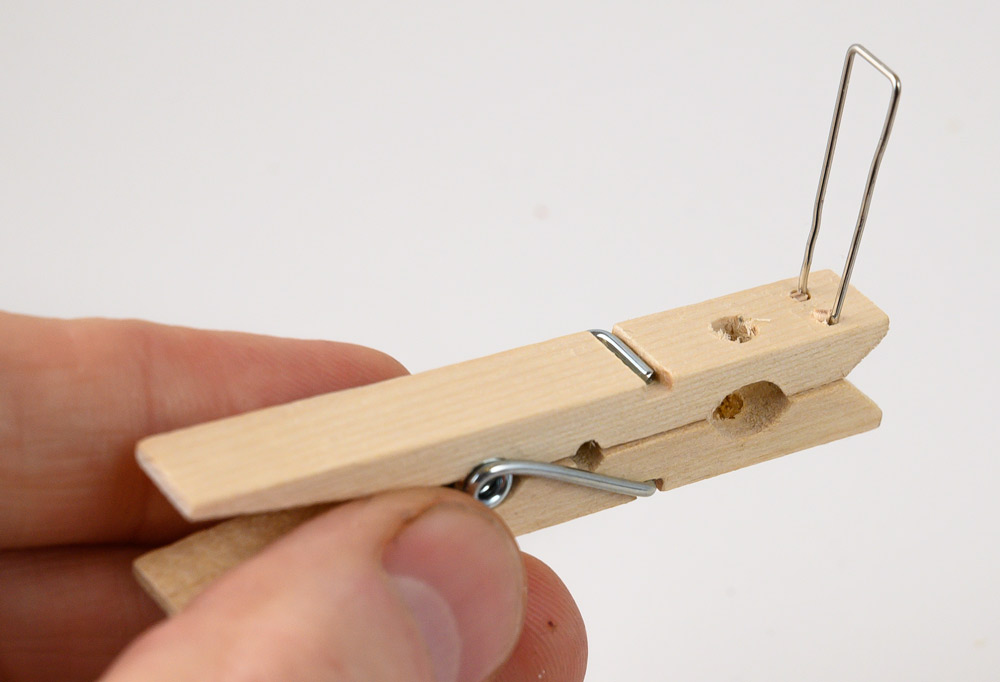
Thread the legs down into place on the top half of the peg.
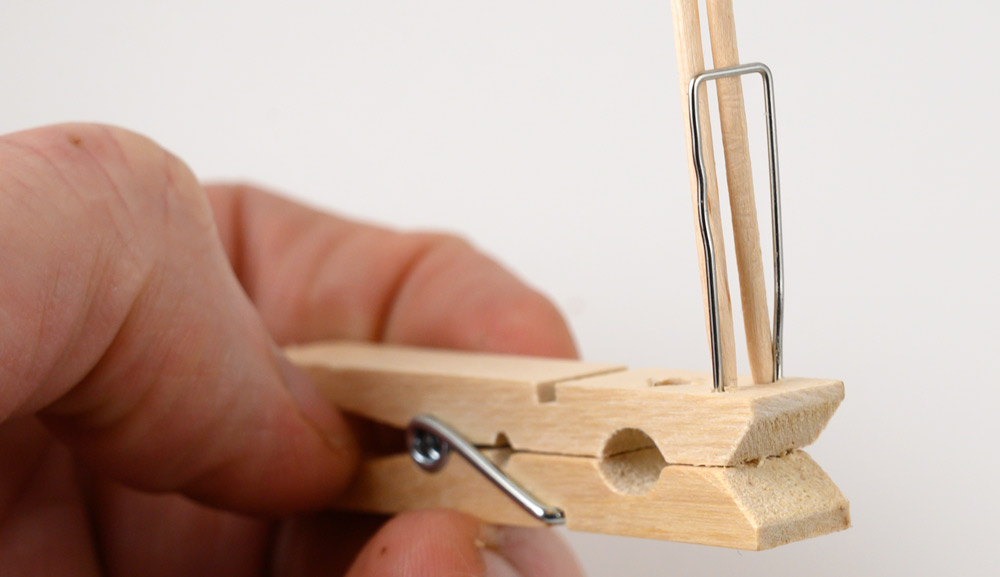
Wedge the legs into place with a couple of cocktail sticks. Trim off the excess wood with some clippers.
Use the leg side template to bend the legs into shape.
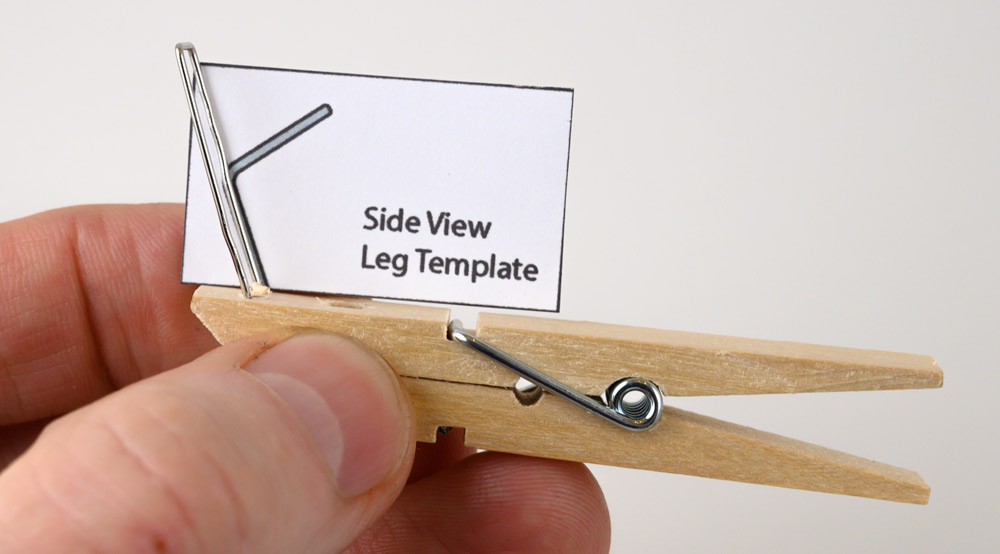
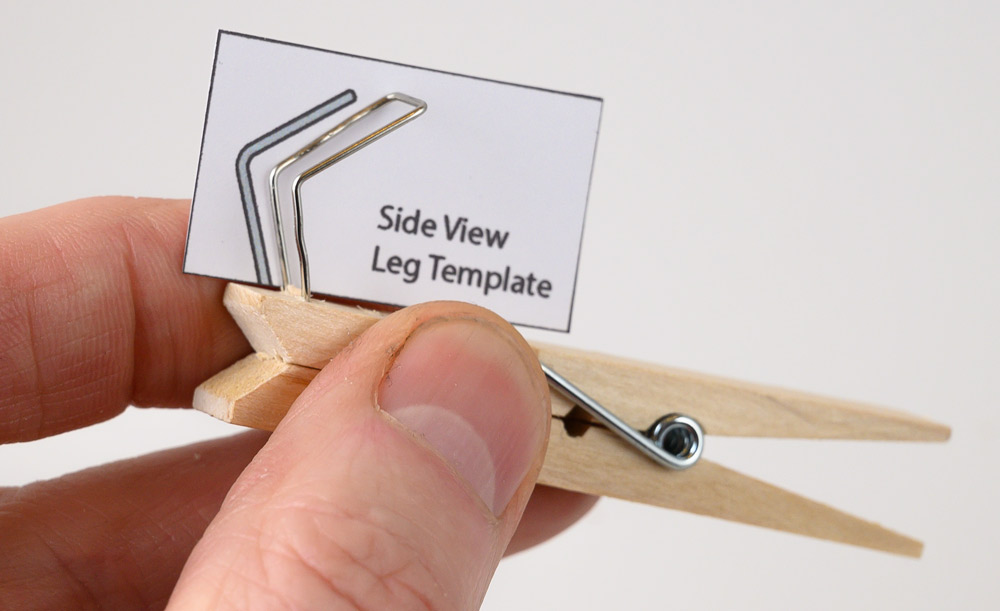
Fold over and glue the body hinge onto the top of the legs. It should be free to rotate up and down but still a tight fit.
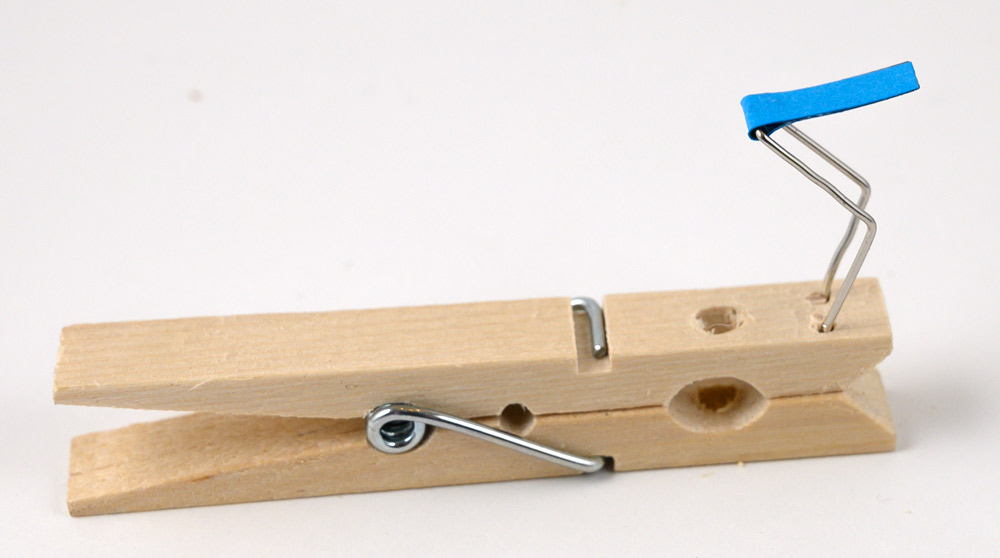
Thread a cocktail stick through the push rod loop.
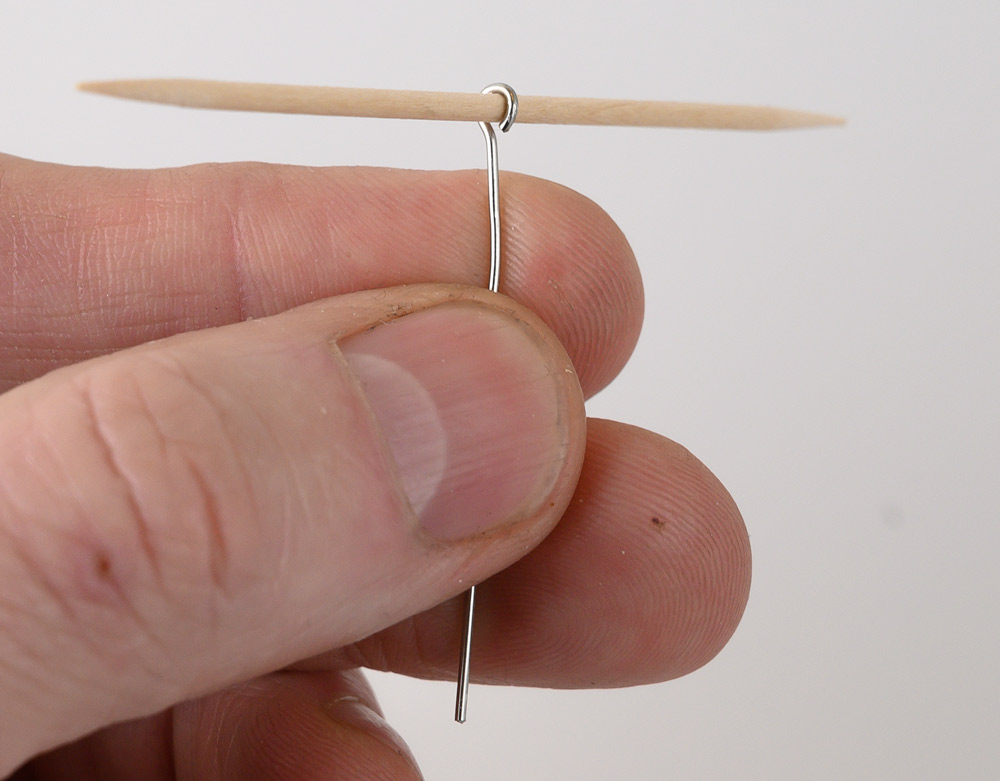
Drop the push rod down through the slot in the body inner.
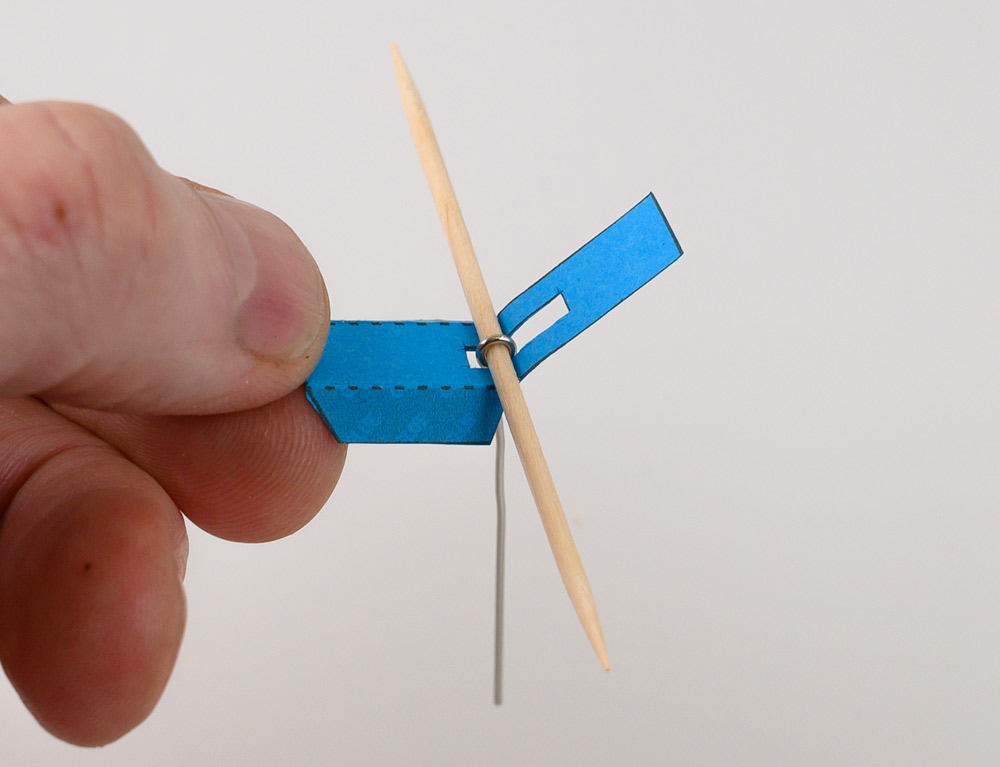
Fold round and glue so the cocktail stick is glued securely into place. It should not be free to rotate. Trim off the ends of the cocktail stick.
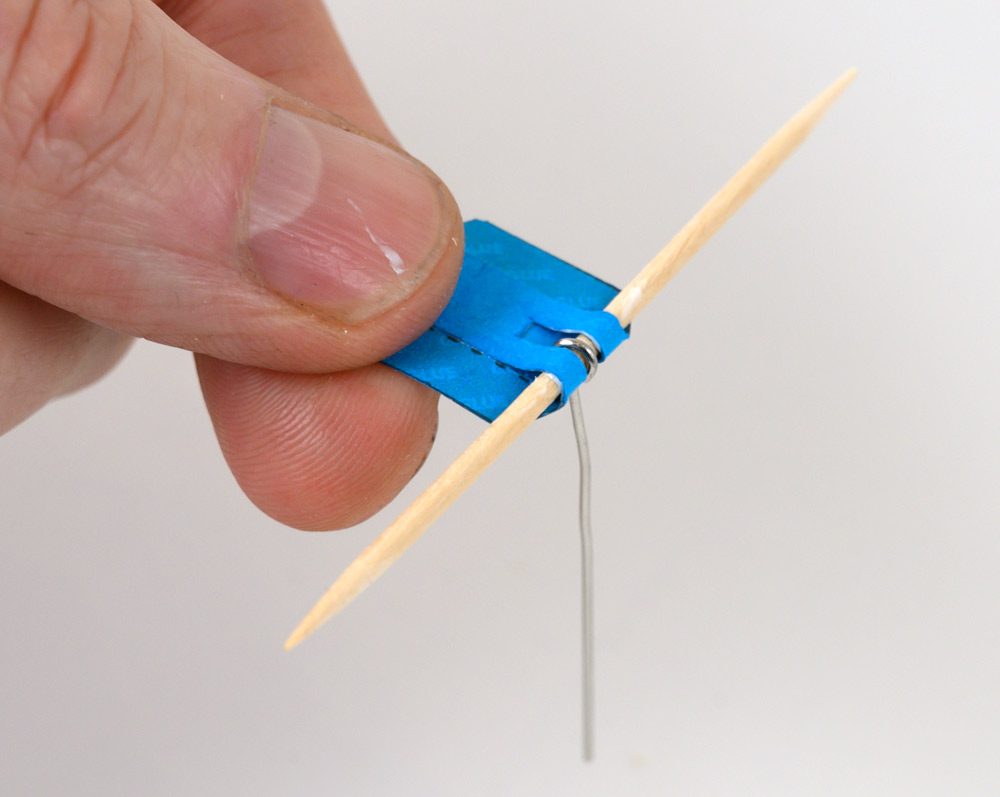
Fold down the side of the body inner to right angles.
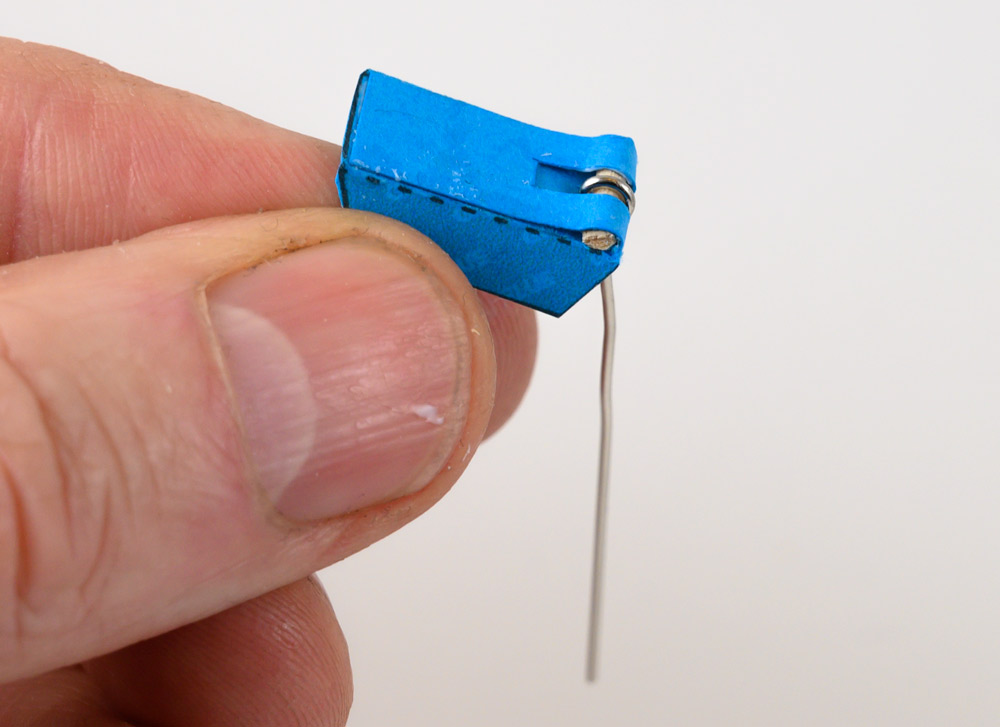
Drop the push rod down through the holes in the peg and glue the body inner to the hinge with a couple of millimetre of overhang.
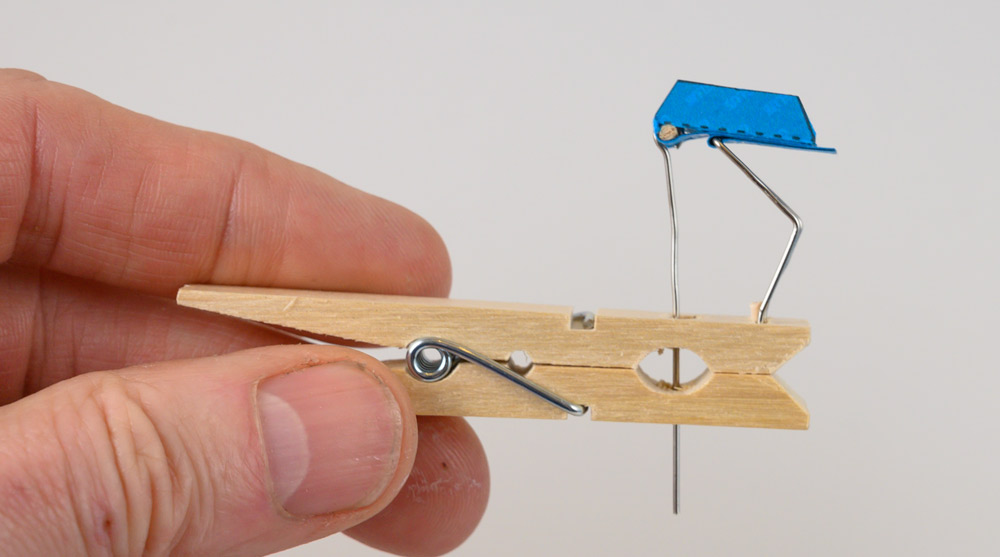
Position the body inner so that it has a very slight upward slope.
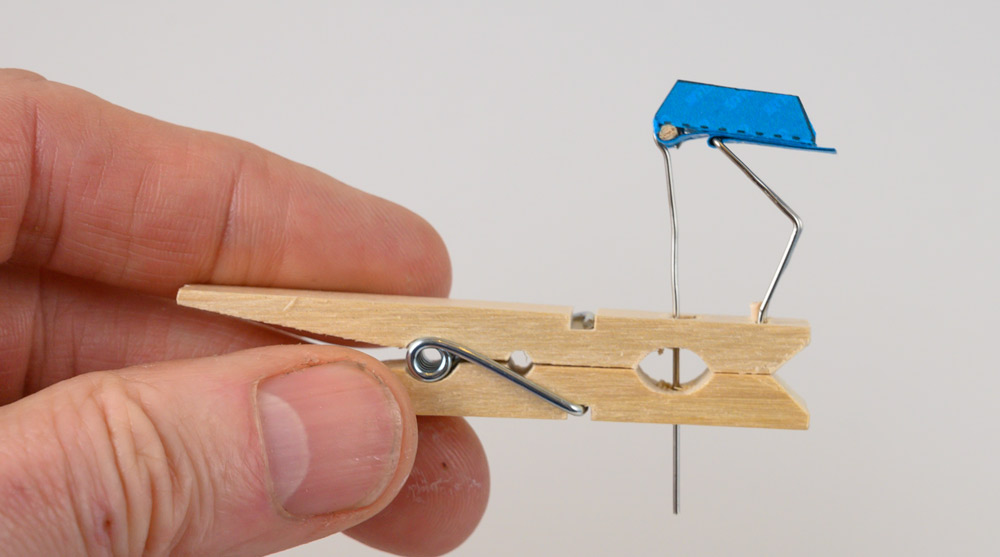
With the body inner still in position, bend the push rod end over so that it sits on the underside of the peg.
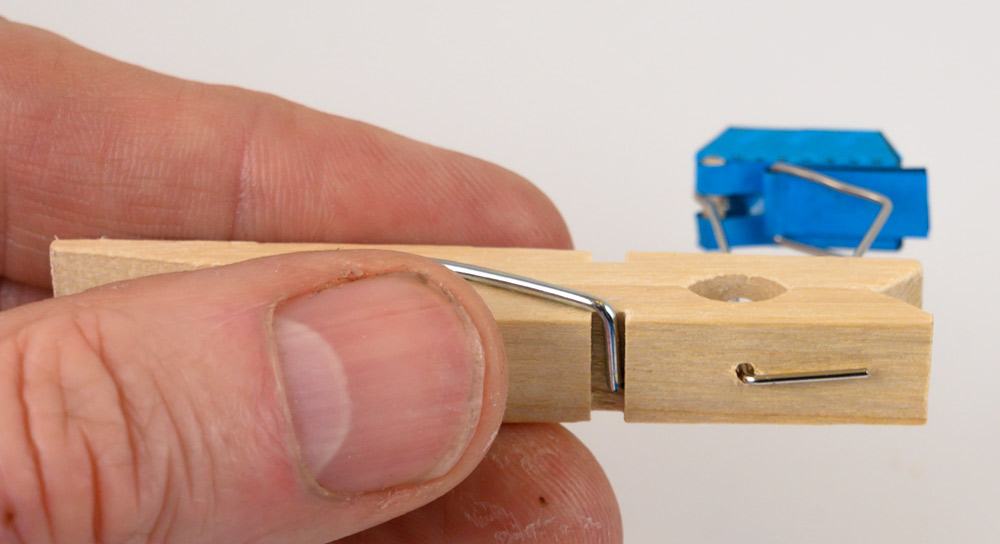
Trim off the push rod leaving roughly 3mm of wire after the bend. Scrape a small groove in the peg with a small screwdriver.
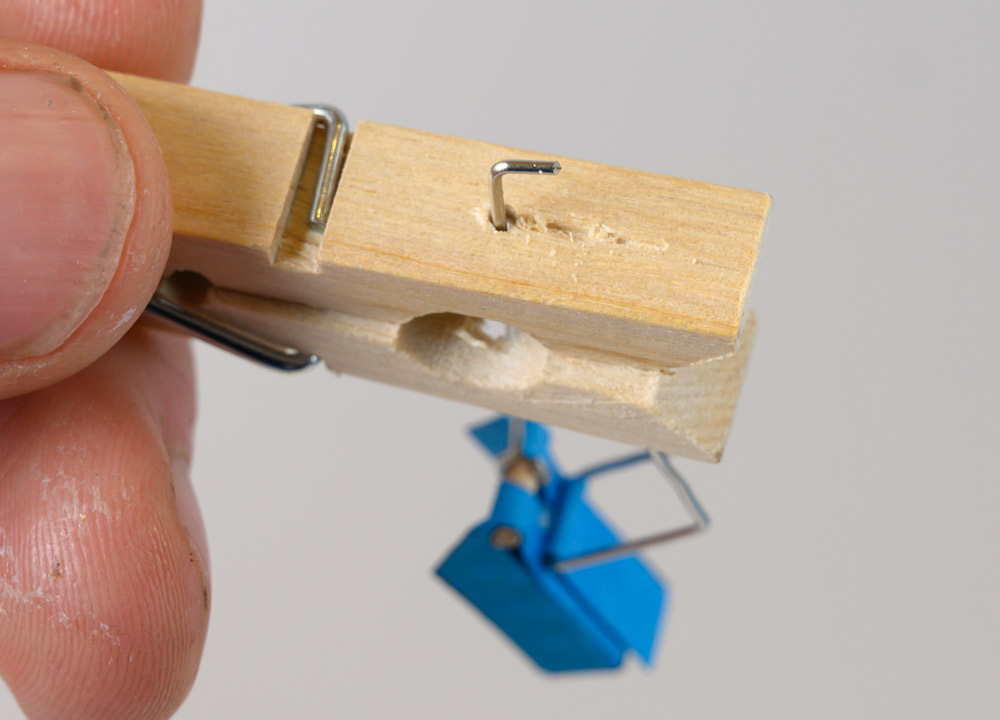
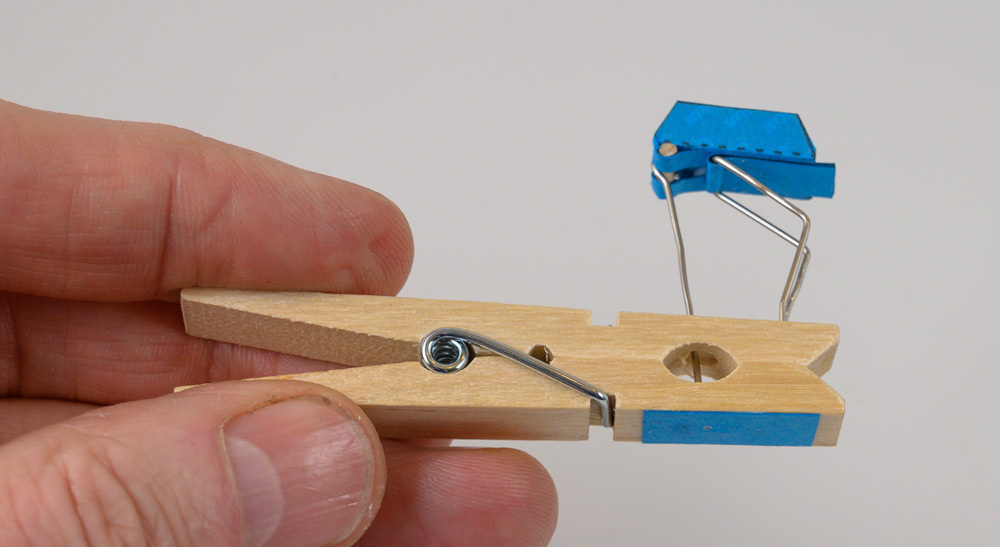
Glue an offcut of card over the push rod end to hold it into place.
Cut out the body and head. I used mixed colours for a more colourful bird.
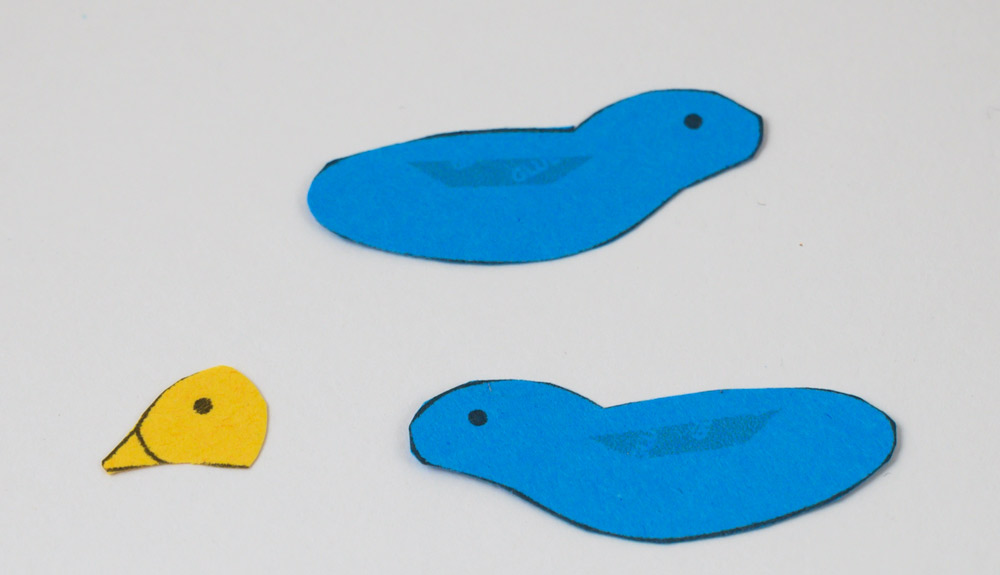
Glue the head inside one half of the body.
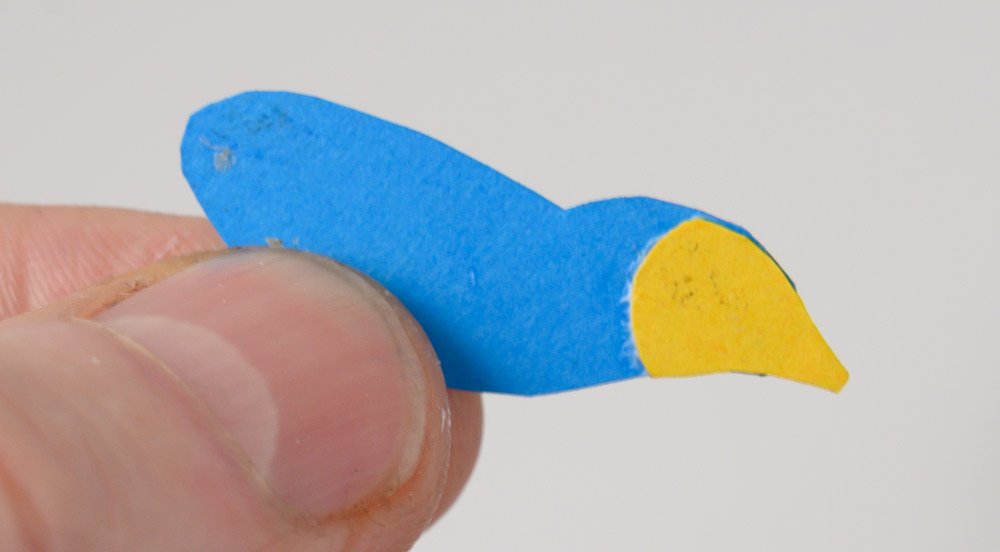
Glue only the head part to the other side of the body. The rest of the body must be free to open.
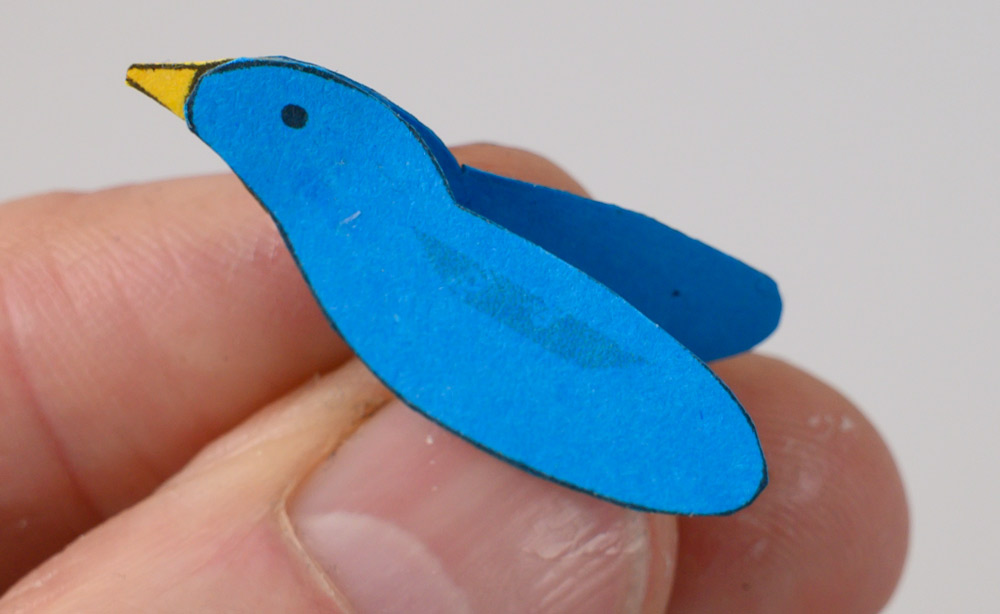
Fit the body to the body inner. Take a little time before the glue dries to make sure you have it symmetrical.
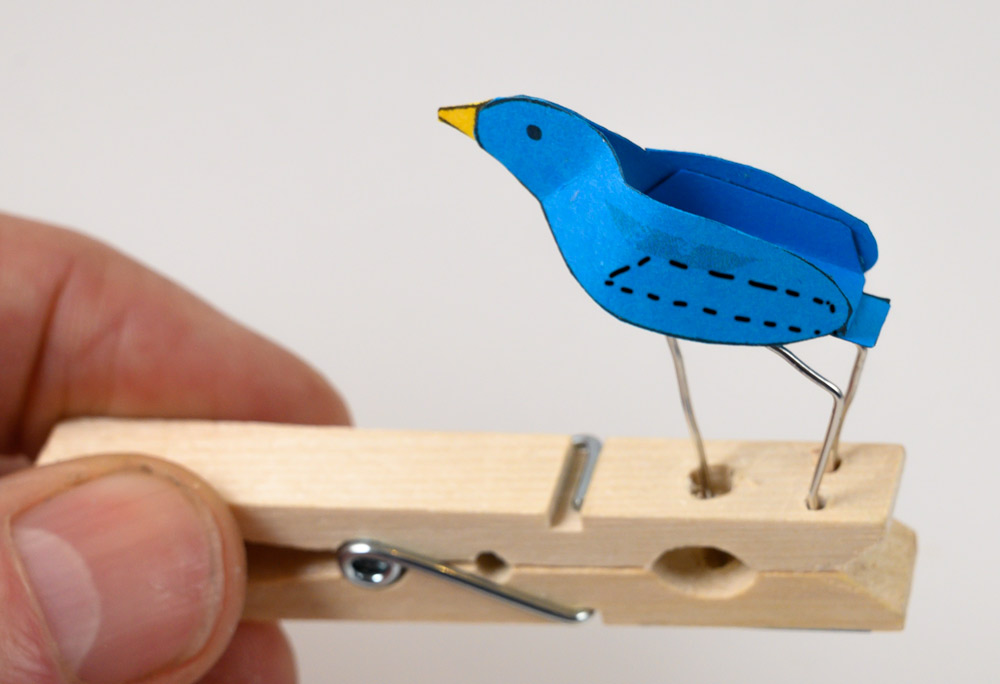
Glue the tail into place so that it lines up with the end of the body and bend it up. to a showy angle.
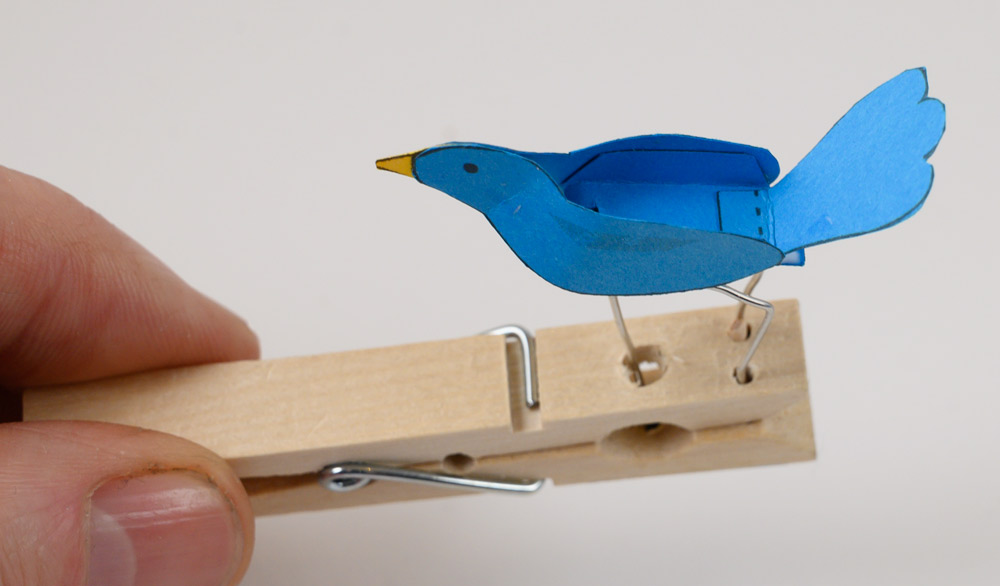
Trim off any of the hinge piece that is still protruding.
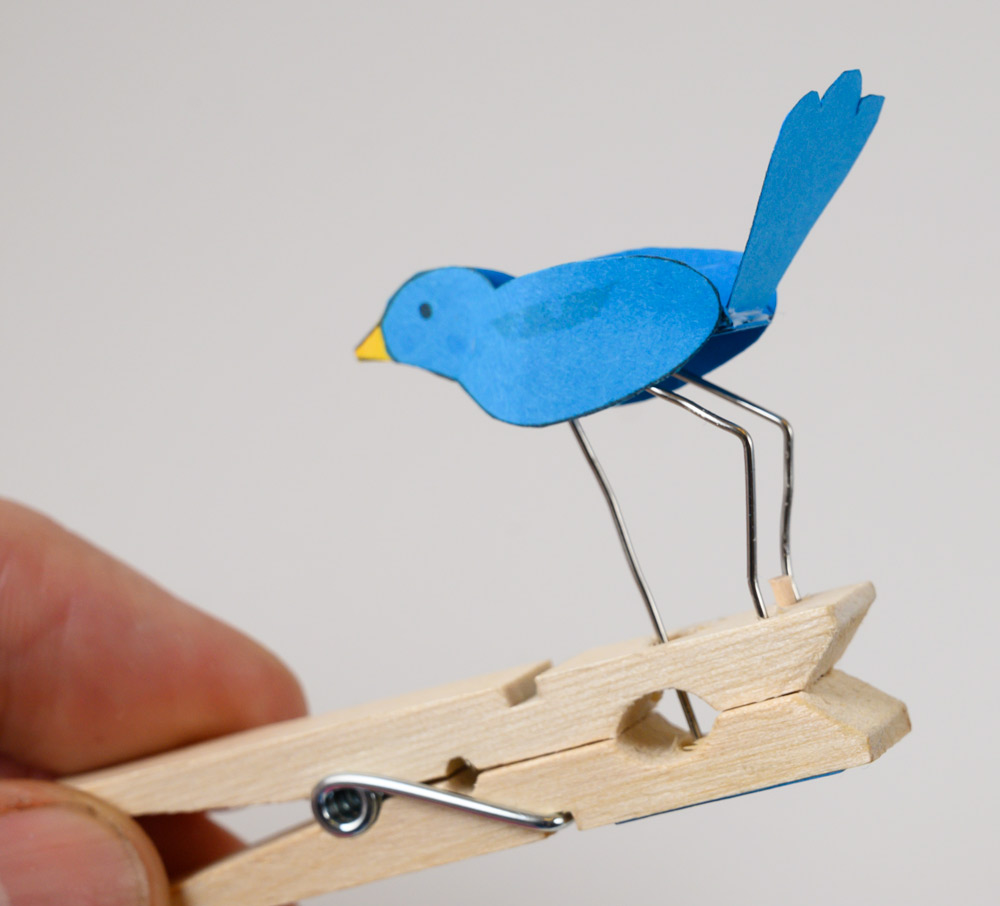
Glue the body top into place.
Glue the two wings into place to complete the model. Delightful!
