£5.00 – £7.50
Piston Demo
SKU
N/A
Categories Cutting Machine, mechanism, Paper
Tags crank, demo, demonstration, maker, piston, stem, stem education, stemeducation
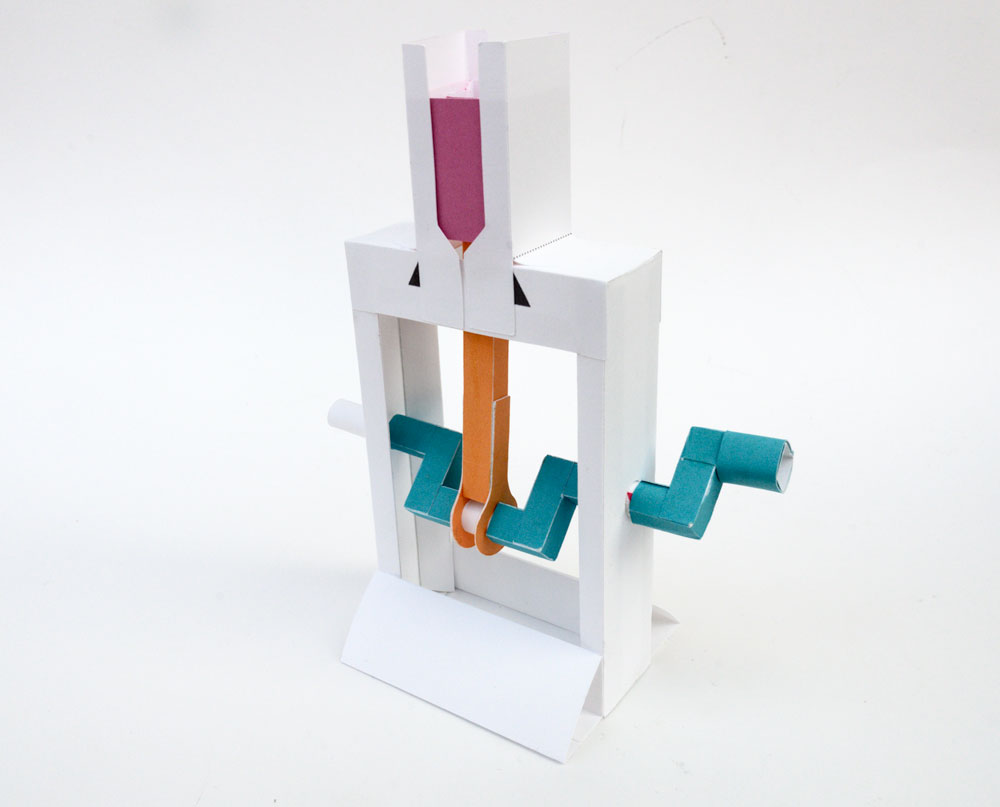
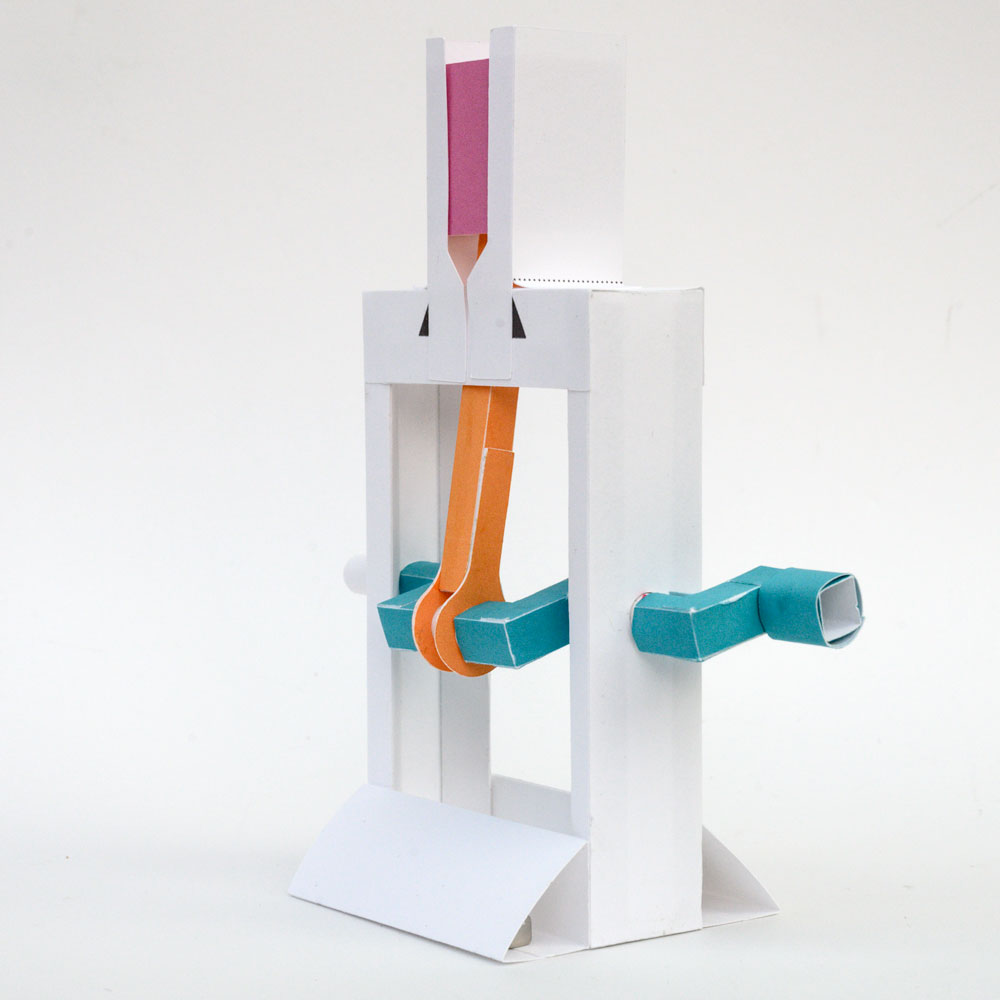
A demonstration piston mechanism to download and make. This model features in the Mechanisms section on the website. Make your own Piston!
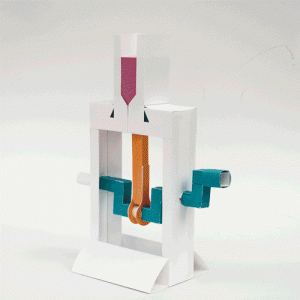 This project comes in two versions. The print version contains a pdf for you to print out onto thin card then cut out with scissors. The cutting machine version comes with the same pdf but also includes files ready for Silhouette Cameo 3 as well as svg and jpg files. This project is suitable to print and cut on most popular paper cutting machines.
Print out the pages onto thin card.
If you are making the hand-cut version, score the dotted and dashed lines, cut out the holes then carefully cut out the pieces.
[clearboth]
Roll up the three axle tubes.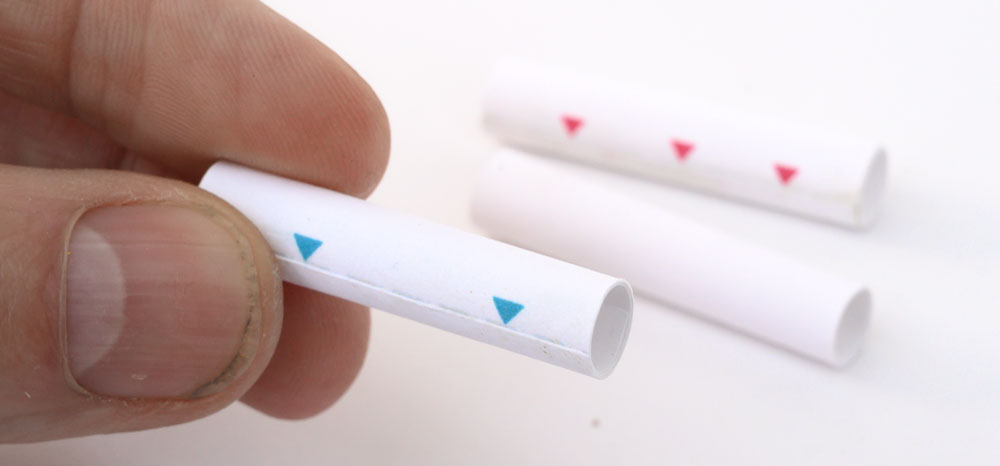
Assemble the two cranks.
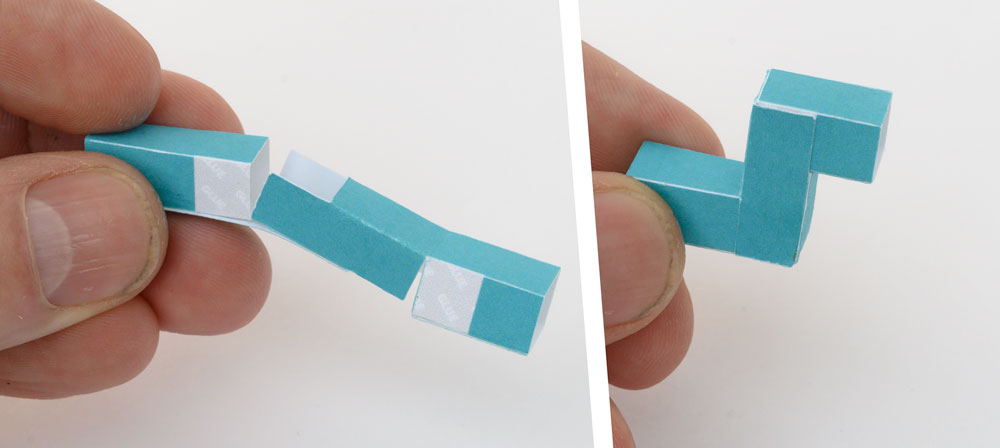
Glue together the handle in three steps.
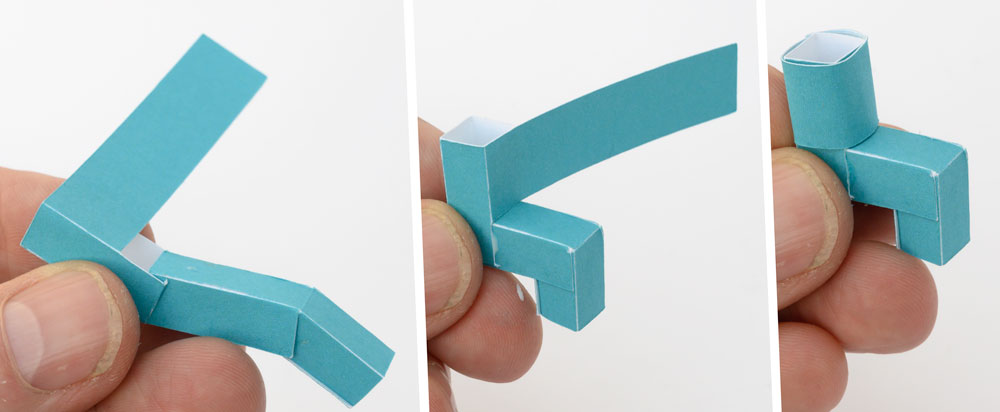
Glue the push rod ends together to make double thickness card. Fold up and glue the push rod parts as shown.
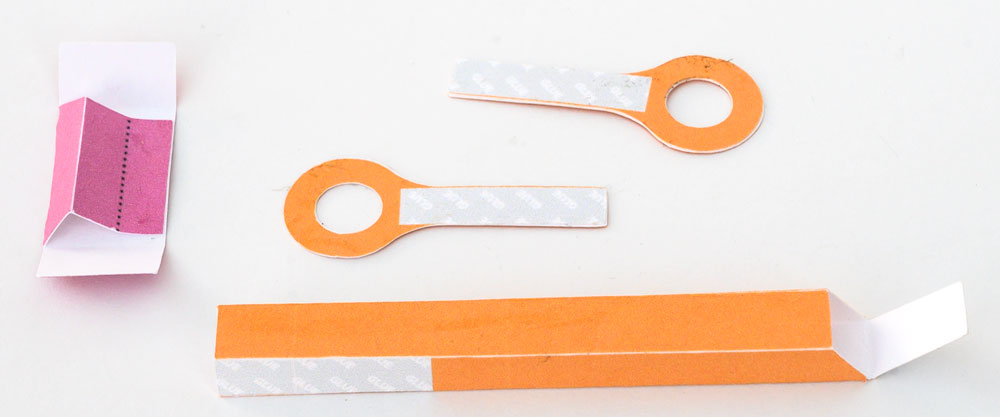
Thread the axle with two triangles onto the pushrod ends then glue them to the pushrod keeping everything straight and level. Glue the piston inner onto the pushrod tab.
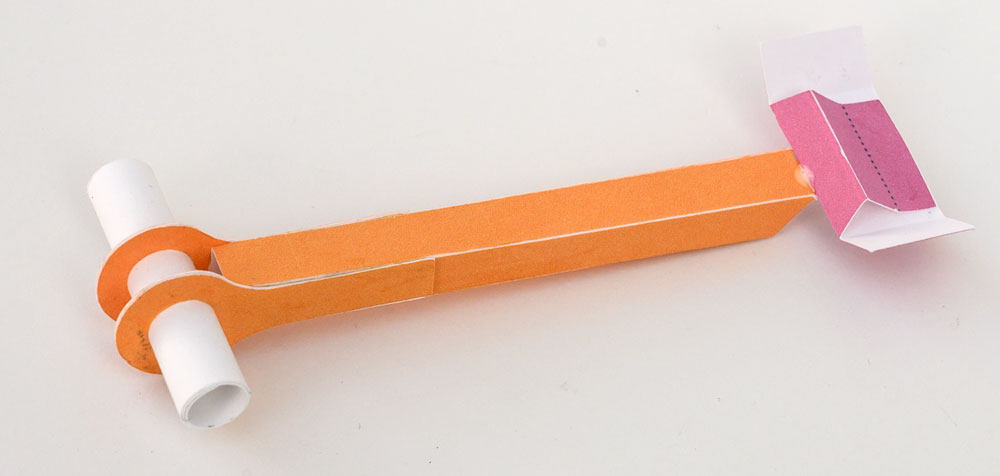
Glue the crank pieces to the axle. Make sure the pushrod ends are free to rotate.
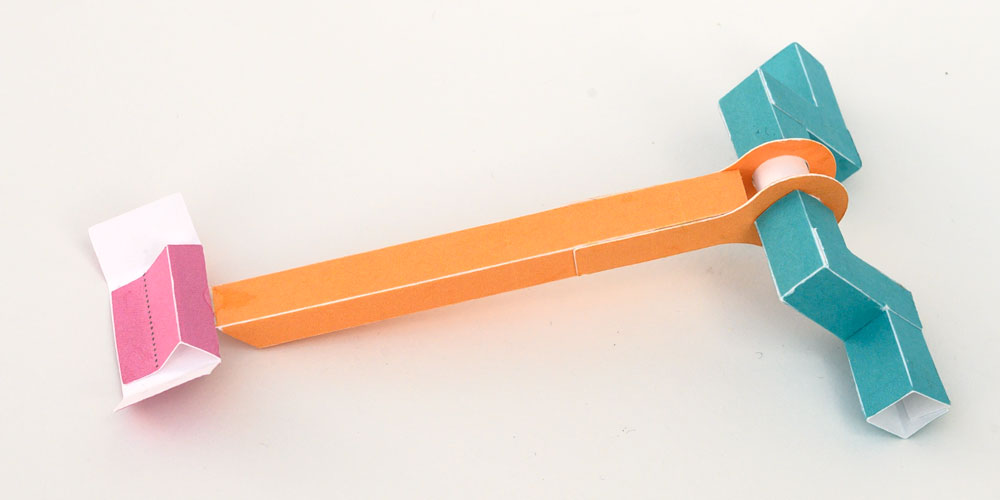
Thread the pushrod up through the hole in the box top.
Fold over and glue down the small flaps in the box top to make double thickness card.
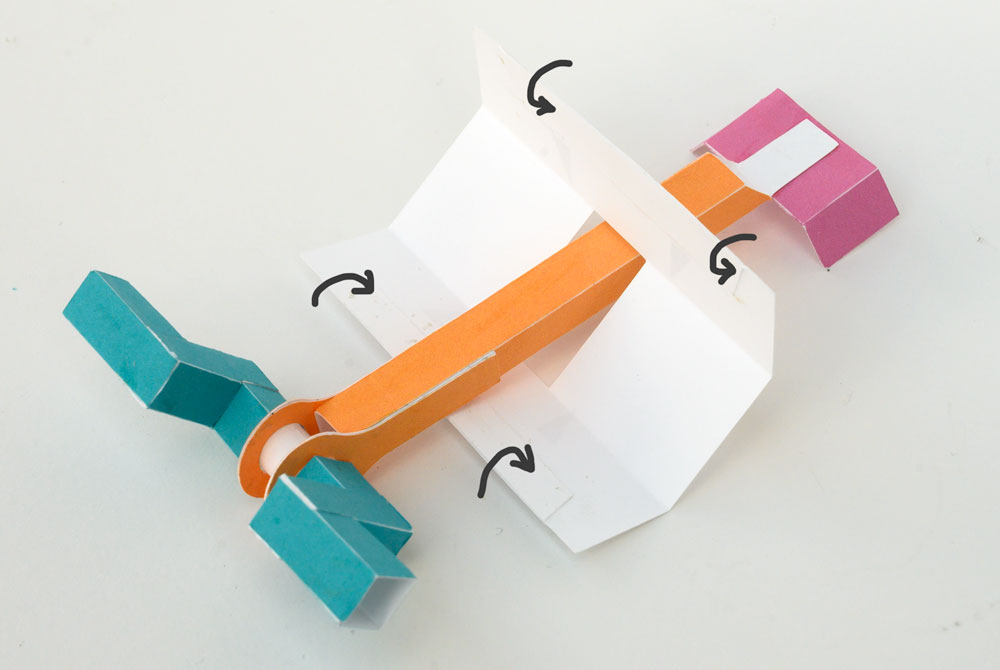
Fold up and glue the box sides making right angle triangle tubes. Glue the sides to the base.
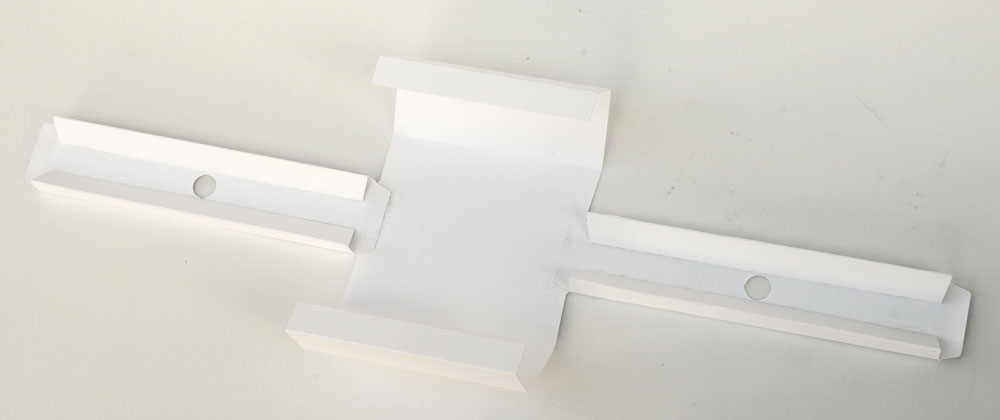
Fold up the sides and glue on the top with the crank in position.
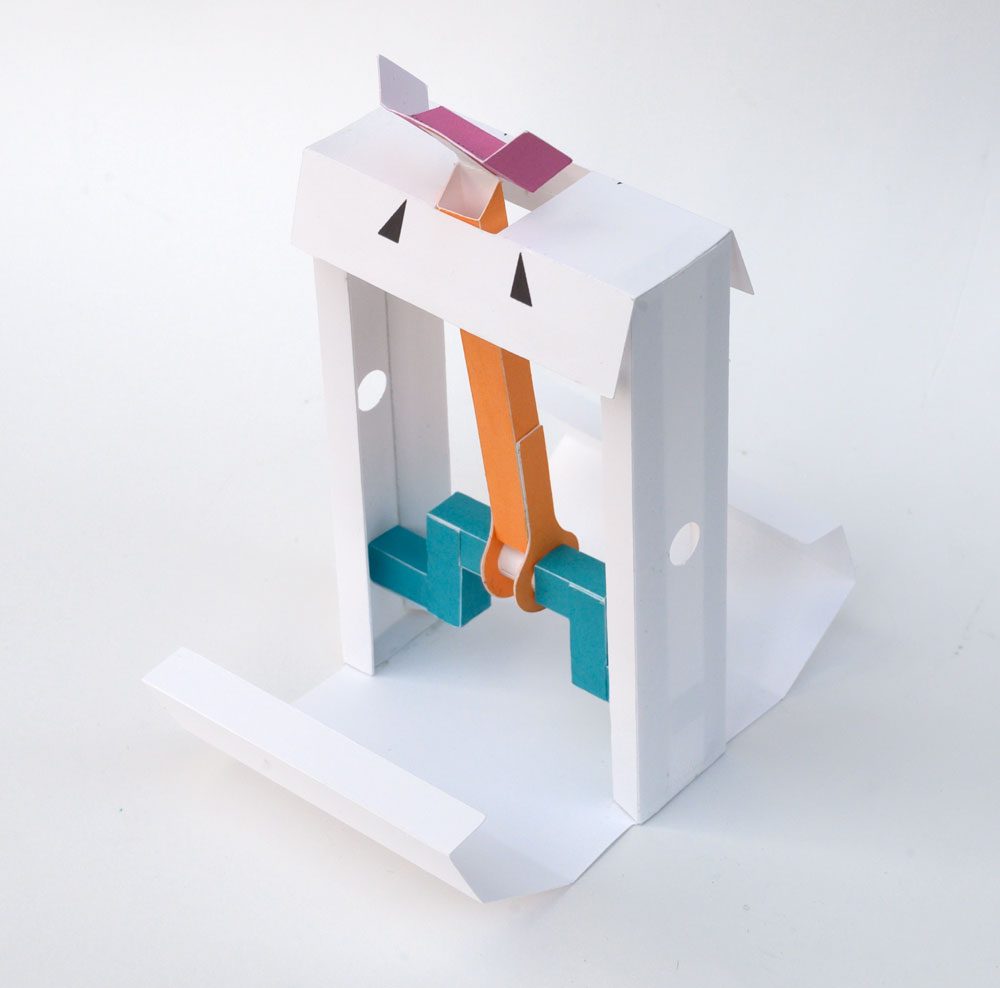
Fold round and glue the base.
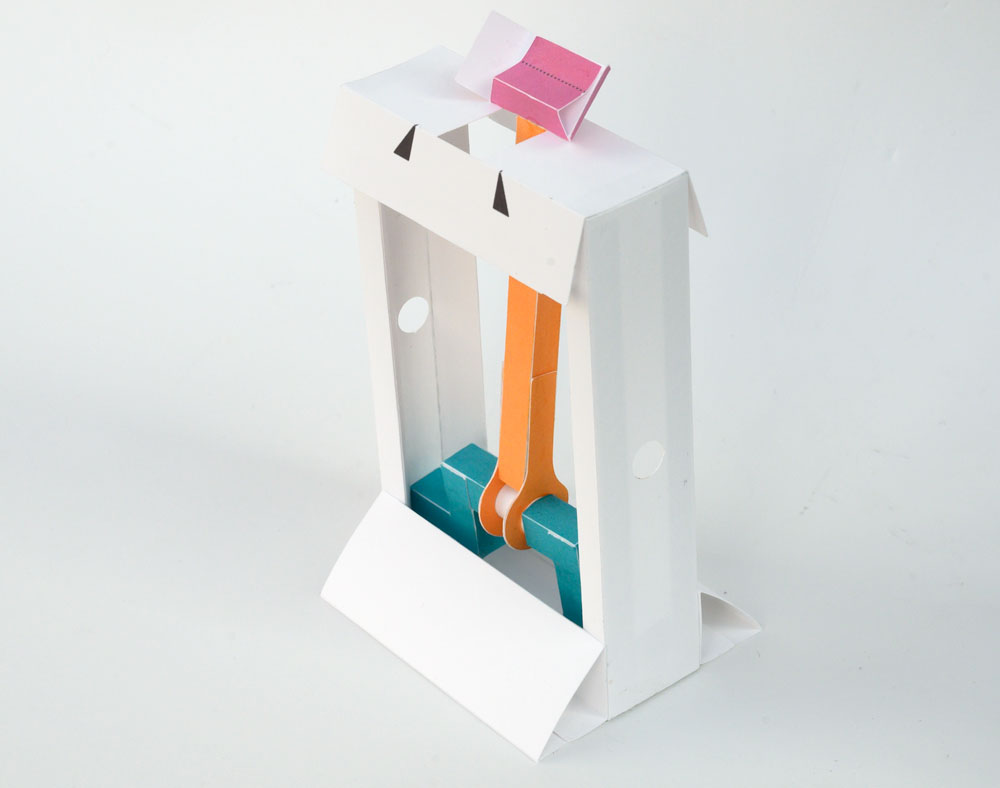
Fit the axle tubes into place. Fold down and glue the flaps on the top. Turn the crank so that it is at its lowest position.
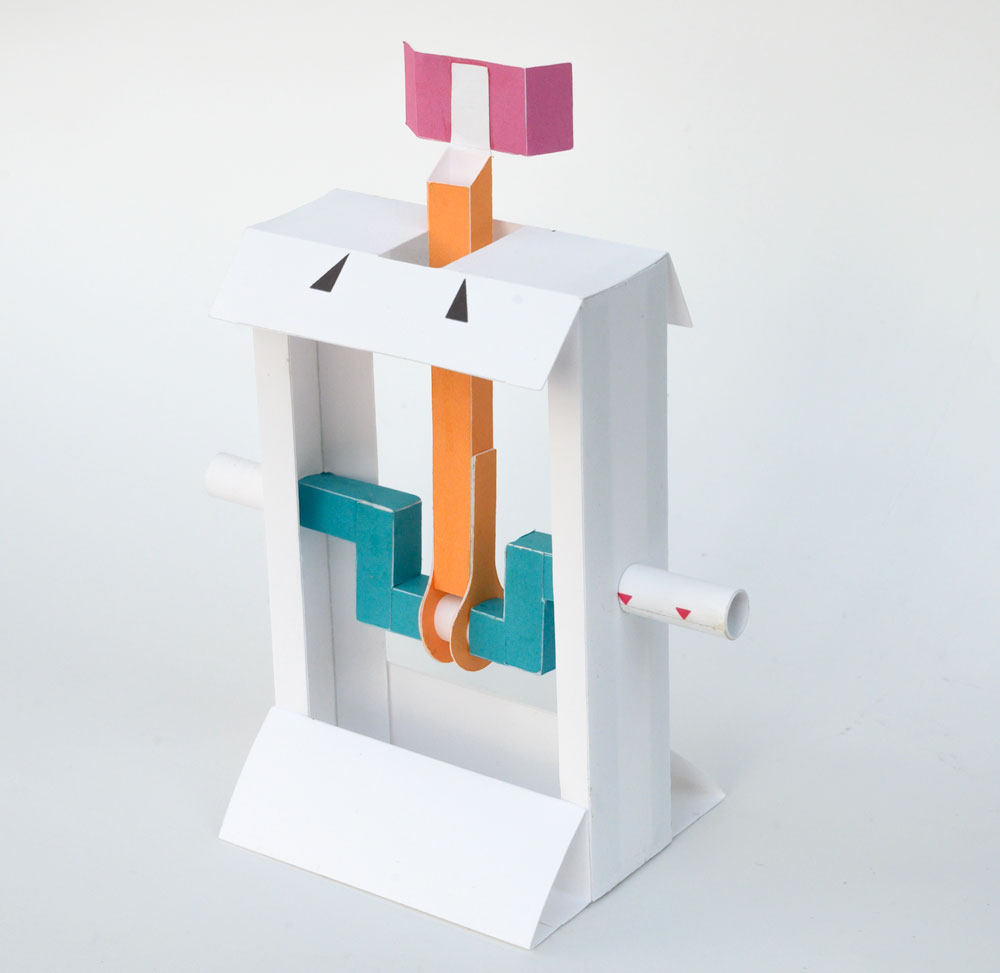
Fit the piston onto the piston inner so that it is a couple of millimeters above the box top.
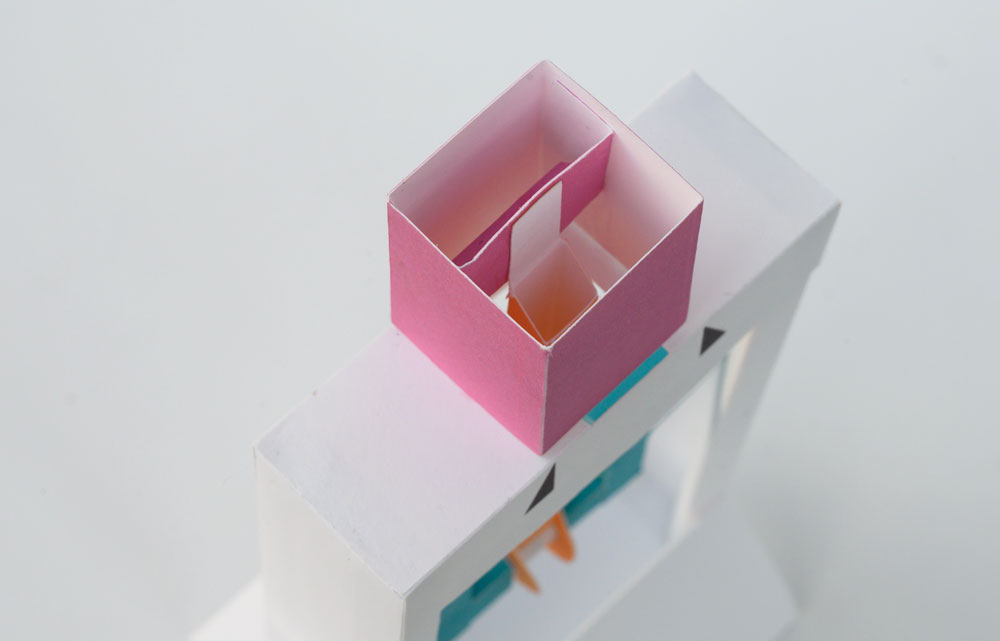
Piston glued into place.
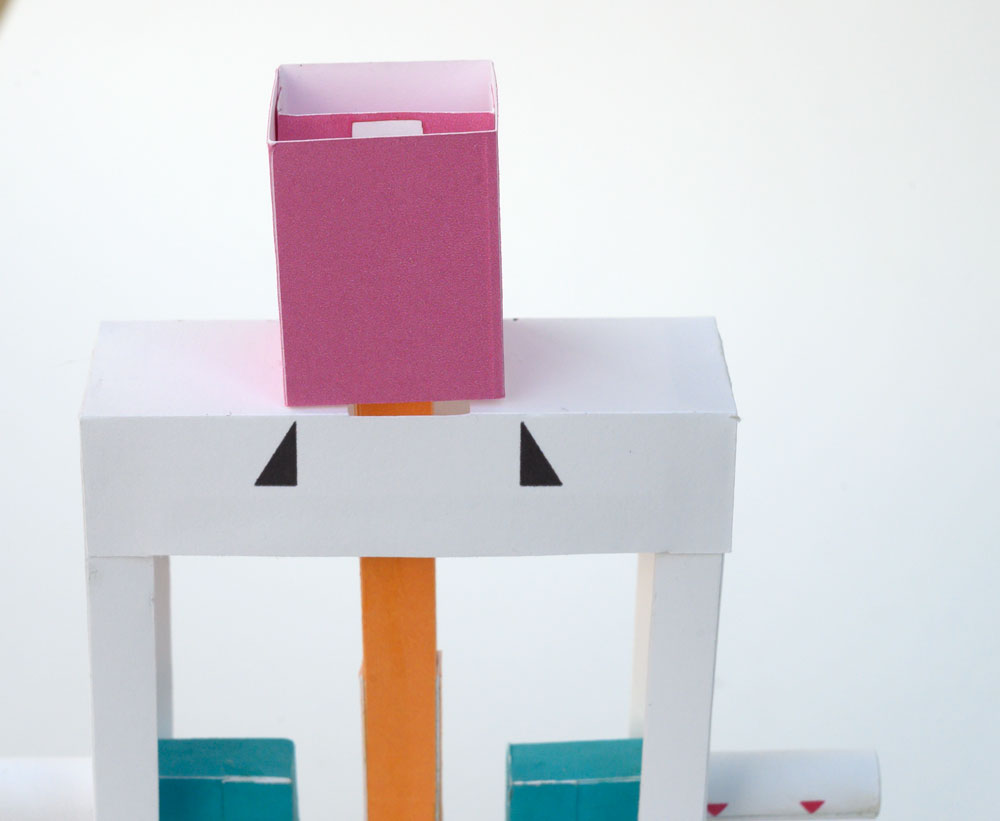
Glue the cylinder parts into place ensuring that the piston is free to move.
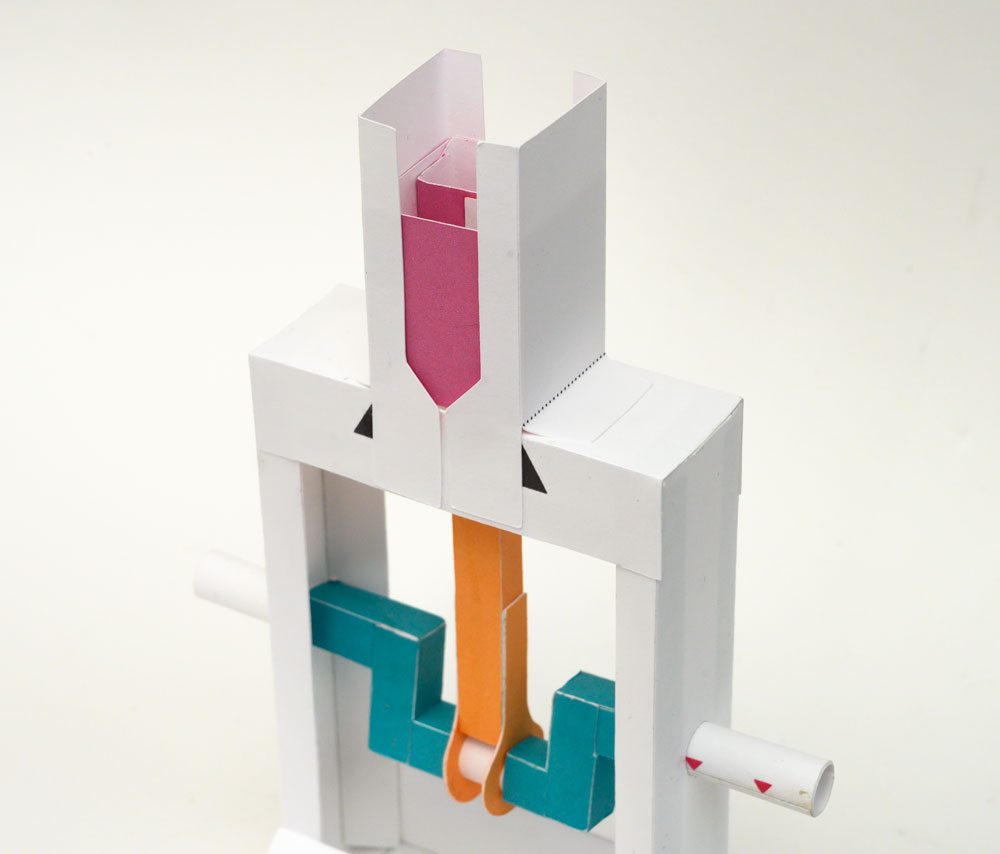
Finish off the piston by gluing the handle into place.
