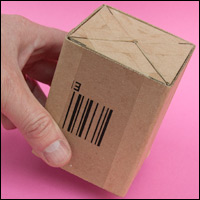
Here's a project of a slightly different nature that you might like to try. Here at robives.com Towers we like books. Proper books, made from paper. It is going to take some persuading to make us move to the ebook equivalent. That, and my tendency not to throw away things that might come in useful has resulted in a fairly sizable heap of Amazon packages wedged behind one of the book cases.
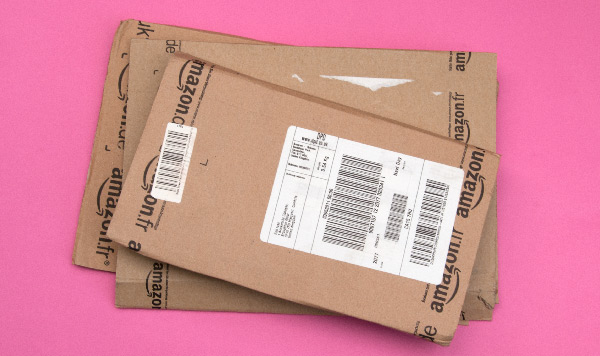
Corrugated card is a lovely material. Strong, light, easy to work and easy to join. With a few lines and a few cuts it can be converted into all sorts of interesting projects. See, I knew they would be useful!
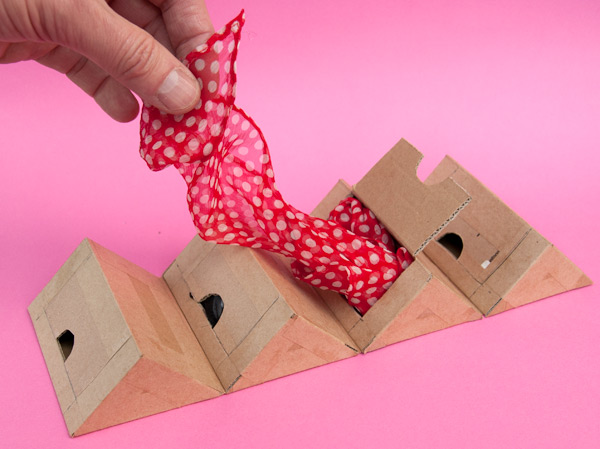
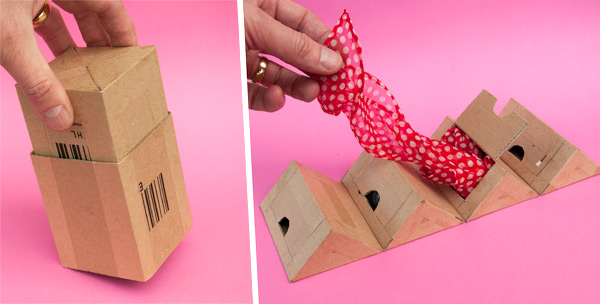
Take for example, this gift box. Made from a single Amazon box and some brown paper tape, the centre section of the box pulls out and unrolls to reveal four individual compartments each with its own lid.
Here's how it is made.
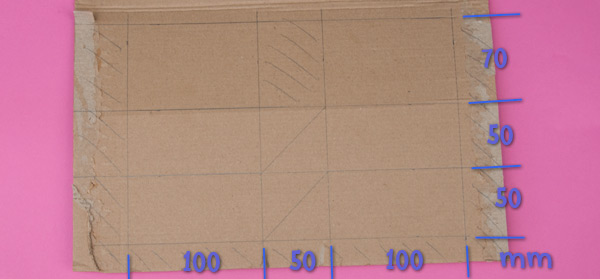
On one flat piece of card measure out the parts above, notice that all the measurements are in millimetres.
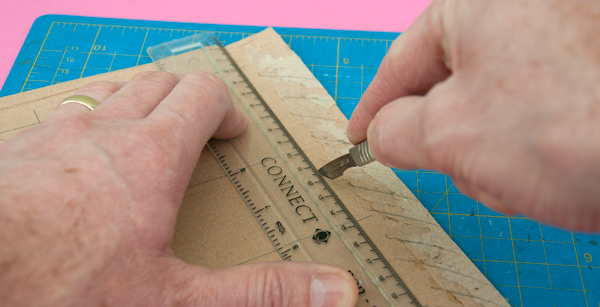
Carefully cut out the pieces with a sharp knife.
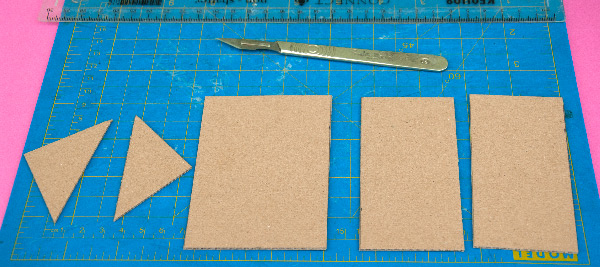
Each triangular section is made from these five pieces. You'll need four sectons in total to complete the project.
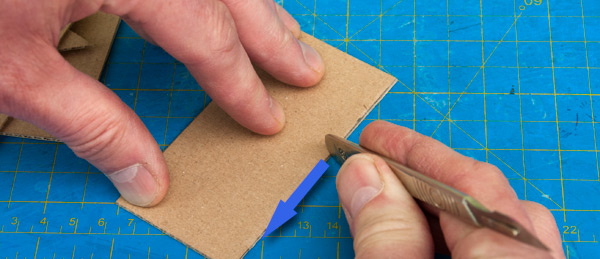
Run the handle of your knife down each edge of the card to make a beveled edge. This will make the joints between pieces sweet and neat.
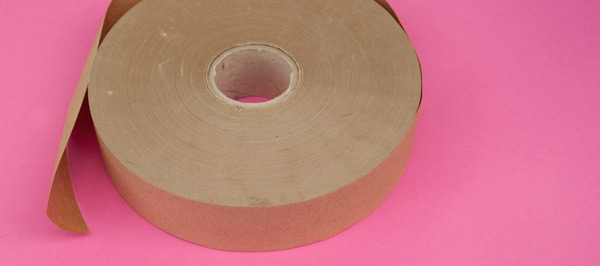
The project is joined together with gummed paper tape. You could probably use sellotape but the gummed paper is so much more attractive that it is worth spending the effort to get some. I purchased a roll from ebay for a modest sum.
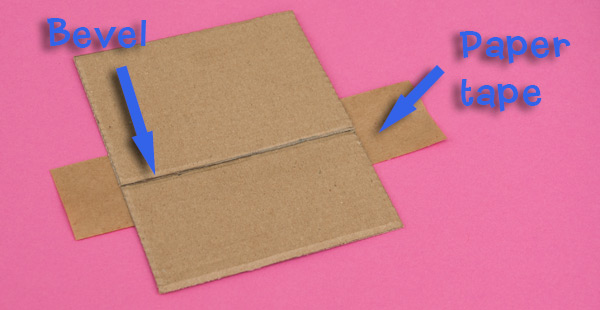
Cut a strip of gummed paper slightly longer than the long side of the rectangles. Moisten it and lay it, glue side up on your work surface. I recommend a lightly moistened sponge for this job, by the time I'd finished licking all the gummed paper in this project my tongue was sticking to the top of my mouth.
Fit the two rectangle pieces along the centre line of the gummed paper so that they are carefully lined up with each other. Notice that the slope of the bevel is uppermost.
Cut off the excess tape with your knife.
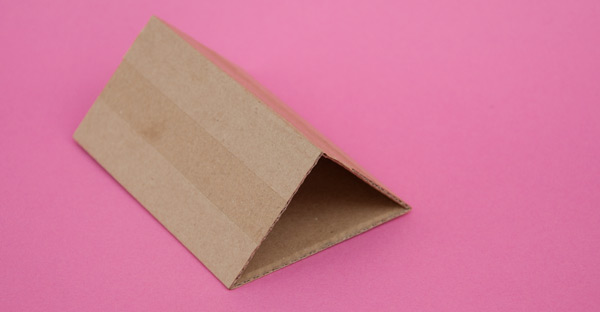
Tape the other side in to place then fold up the parts and make this tent like structure all the time being sure that everything is accurately aligned
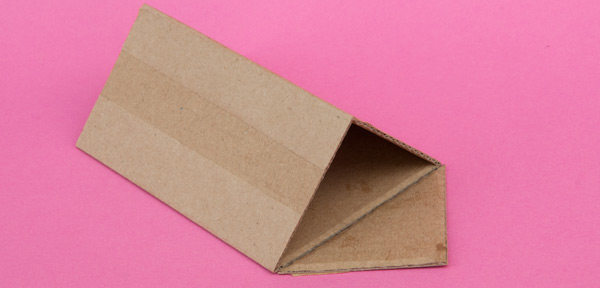
Tape one of the ends into place…
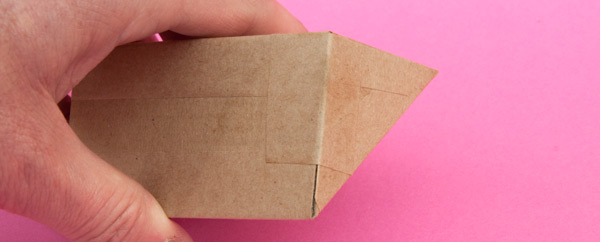
…then fold it up and tape it down. Repeat this step at the other end.
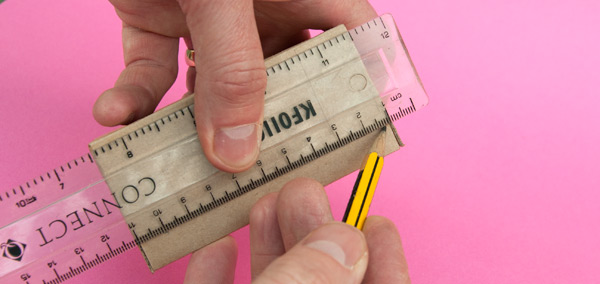
Now to mark out the box opening with a pencil and ruler.
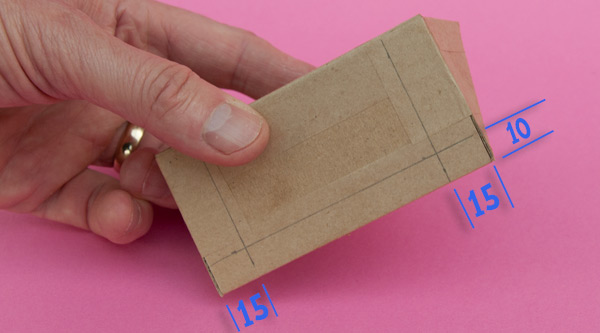
Lightly draw these three lines on one of the narrow faces again using millimetres as the unit of measurement
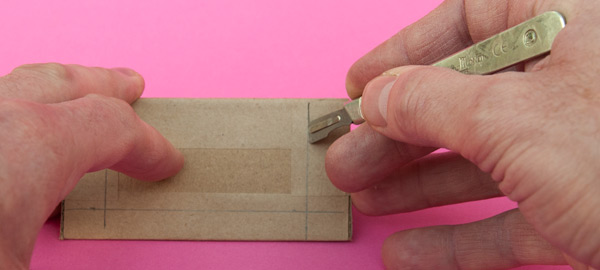
Starting at the top of the box cut down the two vertical lines. Notice that the knife is at 45º. This will make a beveled edge to the box lid opening and will stop the lid from folding right inside the box.
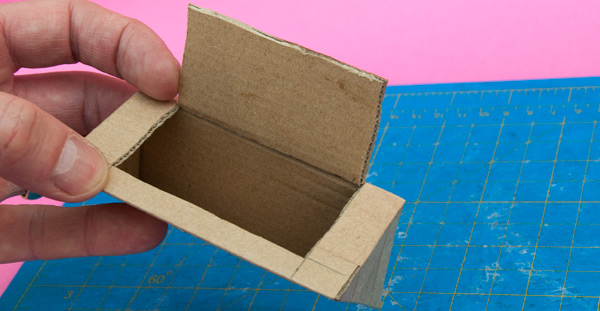
Repeat the process on all three sides . The lid should now be free to open.
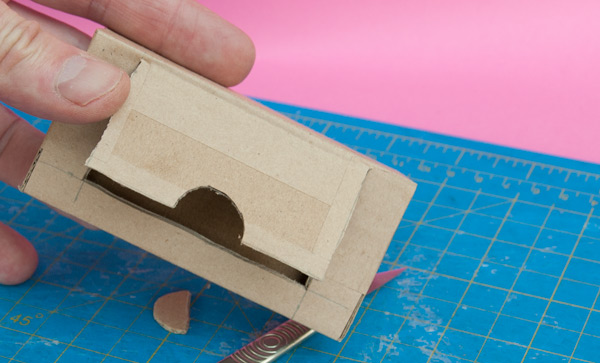
Cut out a small finger hole with your knife to complete the box segment.
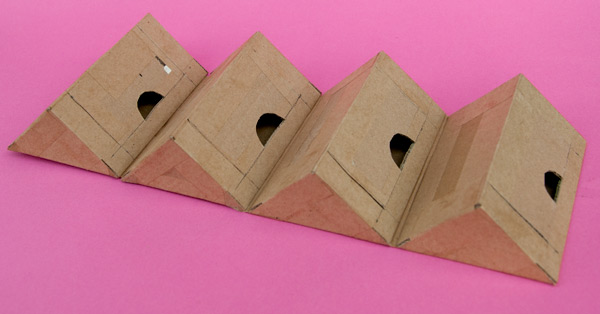
Construct the other three segments in the same way.
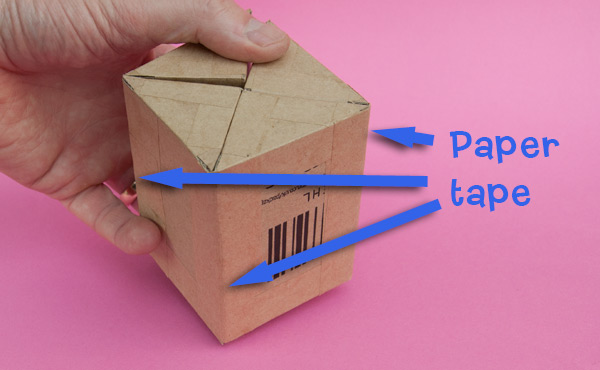
The four box segments are joined together with a paper tape hinge on each corner. Hold the four segments together as shown in this picture before applying the tape otherwise you won't be able to get them closed.
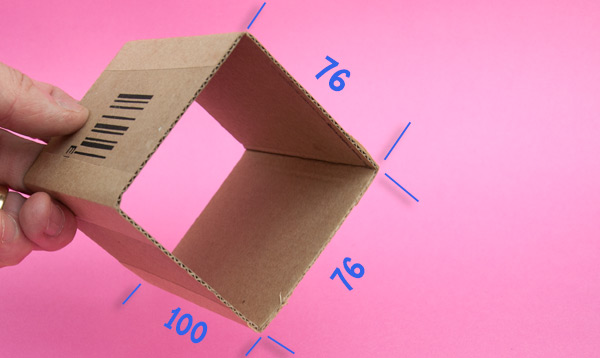
Construct a sleeve from four pieces of card using the above millimetre measurements.
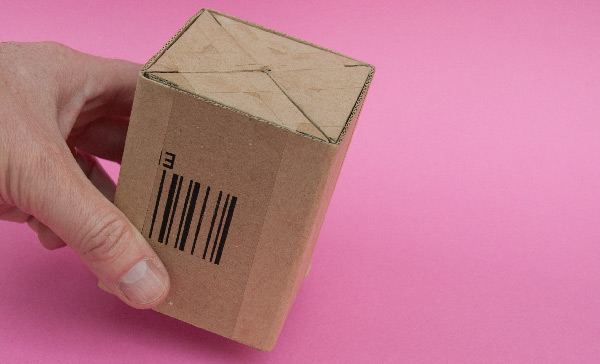
The sleeve should be a snug fit over the rolled up box. And there it is – all done!
Use the box as a gift box or a storage box, fill it with scarves or use it to sort out your collection of jelly beans. Nice!
