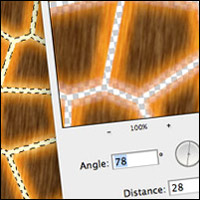
A bit of PhotoShop work today. As part of the giraffe model I need some giraffe textured pelt. After a bit of experimentation this is what I have come up with.
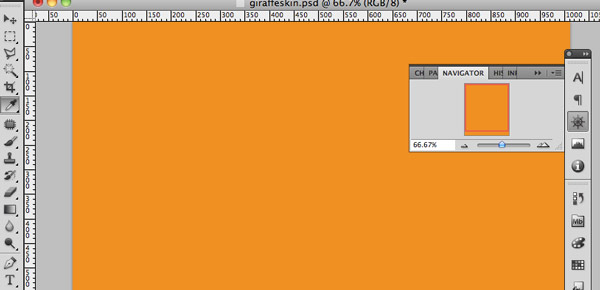
Create a suitable size document. I use 1000×1400 pixels. Change the background layer to Layer 0 by double clicking it in the layers palette then fill with orange.
Set the foreground colour to a light cream suitable for the lines between the colour patches.
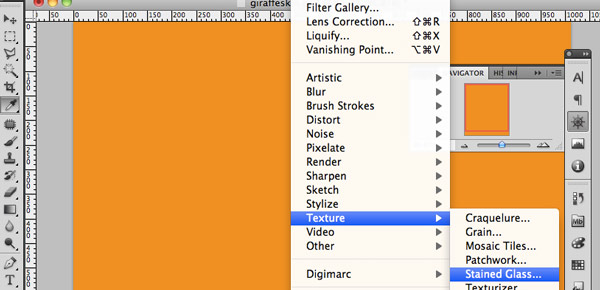
Next choose Filter -> Texture -> Stained Glass…
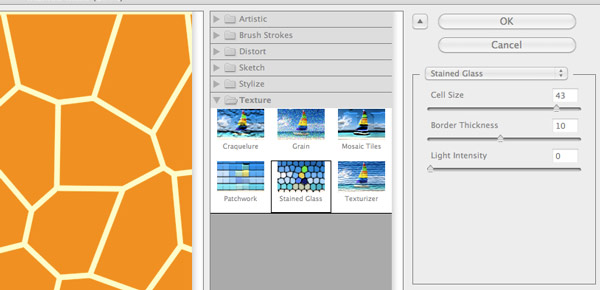
Choose appropriate numbers for the cell sizes and border thickness.
Set the light intensity to zero.
Click Okay.
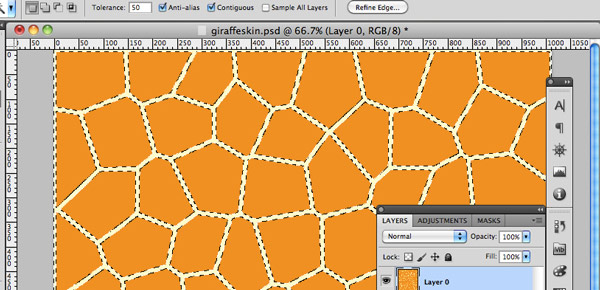
Use the Magic Wand tool to select the cream border lines.
Invert the selection using Select -> Invert. The orange areas will now be selected.
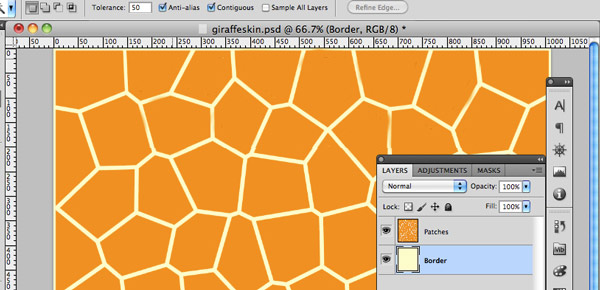
Create a new layer of just the orange patches by clicking
Layer -> New Layer -> Via Copy
Change the layer names as appropriate. (Always good practice!)
Fill the bottom Borders layer with cream.
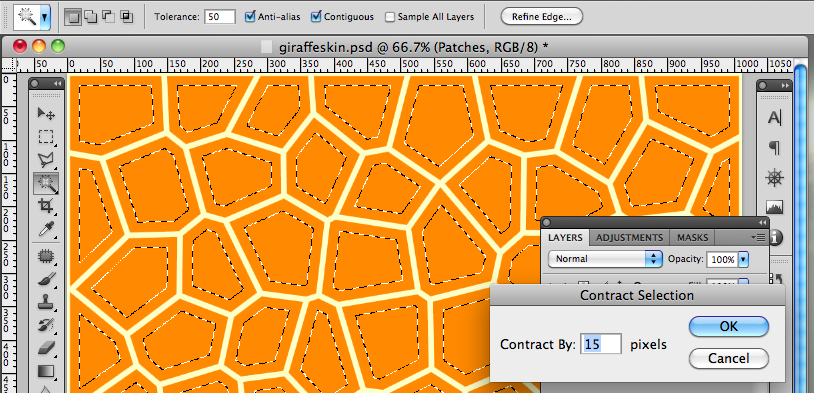
Choose the patches layer.
Use the Magic Wand tool to re-select the cream border.
Invert the selection again.
Shrink the section with Select -> Modify – > Contact. (I used 15 pixels)
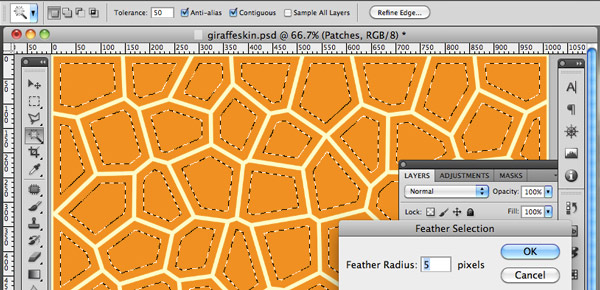
Soften the edges of the selection using Feather.
Select -> Modify -> Feather (I used 5 pixels here.)
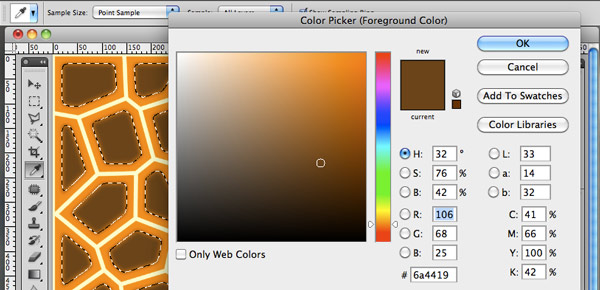
Fill the selected areas with a dark brown colour.
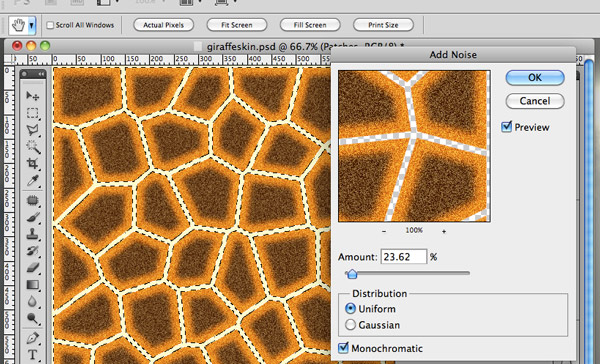
Re select the outside of the orange shapes.
Add a little noise. Filter -> Noise. This will give the next filter something to work on.
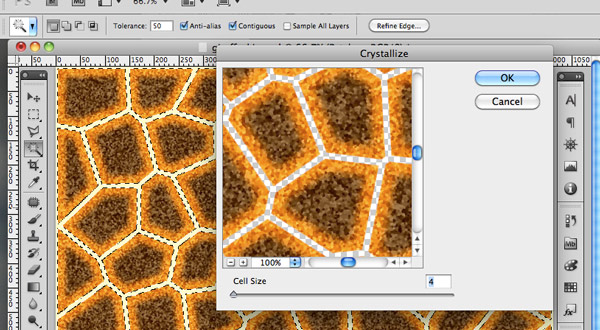
Use the Crystallize filter to coarsen the texture a little.
Filter -> Pixelate -> Crystallize
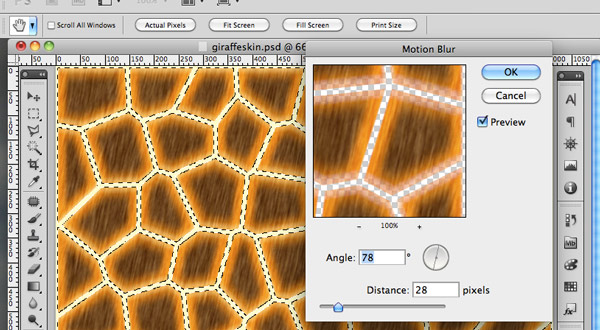
Add a fur effect with the motion blur tool.
Filter -> Blur -> Motion Blur…
That's it!
Save out the file as a .jpeg file and drop it into Illustrator. Then all that is needed is to cut it to size with a Clipping Mask
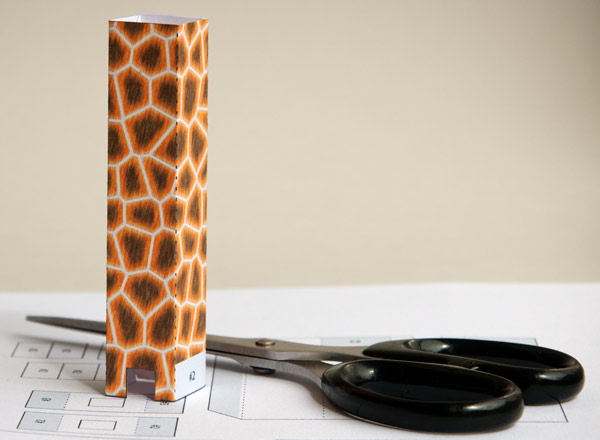
And here is the result.
I'm rather pleased with it!
Right. Off to take #1 daughter for a driving lesson. Hold on to your hats!
