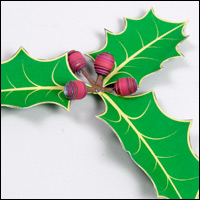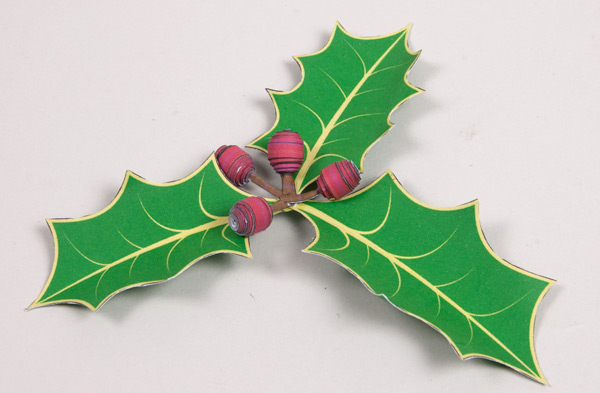
Christmas is approaching fast and I've been making some decorations for the house. I thought you might like to share these holly leaf decorations which I've made from laminated card. If you are a member you can download the parts at the link at the top of the page. Print out the two pages onto thin card (230 micron / 230 gsm)
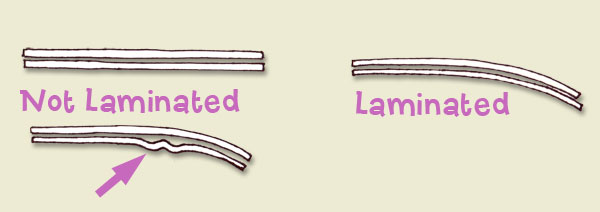
Leaves that fall from the tree aren't completely flat. To bring these paper leaves to life they need that same curved quality as the real thing. Time for a bit of laminating. The process of laminating is a way of building up a curved surface from thin flexible sheets. It is most commonly used in wood to build, for example, interesting and complex furniture but works equally well with paper and card.
In the sketch above you can see how lamination works. Glue together two layers then try to curve them and they peel apart and distort(left). By building up the layers with the glue still wet and repositionable the curve can be built into the shape. Notice that the right hand ends of the laminated piece are no longer aligned. When you are laminating you need to allow an extra bit of waste material that you can trim off later. Once the glue between the laminations is dry the curve is a permanent part of the finished form.
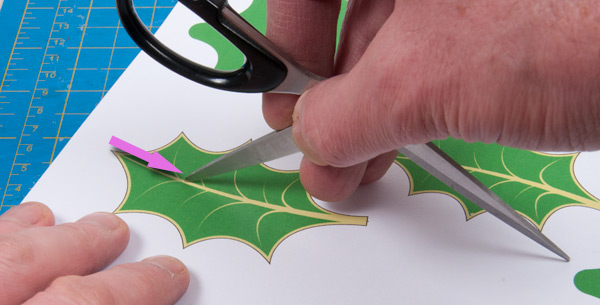
On to the holly leaf project. Score down the middle of the tops of the leaves.
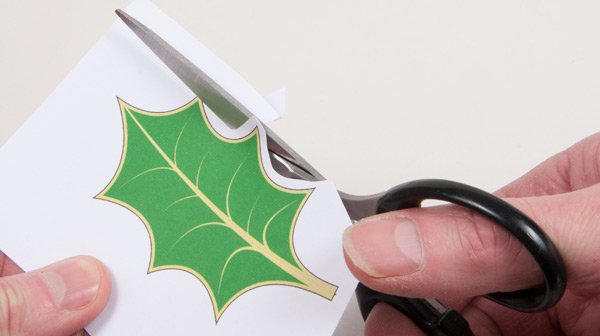
Cut out the leaf tops leaving a white border all the way round as shown above. this border allows for the misalignments caused by the lamination to be trimmed off later.
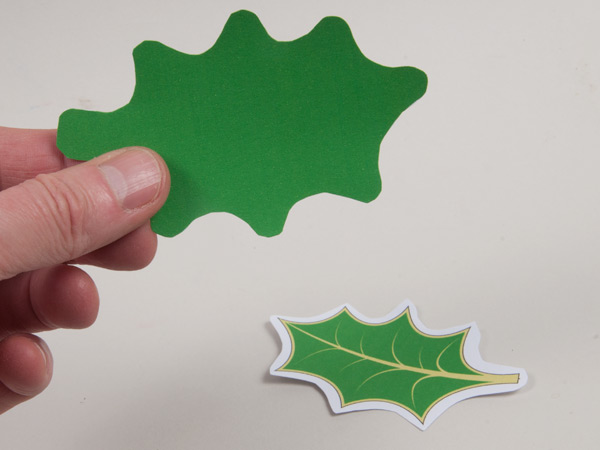
Cut out the back piece – no border this time.
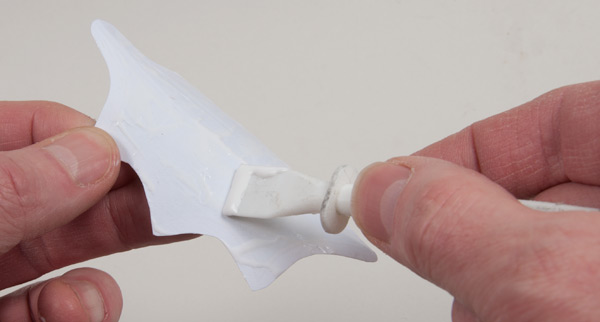
Cover the reverese of the front leaf with a thin layer of glue.
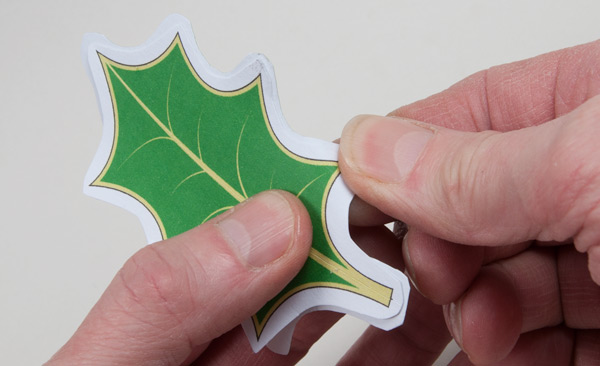
Press the front and back together. Make sure that the centre crease along the length of the leaf is in place. While the glue is still moveable gently curve the leaf points alternately up and down. This is the lamination process.
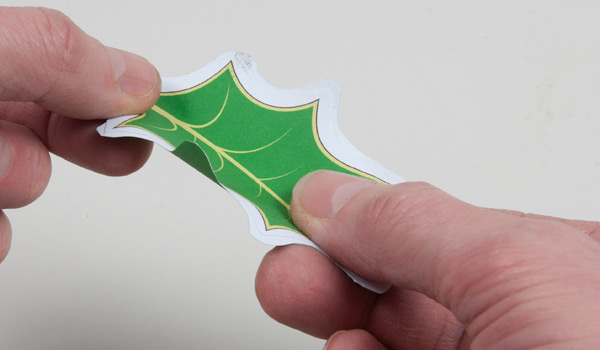
Once the glue is dry these curves will be locked into the leaf. Once you are are happy with the profile of the leaf, put it to one side to dry completely.
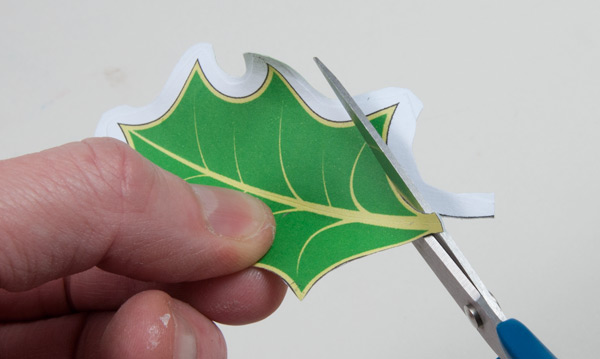
Once dry, carefully cut off the white border.
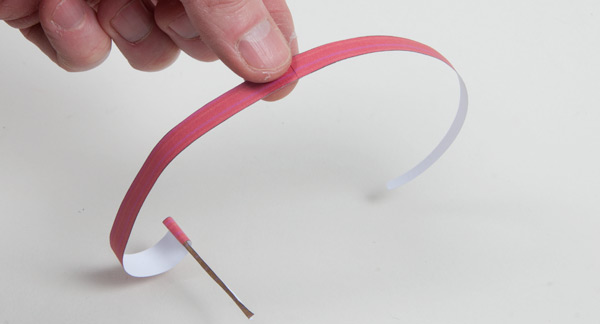
Fold the brown stalk on the berry in half along its length. Join the two parts of the berry together and gently curve the card.
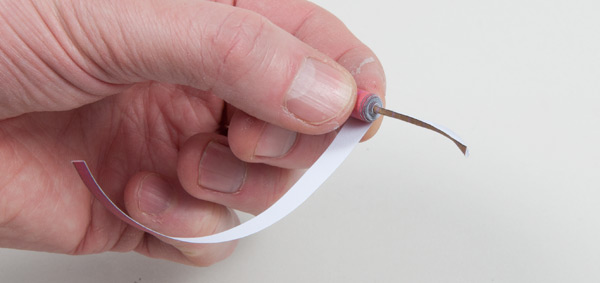
Tightly roll up the berry adding a dot of glue every so often.
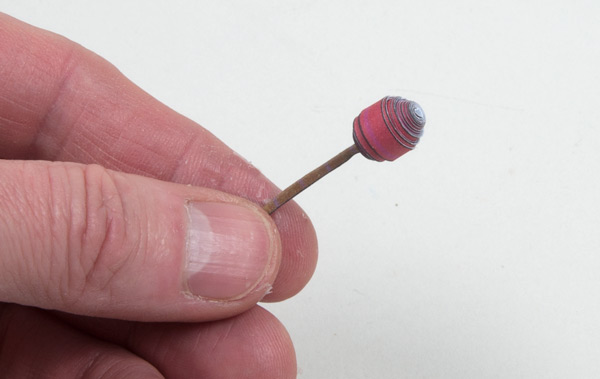
Glue the end down to complete the berry.
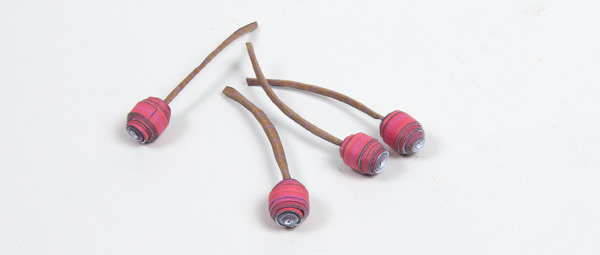
Finish off the other three berries.
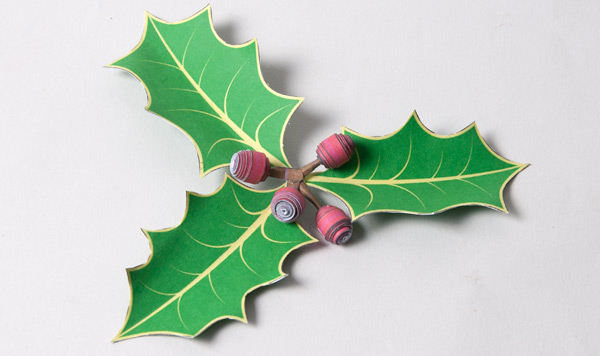
Complete the table decoration by trimming the stalks to length and gluing the parts together.
That was my 700th post! I hope you liked it! Ho ho ho.

