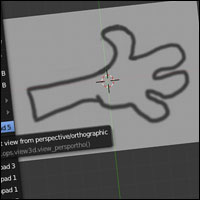
When I'm creating designs in Illustrator, the easiest way to start a design is to go back to basics and break out the pencil and paper. The same is true with the 3D program Blender. I've put together this quick tutorial, as much as anything, to remind me how to add images into the background of Blender. I hope that it is useful!
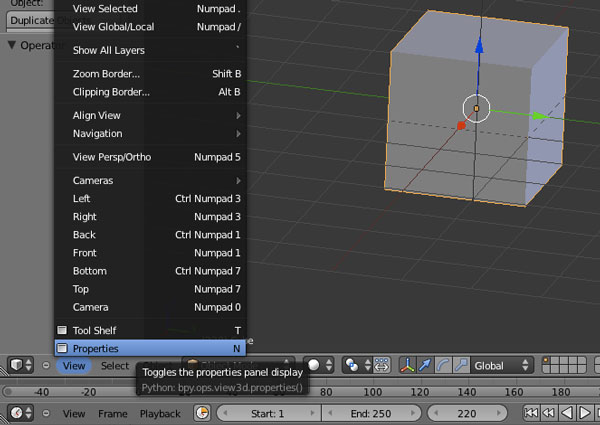
From the starting screen, click on View then on Properties.
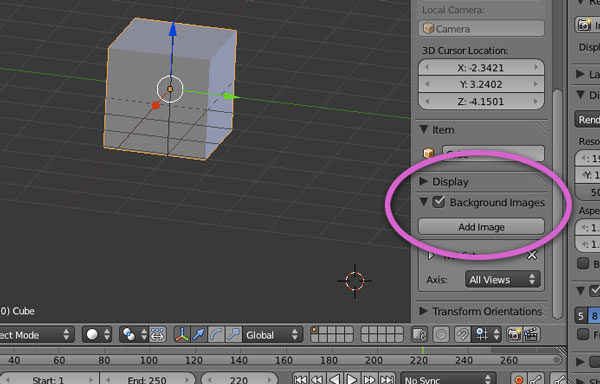
A properties window will appear on the right-hand side of the editing window. Scroll down until you find Background Images. Tick the check box and click on Add Image. (Make sure you tick the box – it is easy to miss this step)
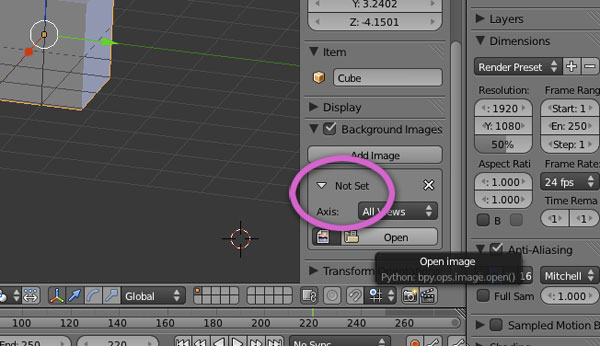
Click the triangle to the left of Not Set.
Further options will now appear.
Click on Open
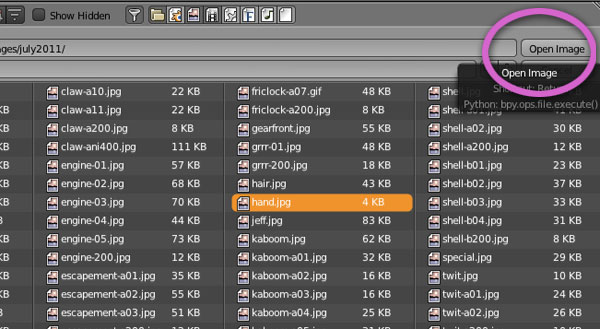
Choose your background file. You can use .jpg .gif or .png files.
Click on Open Image
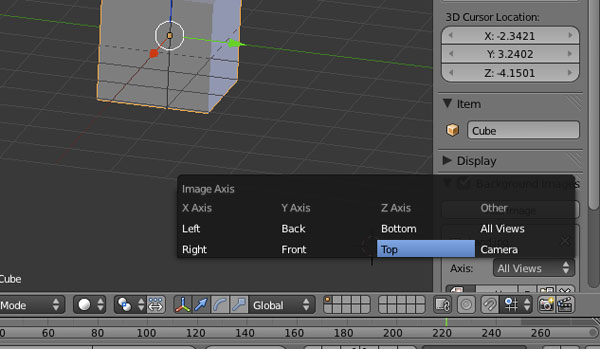
The image file is only visible when you are looking exactly along one of the axis.
Click on All Views to choose which axis will display the image. In this case I have chosen Top.
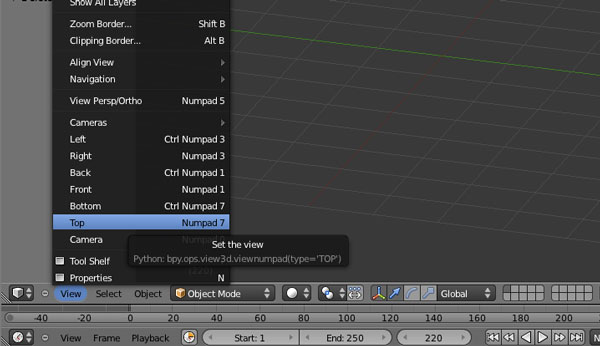
Back in the main editing window click on View again and then on the axis that you chose in the previous step, in this case, Top.
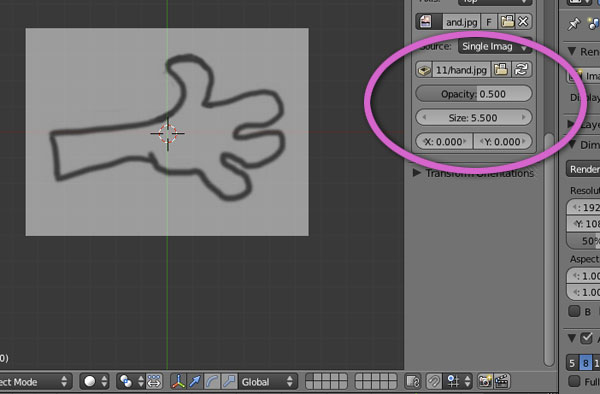
The file should then appear in the main window. You can use the circled controls to change the properties of the of the image to suit your needs making it bigger or smaller or moving it side to side ot up or down.
If the image doesn't appear, make sure that you are looking the right direction, if it is still not visible click View -> View Persp/Ortho. Background images only work in Orthographic mode.

