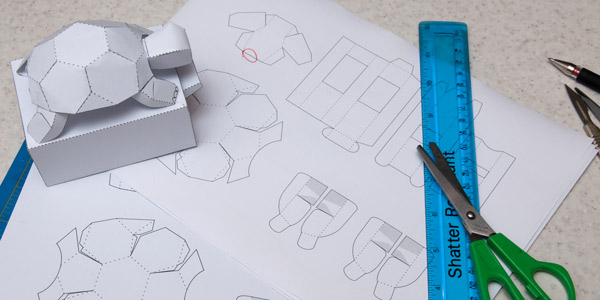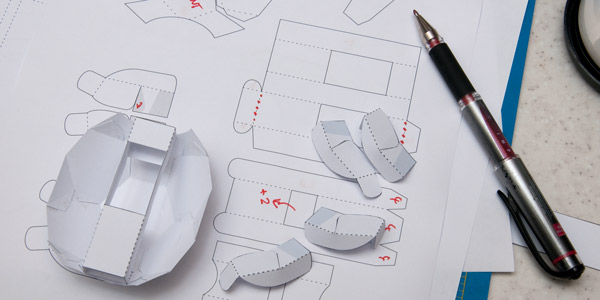
The prototype model is complete and the parts have been layed out on the computer. Now to make it repeatable. To help with constuction, I add add numbers to various tabs. For numbering, I print out two copies, one on paper., one on card. The card is used to make a new model, I cut out all the parts and glue them together. As I make the model, I write down what connects to what on the paper plan.

I also mark out any small changes that I think need to be made as I go along. In the picture above the arrow and the ‘+2’ remind me to move the rectangle left by 2mm.

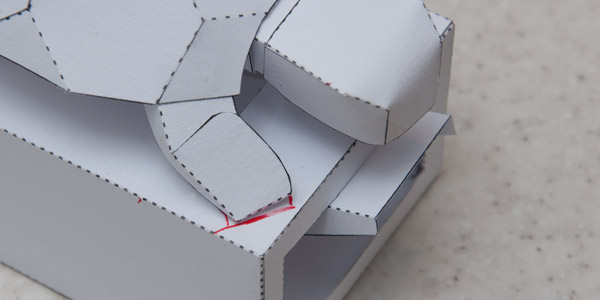
Some of the parts aren’t lined up with existing parts. For example, the feet glue to the top of the box at a slight angle. To mark out where the glue area goes I assemble the model, draw round the feet then pull the model apart. Sometimes at this stage I’ll measure up where the parts are placed but with this model I put the marked up box top into the scanner.

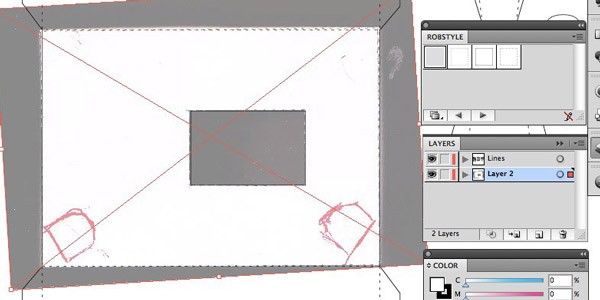
I import the resulting picture into Illustrator, line it up with the box top outline and trace round the red lines showing where the feet go.
Once the model is fully numbered it is time to add some colour.

