£5.00
Chameleon
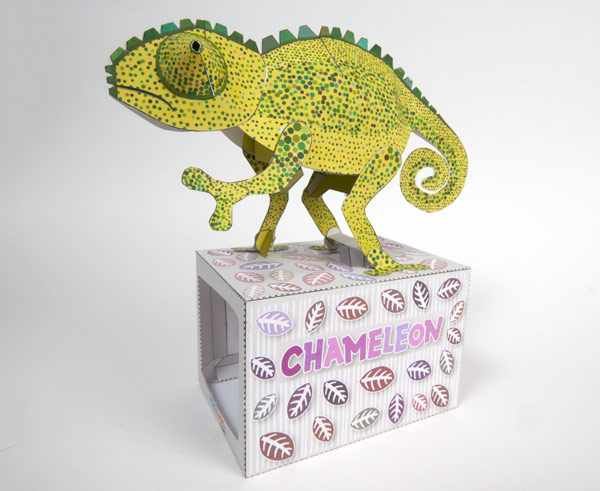
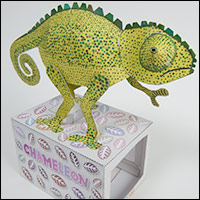
Chameleon with pendulum power! Tab the box and the chameleon rocks back and forth just like the real thing.
Members can download the file from the link. Non members can download it for £2.50.
There are five sheets for this model, the first four should be printed onto thin card (230 micron 67lb). The final sheet, which has only one item, should be printed onto standard printer paper. There are two version in the file, one in full colour, one with outlines only.

Score along the dotted and dashed lines and cut out the holes before carefully cutting out the pieces.
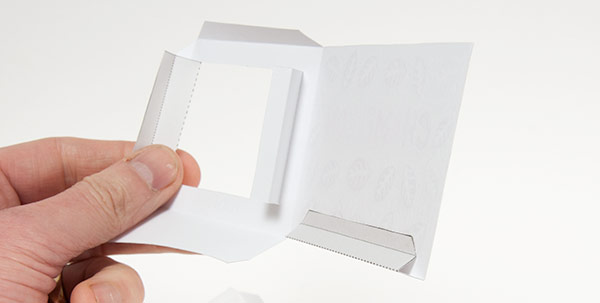
Fold up the two flaps to make right angled triangle tube sections as shown.
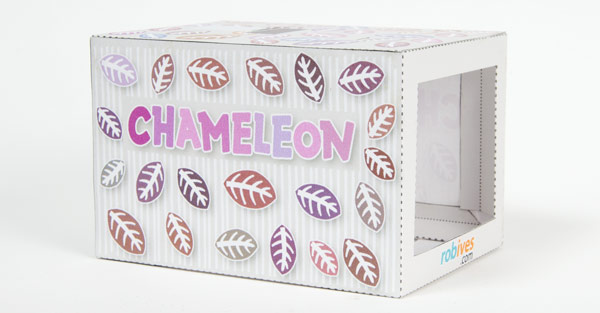
Glue the two box sections together and fit the lid into place. Fold the flaps front and back inside the box and glue them to the sides of the box.
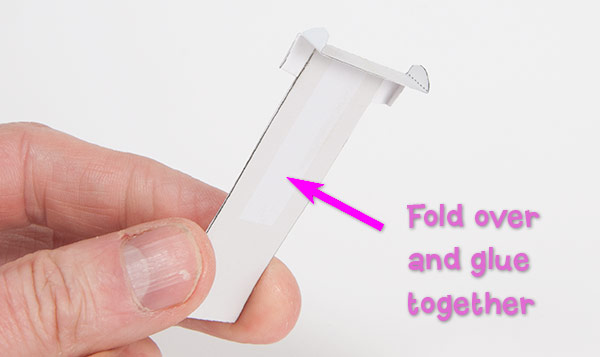
Fold the pendulum in half and glue it together to make double thickness card. Fold the top over to ninety degrees.

Add the stiffener to the front and the paper hinge to the back. Try not to get glue on the crease on the hinge.
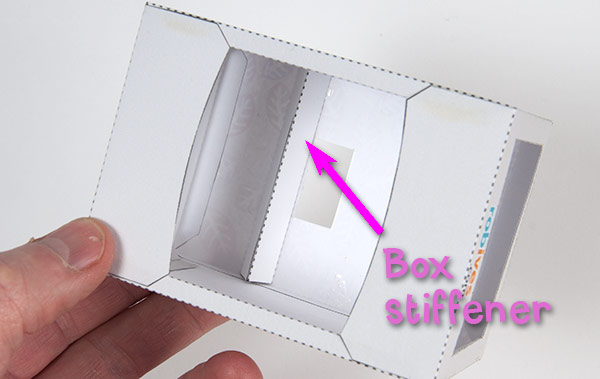
Assemble the box top stiffener. Glue it to the underside of the lid so that it is lined up with the back of the larger hole.
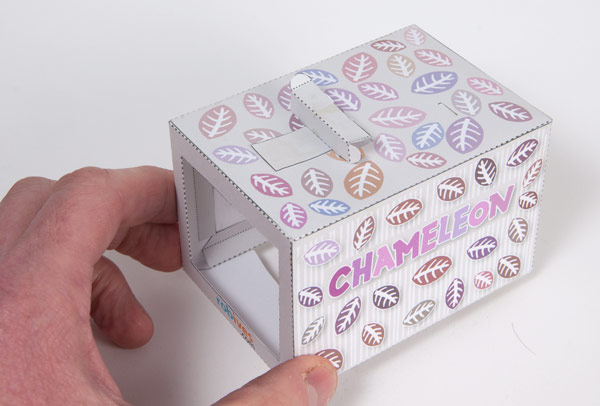
Drop the pendulum into the hole and glue the hinge to the grey area on the box top.
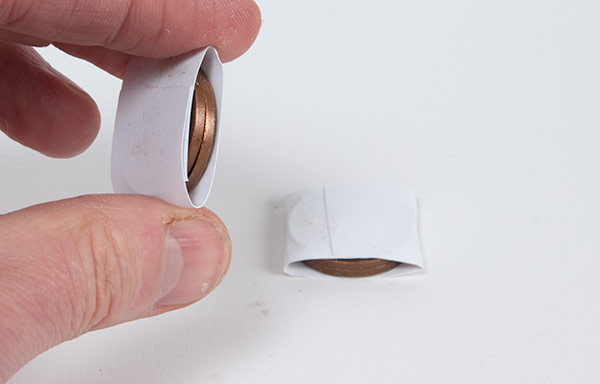
With some card off cuts make up two coin packs. I used 2 UK 2p coins in each pack. Each coin weighs approx 7 grams
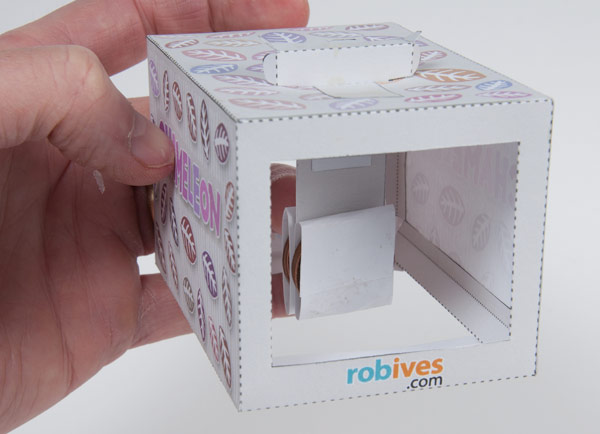
Glue the coins to the front and back of the pendulum.
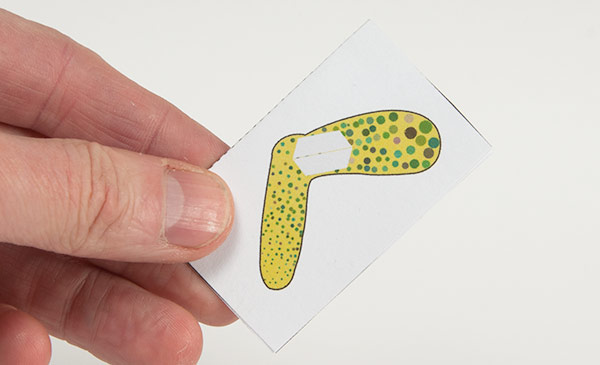
Fold up and glue all the legs to make double thickness card. Once the glue is dry carefully cut them out.

Fold round and glue down the leg supports making a triangular section.
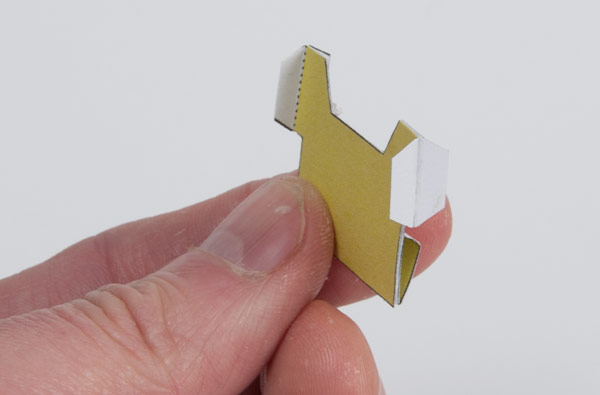
Glue the matching piece onto the back. Fold the tabs front and back as shown.
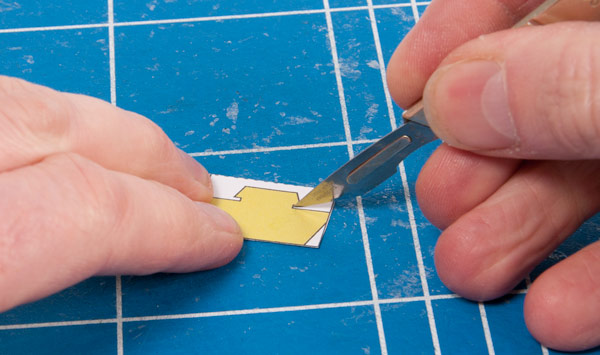
Fold the tabs in half and carefully cut out the double thickness card.
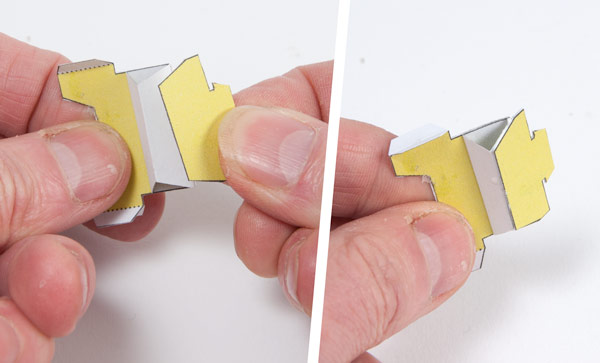
Glue the tabs to the leg supports as shown.
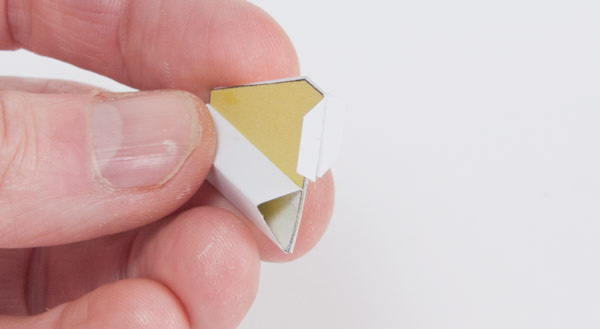
This is the front leg support.
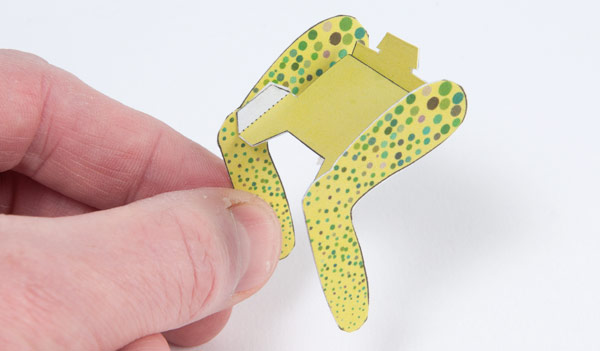
Glue the two back legs into place using the grey areas for alignment.
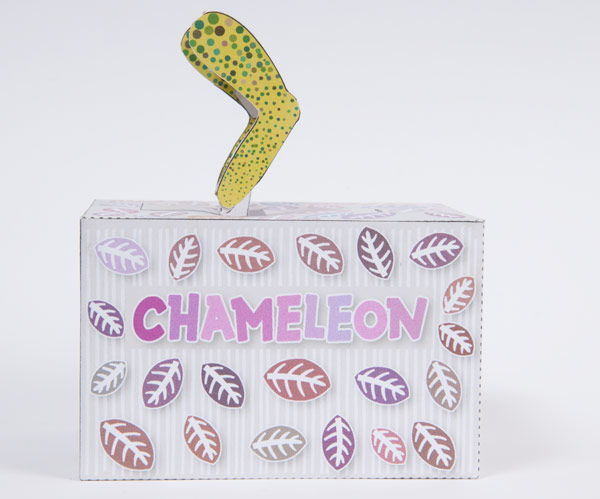
Glue the leg to the pendulum. Notice that the end of the leg doesn’t touch the box top. Notice also that the top of the leg is lined up vertically with a point behind the hinge so that the legs as a whole are tilted back slightly.
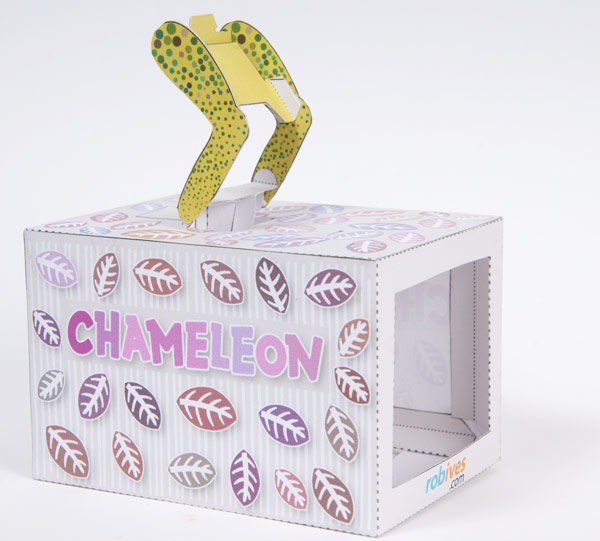
The legs should look like this.
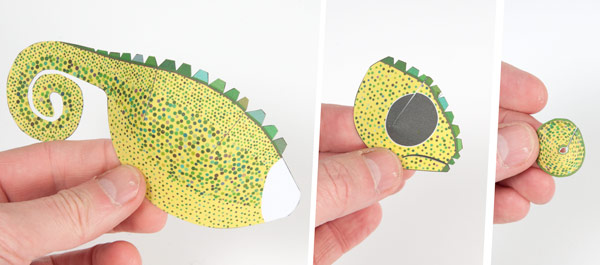
Glue together the tabs on the body head and eyes.
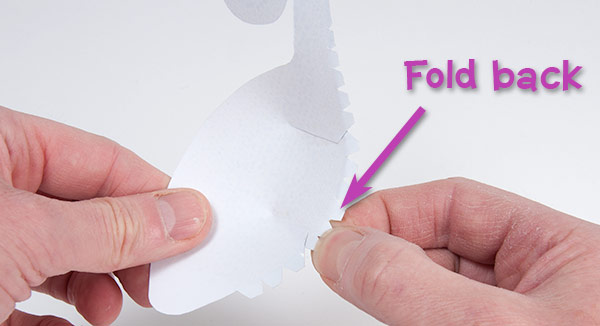
Slightly fold back each of the ridge pieces on the back and the head.
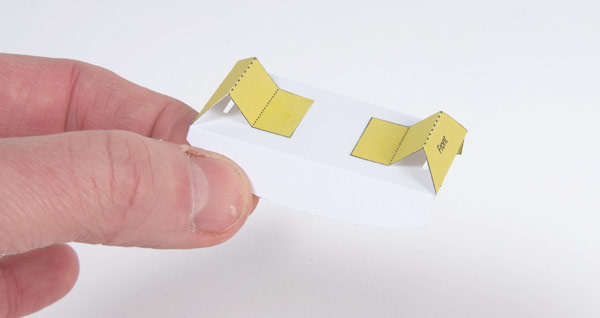
Assemble the body inner.
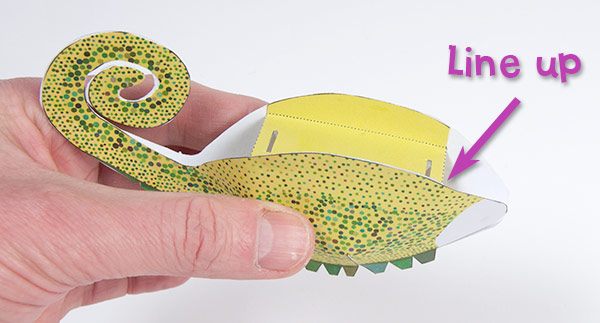
Glue the body together at the ridge pieces and the tail.
Glue the body inner into place lining up the front with the small black mark on the body.
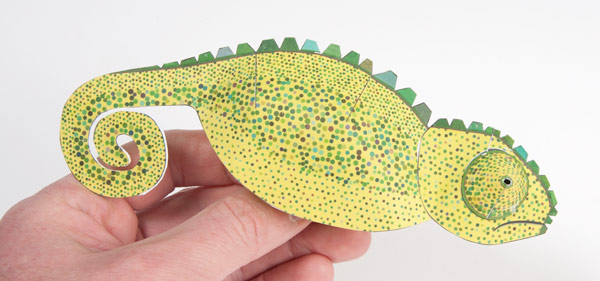
Glue the head to the grey area on the body and the eyes to the head.
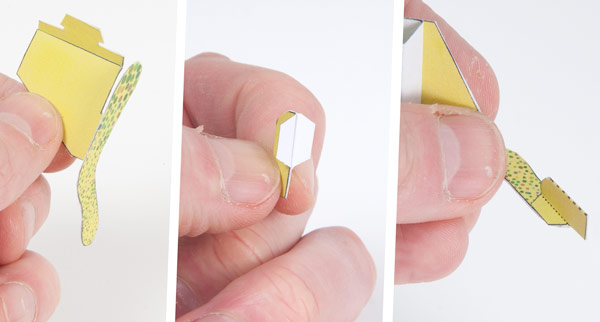
Glue the front leg to the leg support, use the picture to help with orientation. The top of the leg lines up with the top of the tab.
Fold up the foot piece as shown in the centre picture and glue it to the end of the leg so that the tabs are flush with the leg end.
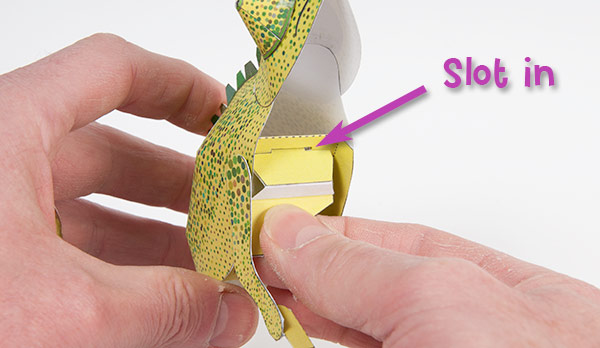
Slot the front leg into place.
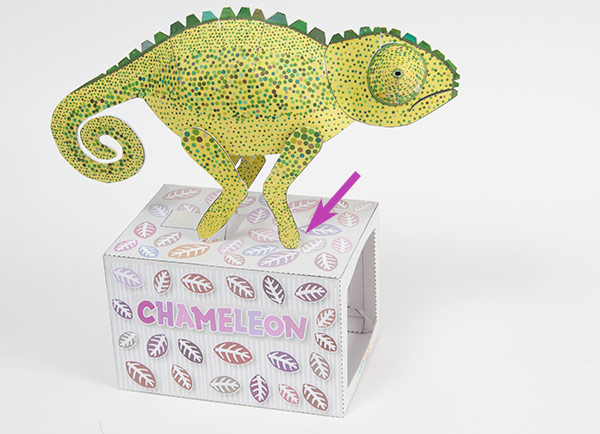
Slot the body onto the rear legs and slot the front leg tab into the hole in the box top arrowed.
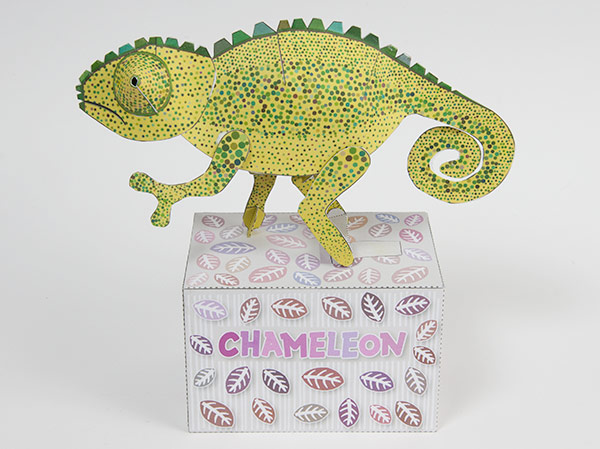
Glue the other front leg to the body
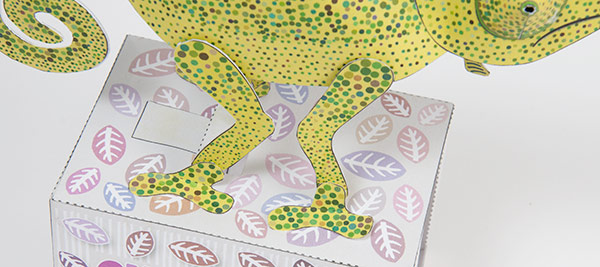
Glue the feet to the box top. The vertical sections should be as close to the legs as possible without actually touching them.
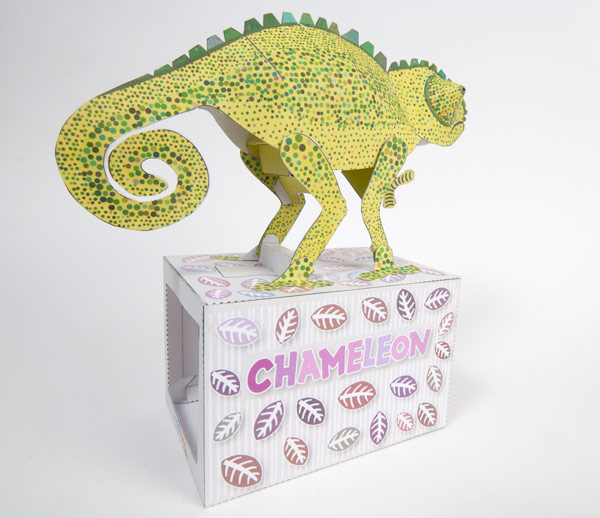
Done! Tap the box or move it slightly and your chameleon will come to life!

