£5.00
Flip Face Rack and Pinion
Categories flip face, project, rack and pinion
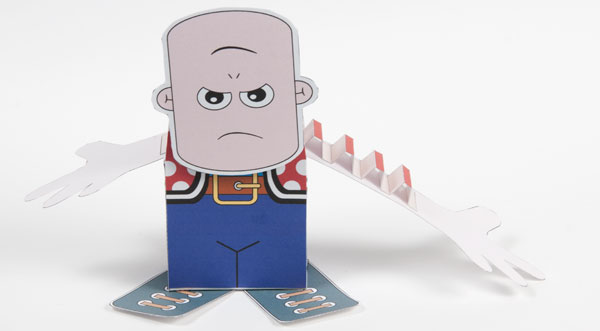
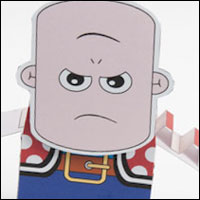
Flip Face! Pull one hand for a happy face, the other way for a sad face. Members can download and make this rack and pinion powered model at the link. Non-members can download the parts for £2.50ukp

Print out the parts onto thin card (230 micron) Score along the dotted lines and cut along the solid lines before carefully cutting the parts out.
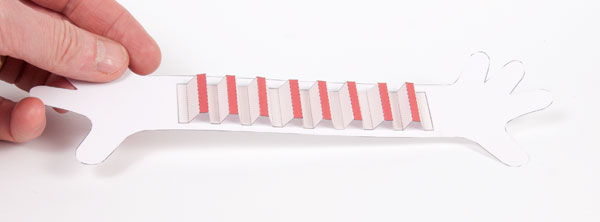
The teeth of the rack fit to the arm lining up with the grey areas. The red blocks are at the top of the teeth. Be as accurate as possible gluing the teeth to the arms.
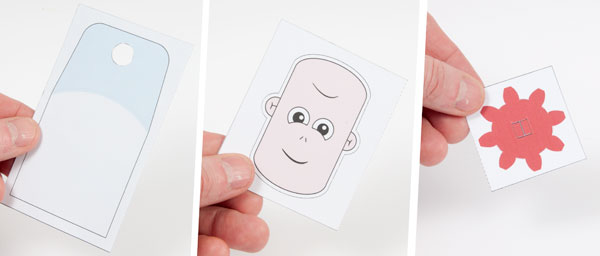
Fold over and glue together the body front and back, the head and the pinion to make double thickness card.
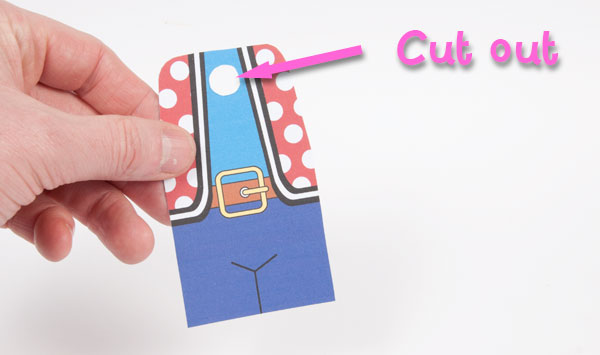
Once the glue is dry carefully cut out the body front and back including the axle hole.
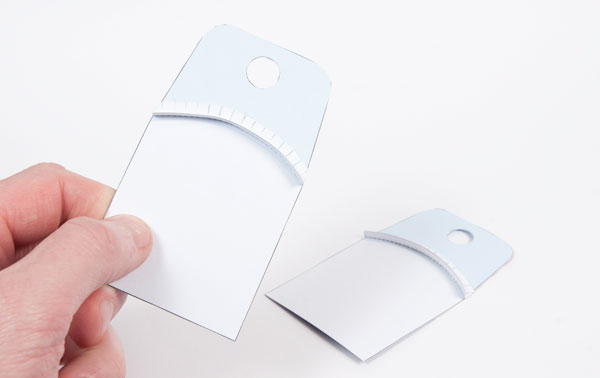
Glue the guides carefully to the curved grey line on the back of the body parts.
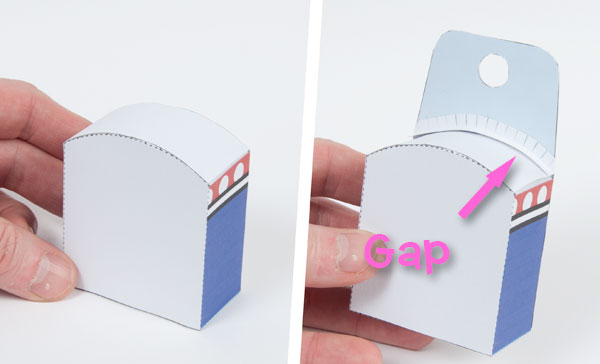
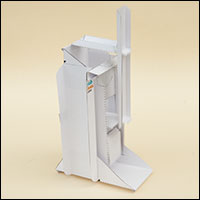
Assemble the two parts of the box as shown left then glue the body back to the back of the box leaving a small 1mm gap between the box and the guide.
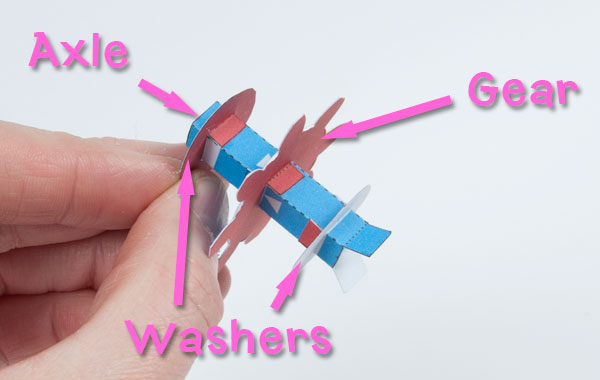
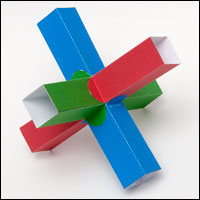
Assemble the four parts of the pinion as shown. Note that the tabs on the washers are facing inwards towards the centre.
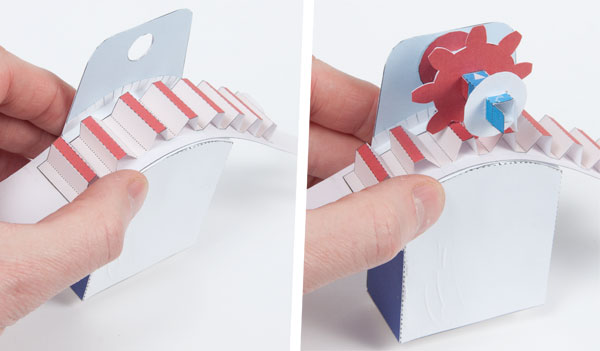
Fit the arm under the guide.
Slot the pinion into the axle hole with the two tabs facing forwards..
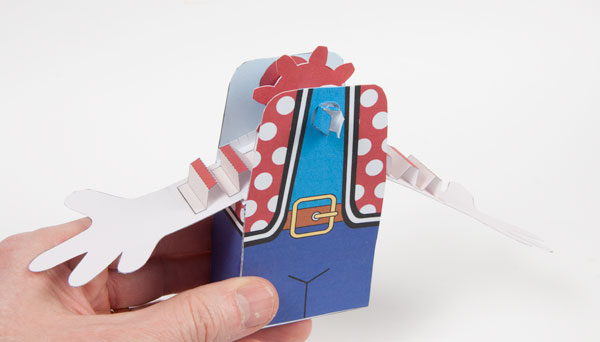
Glue the front into place so that the guide holds the arms into place but doesn’t stop them moving.
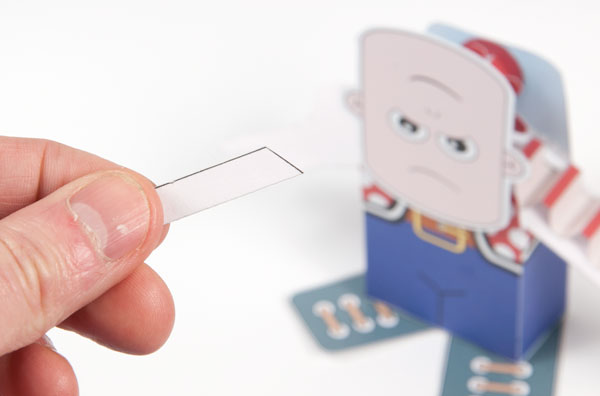
Cut out the double thickness face and glue it to the tabs on the axle so that is is vertical when one of the hands is pulled through almost as far as it will go. Use the grey circle of alignment.
Fold over and glue together the two end stops to make double thickness card.
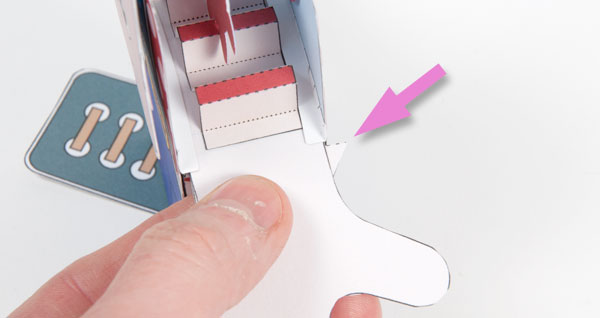
With the head in its vertical position, glue one of the end stops into place so that it is just touching the body. Pull the arm through to the other end so that the head is in the other vertical position and glue the second end stop into place. Let the glue dry completely.
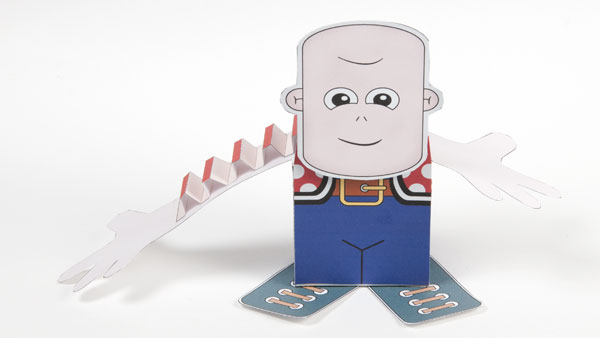
Done.
Pull one arm for happy 🙂 one for sad 🙁

