£0.00
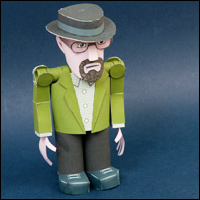
Heisenberg
Categories breaking bad, character, free, heisenberg, highlight, mr white, poseable
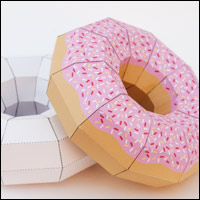
Heisenberg. Poseable paper character from the TV series Breaking Bad

The head on the paper character moves up and down and side to side. The arms move with two degrees of freedom.

This project is free to download. Print out the parts on thin card. (230 microns, 67 lb) Notice that the fifth sheet is printed on both sides. Print out the front, flip the card and return it to your printer then print the back. Score all the dotted and dashed lines and cut out the holes before carefully cutting out the pieces.
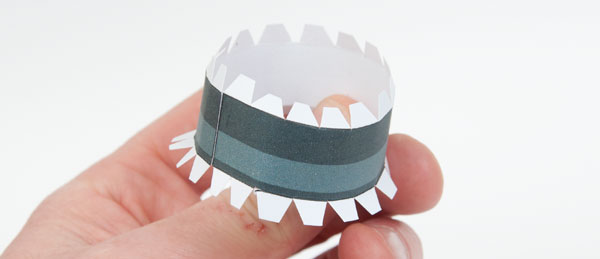
Roll round and glue together the hat side.
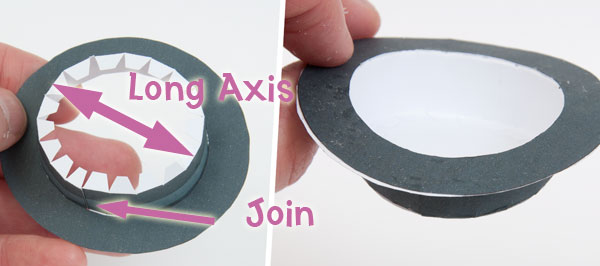
Fit the side into the hat rim with the join at the side as shown.
Glue the second rim into place then glue on the hat top.
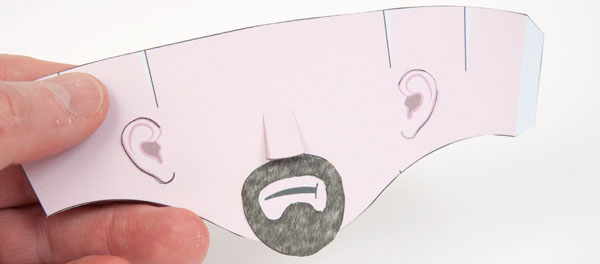
Glue the nose to the grey area.
Glue the beard to the grey area.
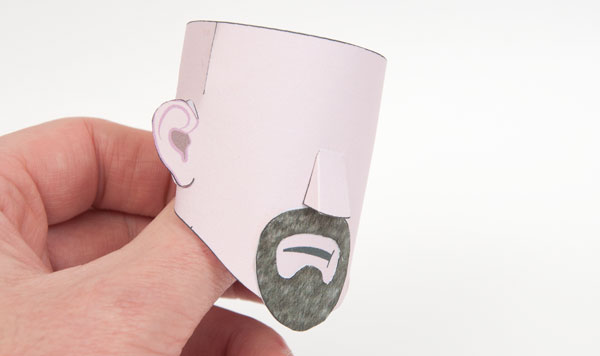
Let the glue on the nose dry completely then fold round and glue the head together. Glue in the darts at the top of the head to complete the head’s shaping.
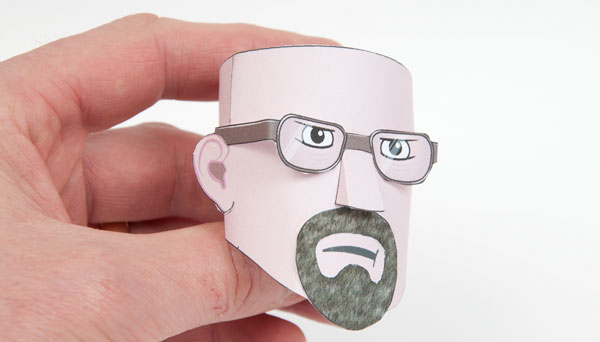
Glue the glasses to the bridge of the nose and then the ears.
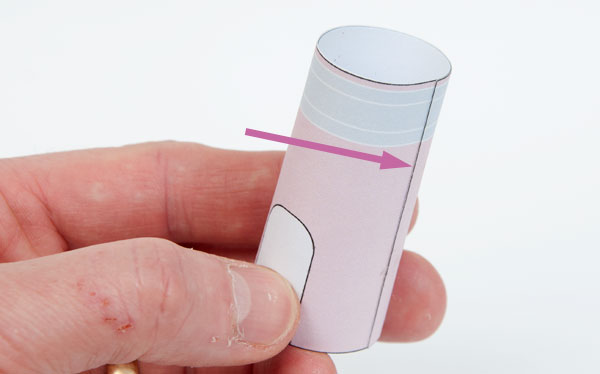
Roll round and glue together the neck so that it lines up with the edge of the coloured area, arrowed.
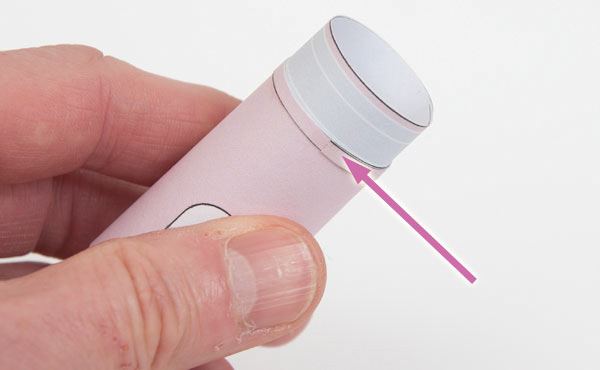
Glue the lower ring strip into place.
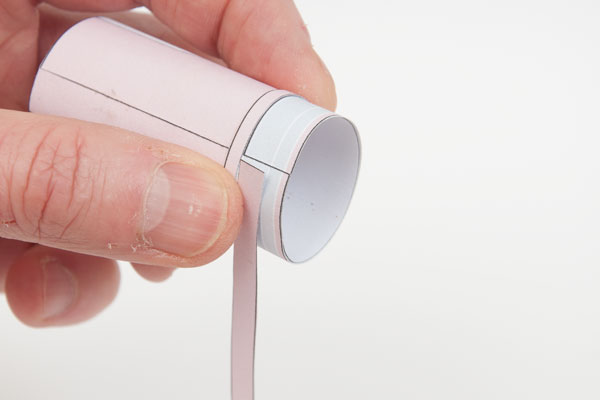
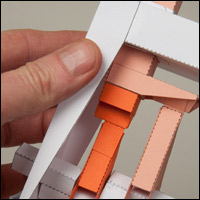
Starting with the wider ring strip so that the end is lined up with the step in the neck tube, roll it around the neck and glue it to itself. The ring needs to be free to turn.
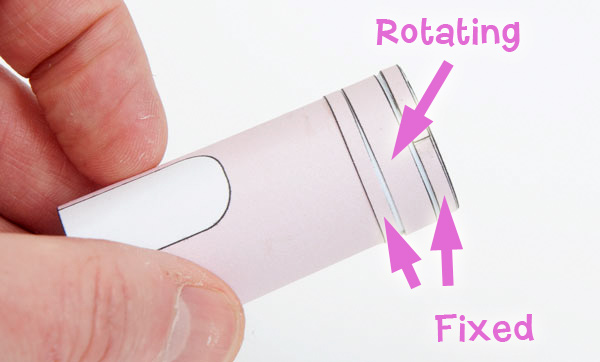
Glue the final ring into place trapping the rotating ring on the neck.
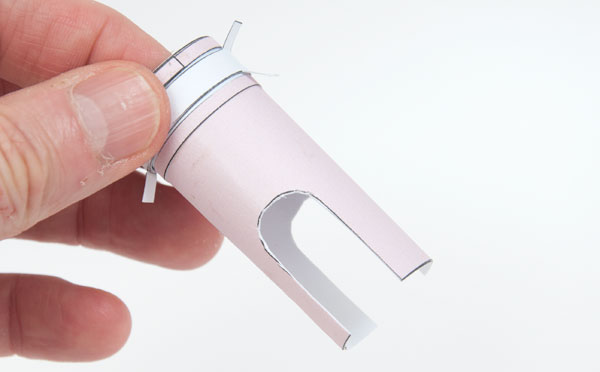
Cut out the two ‘U’ shaped holes.
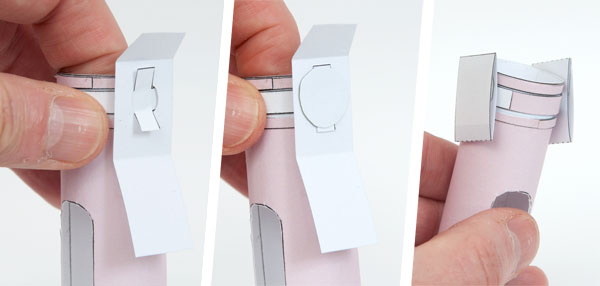
Fit the head holder pieces to the tabs as shown so that they are free to rotate.
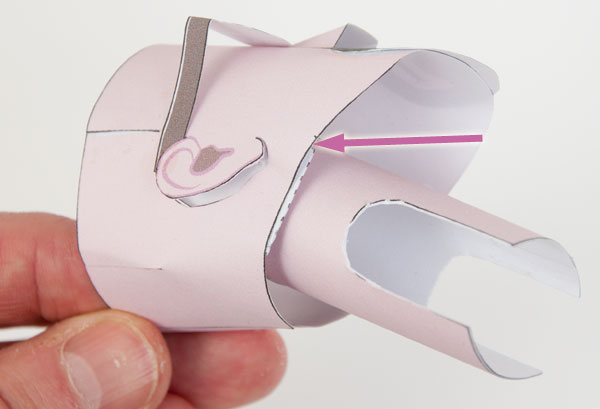
Fit the head over the neck. Glue the head to the head holders lining up the edge with the shot black lines on the head.
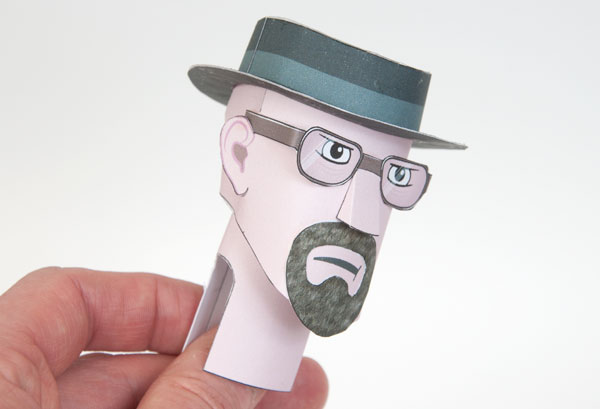
Glue the hat into place.

Fold over and glue down the arm ends to that the card is double thickness.
Once the glue is dry, cut out the hole and the outline of the shoulder ends.
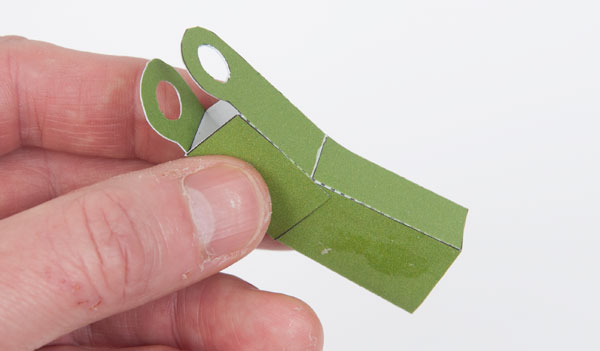
Fold up and glue the arms. Fold the elbow joint and glue it together.
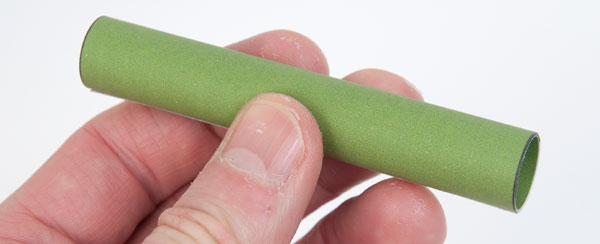
Roll round and glue together the shoulder tube.
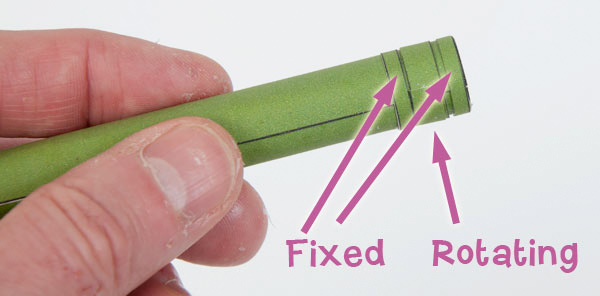
Fix the three rings into place at each end of the arm in the same way as you constructed the neck joint.
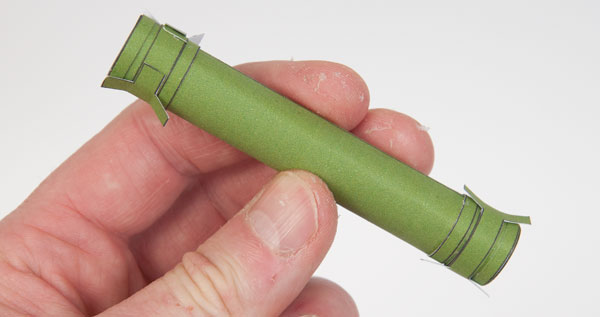
Glue the tab pieces onto the rotating rings.
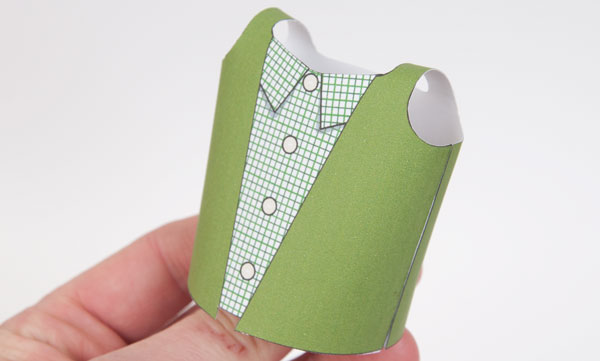
Glue together the body.
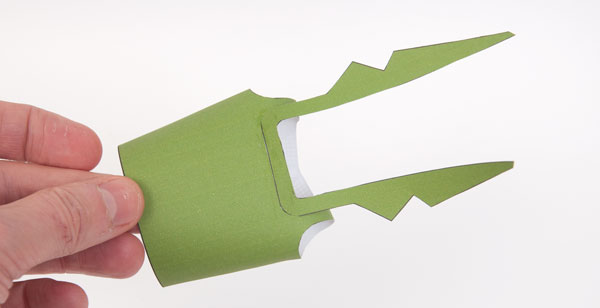
Line up the lapels with the edge of the back of the neck hole.
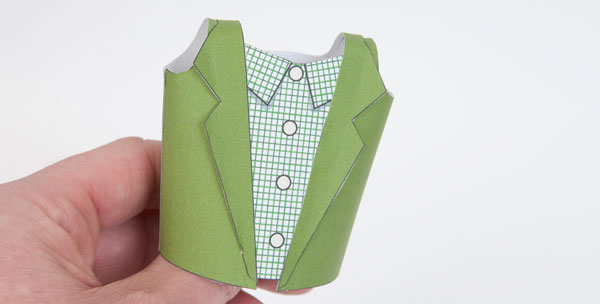
Glue the inside edge of the lapels to the body. Lift the edge of the lapel slightly with a pair of tweezers.
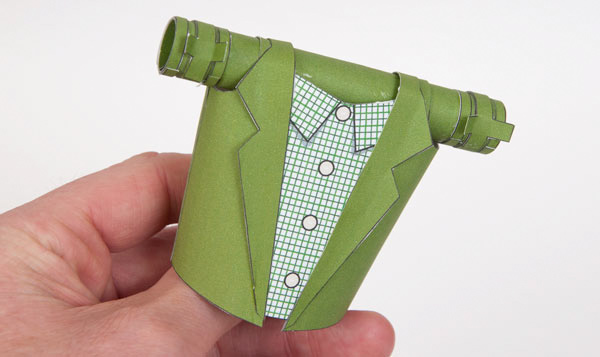
Thread the shoulders into the body then glue the shoulder strap to the shoulder tube.
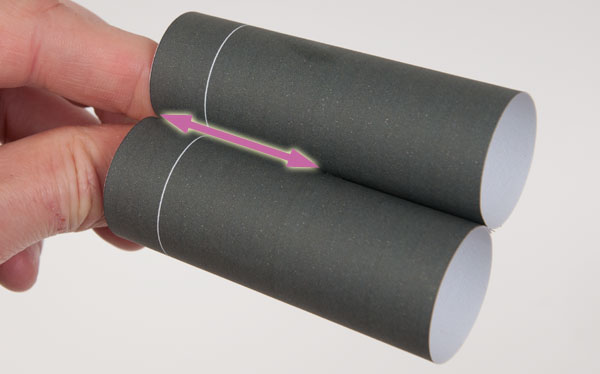
Roll round and glue together the legs.
Glue together the top half of the legs.
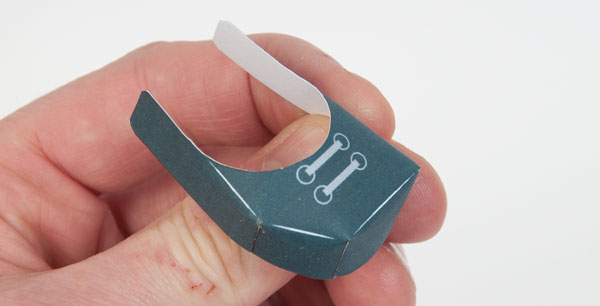
Curve the shoes along each of the tapered lines. Glue together the shoes.
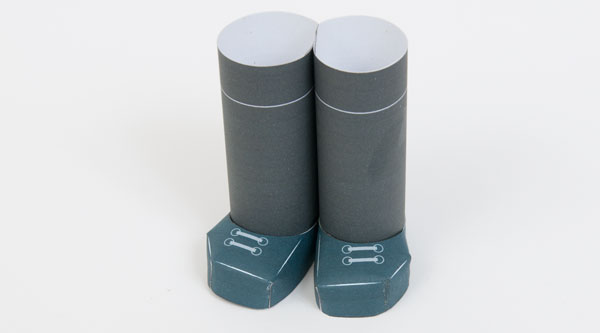
Glue the feet to the legs.
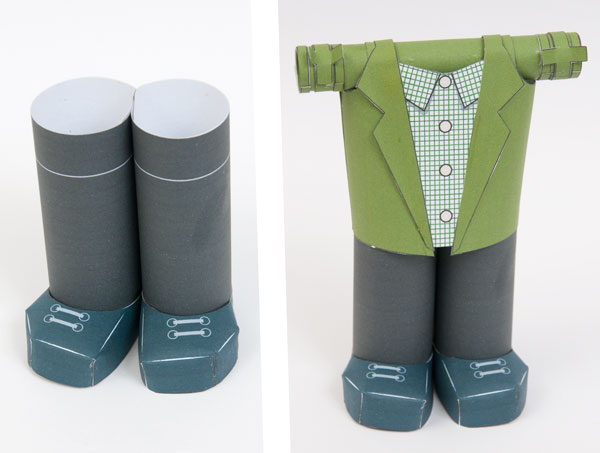
Glue the legs to the completed body so that the white line is just inside the body.
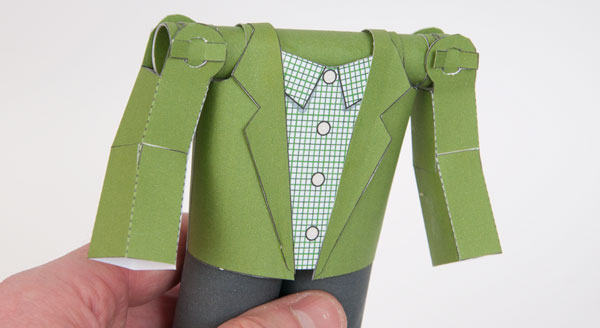
Fit the arms over the tabs on the shoulders
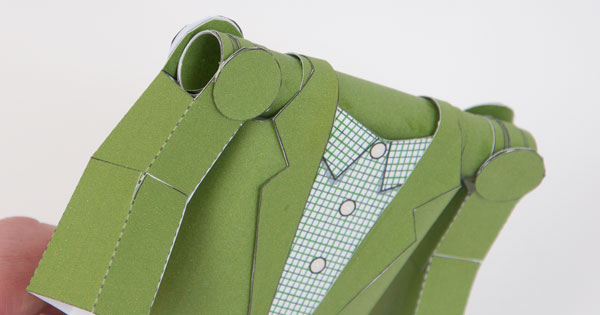
Secure the tabs with the washers so that the arms are still free to move.
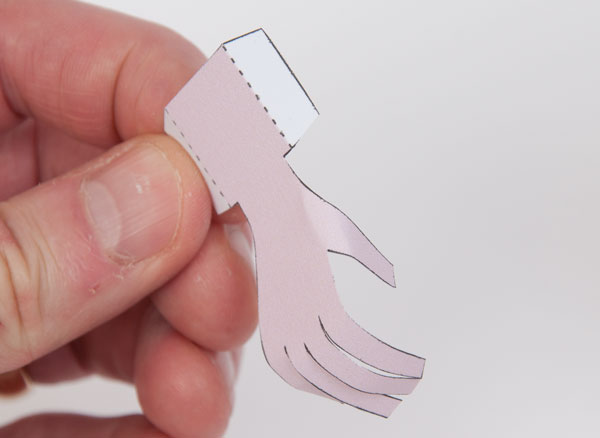
Shape the hands by curving them gently.
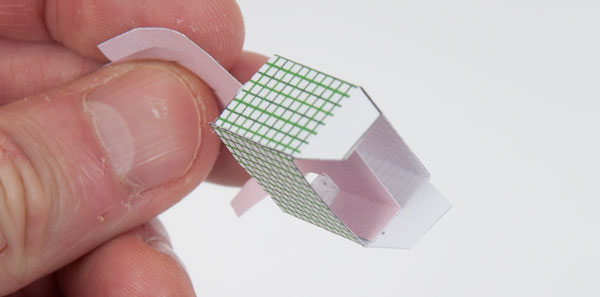
Fit the arms into the sleeves.
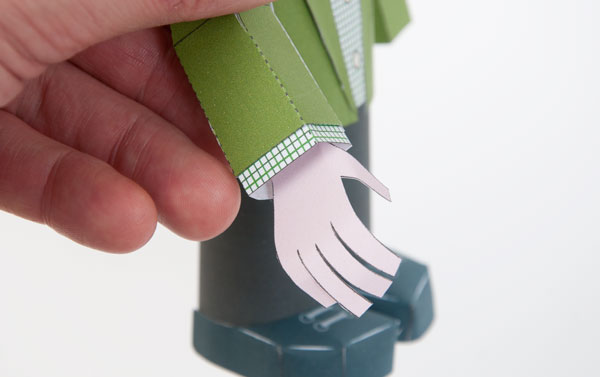
Fit the arms into the sleeves.
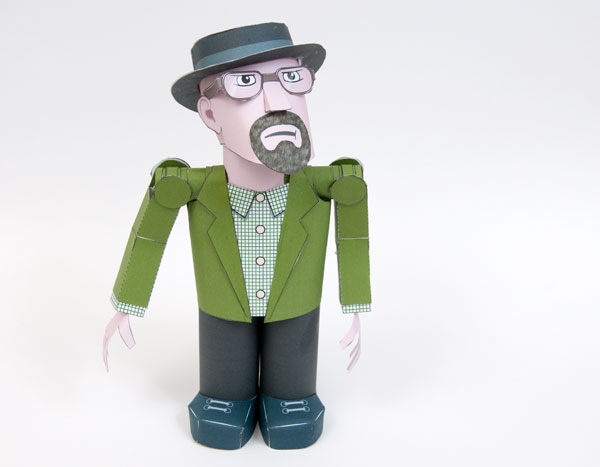
That completes the model. Wait for the glue to dry completely before the trying out the posing.


