£5.00
Nodding Cow
>> Check out the mkII cow here! <<
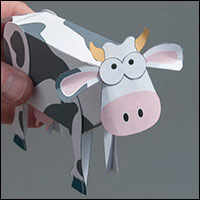
A pendulum powered nodding cow for you to download, print out and make. Members can download this project for free, non-members can download the file for £2.50 at the link above.

The file comes with three variations. A line only cow for you to colour, a holstein type cow, shown in these instructions and a Jersey cow. Notice that the second sheet of the two colored cows has both a a front and a back. Print out one side, flip the card over and return it to the printer to print the other side.
Print the sheets onto thin card. (230 micron / 67lb) Score along the dotted and dashed lines then carefully cut out the pieces. This project doesn’t need a sharp knife so may be particularly suited to younger people.
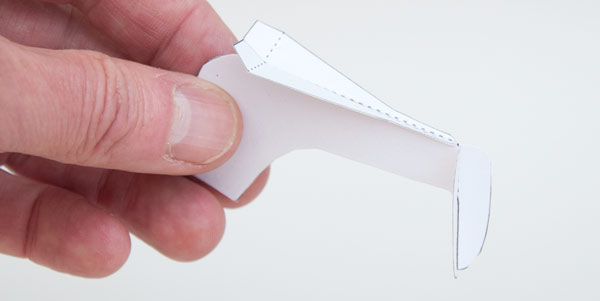
Glue the two neck pieces face to face. Make sure you only glue the body of the part together, not the tabs.
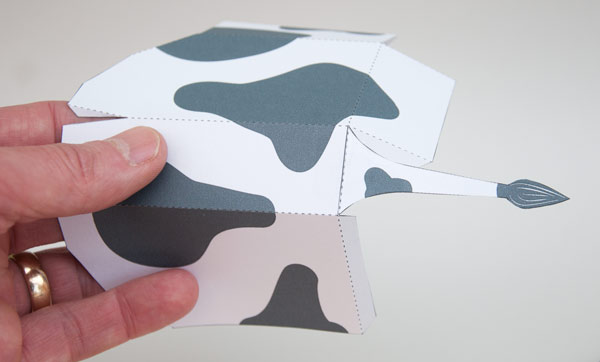
Glue the tail into place on the top back of the body.
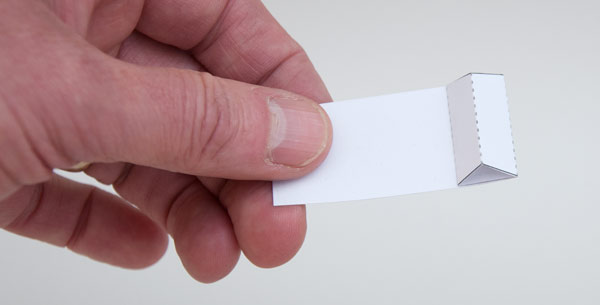
Fold up and glue together the neck hanger.
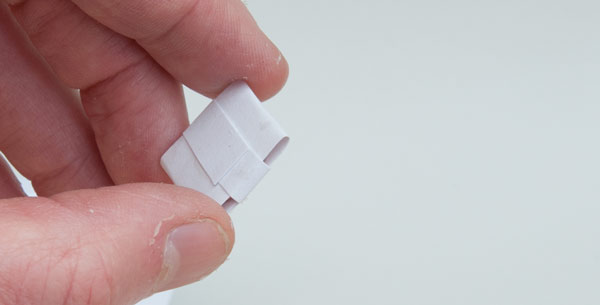
Make two parcels from offcuts of card wrapped round a 20mm, 4 gram coin. I used a UK one pence piece for each parcel.
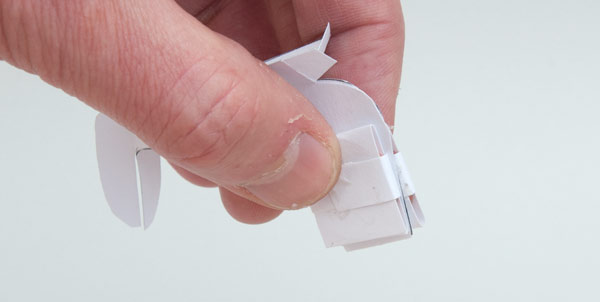
Glue the coin parcels to the end of the neck pendulum. One on each side. It is a little easier to see where the coins fit in the next picture.
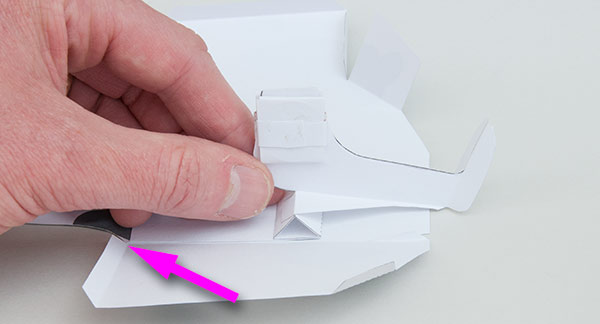
Glue the neck hanger to the inside top of the body so that the long end is lined up with the end of the body. (Arrowed)
Glue the neck to the neck hanger as shown above.
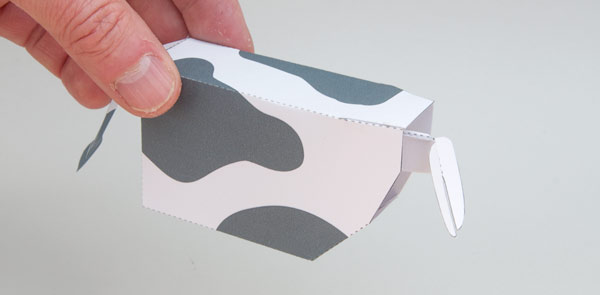
Wrap the body round and glue it together so that the neck sticks out of the end.
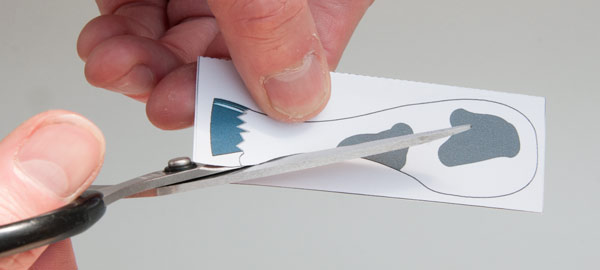
Fold over the four legs and glue them together to make double thickness card. Once the glue is dry carefully cut out the legs.
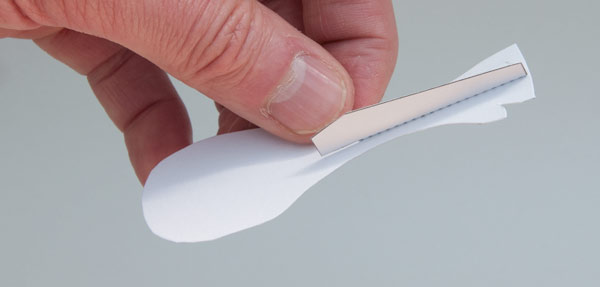
Glue the leg stiffeners into place on the backs of the legs. Notice the leg stiffener for the front legs is the one with two crease lines. The stiffener for the back legs has only a single crease.
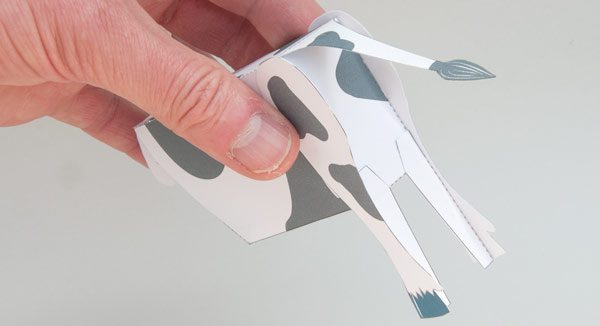
Glue the back legs into place making sure that they are lined up with each other and vertical. Notice that the top of the legs stick up a couple of millimeters above the top of the body.
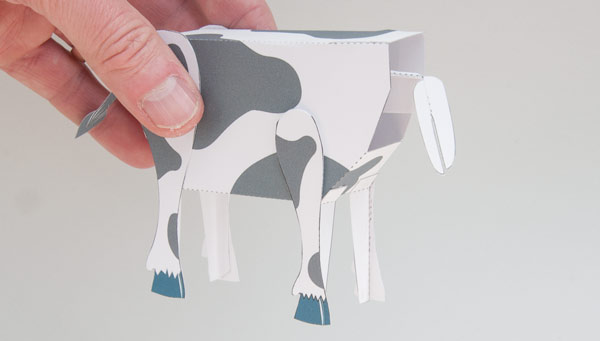
Glue the front legs to the body. Stand the cow on a flat surface before the glue is dry and make sure that the legs are level.
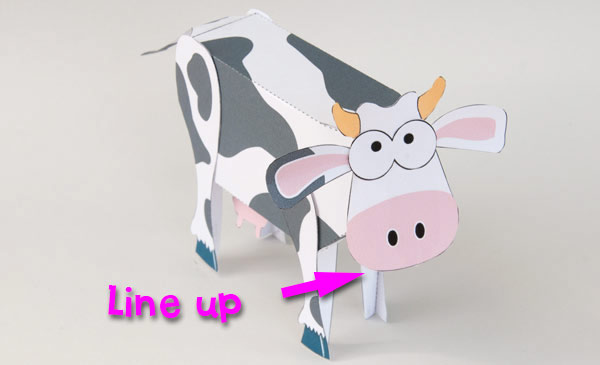
Finish off the model by gluing the head to the tabs on the front of the neck piece. Line up the bottom of the chin with the end of the tabs in the position arrowed.
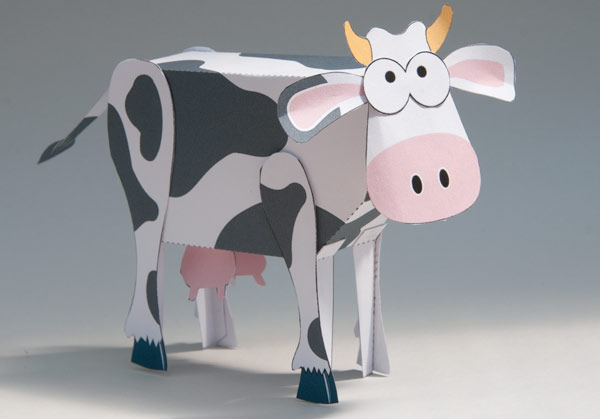
Once the glue is dry moving the model, however slightly, will set the head nodding. Moo!

