£5.00
Paper Hen
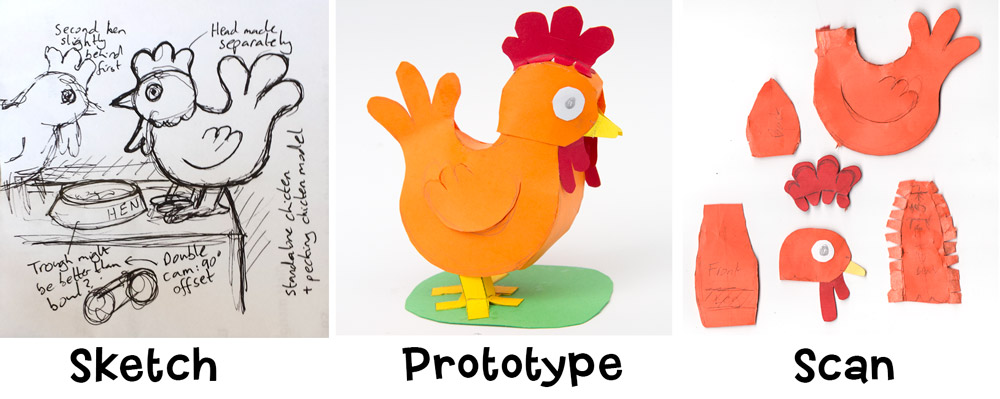
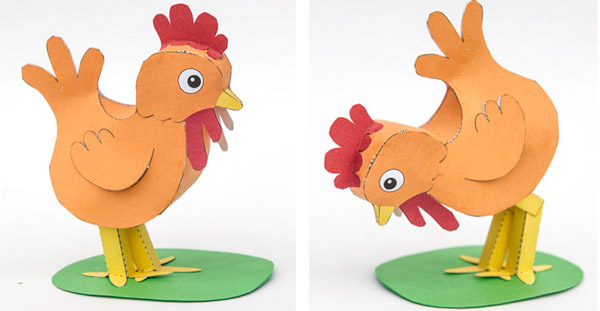
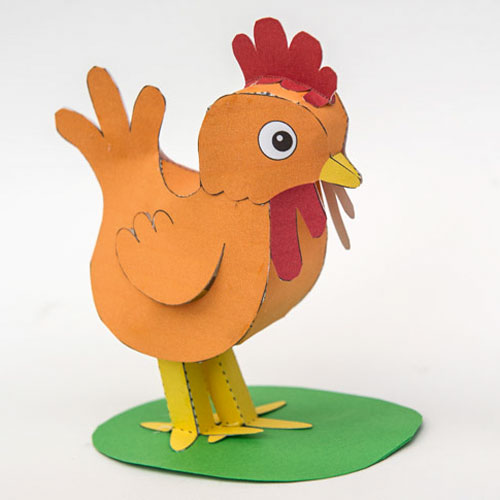
The Paper Hen is the first part in a two part project. First project, make a Hen, second bring it to life!
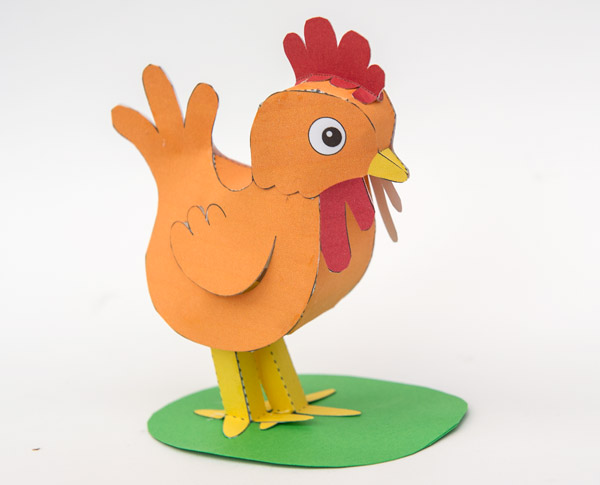
Project 1: The Paper Hen makes a delightful stand-alone project which looks great on mantelpiece or next to your computer. You can also use it as part of your own automata designs. Try mashing up the Hen with one of the many Essential Mechanisms.
Members and Patrons and download the parts for free, non-members can join in the fun for £2.00.
Print out the parts onto thin card (230micron/67lb). Sheet 1 has all the parts for the Hen, Sheet 2 is a grassy knoll for the Hen to stand on, You can just as easily stick the Hen to any other suitable piece of coloured card and save one sheet of printing.
Score along the dotted and dashed lines and carefully cut out around the wing edges before cutting out the pieces.

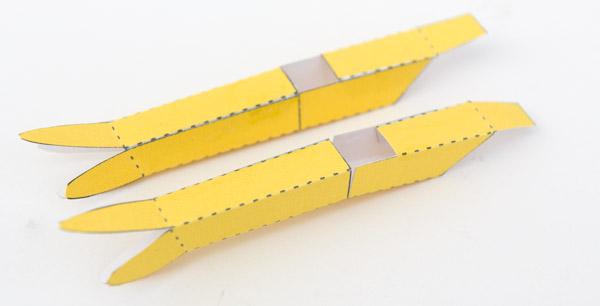
Fold up and glue the two legs as shown. Don’t glue the knee bend yet.
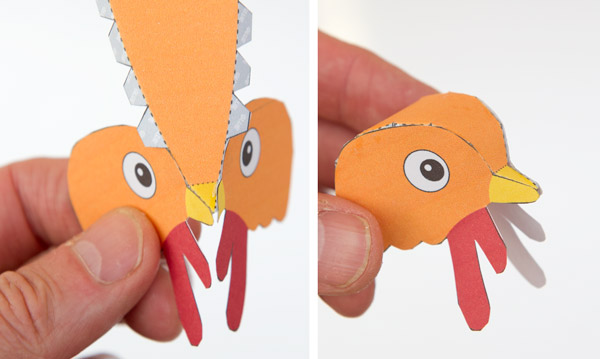
Glue together the head top and sides.
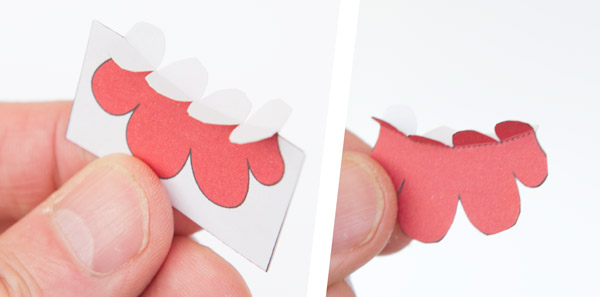
Fold over and glue down the comb to make double thickness card leaving the end tabs unglued.
Once the glue has dried carefully cut out the comb.
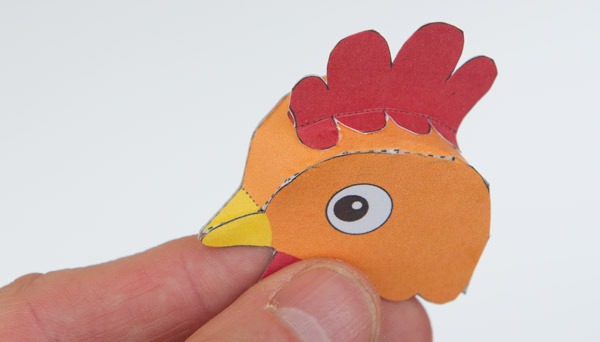
Glue the comb to the centre top of the head with the smallest bump at the front.
Glue together the body sides and top.
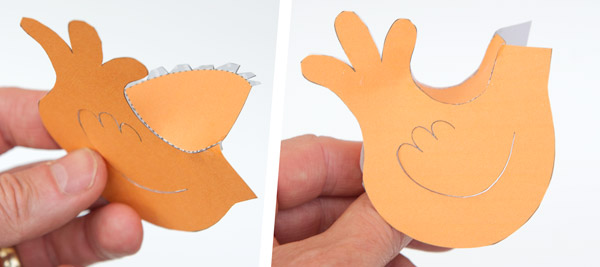
Glue in the body front starting front the top of the neck.
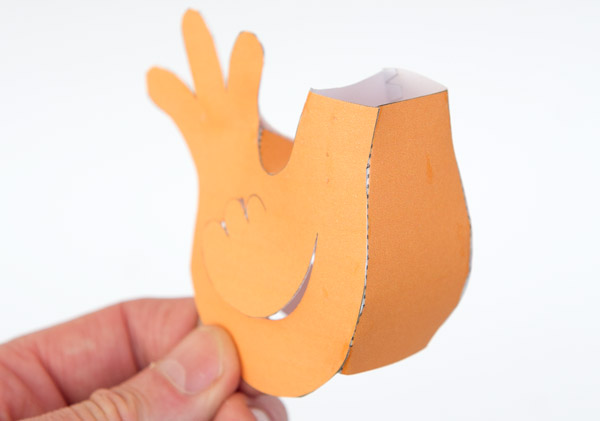
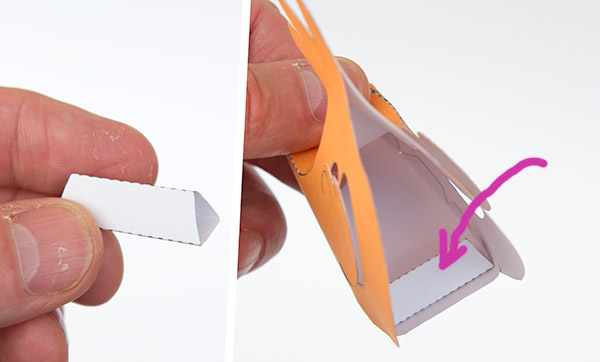
Assemble the leg block and glue it into position just inside the body front.
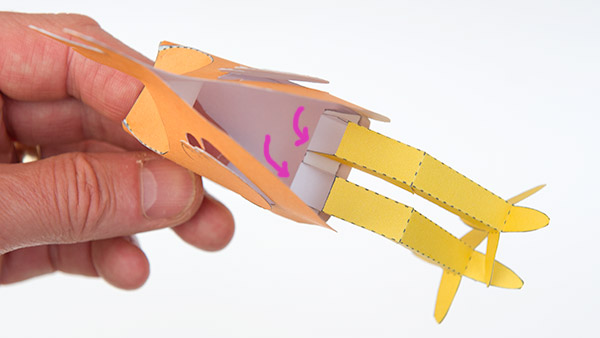
Glue the legs to the leg block.
Overlap the two feet and glue the toes on top of each other in the position shown. This will give the legs a more natural look than if they are lined up exactly side to side.
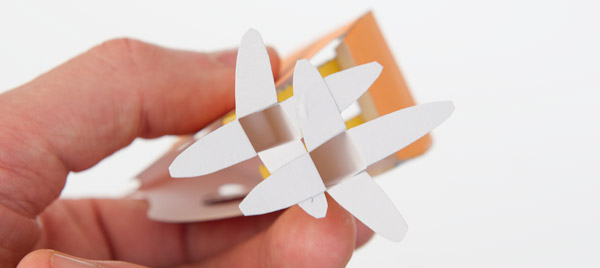
Glue the knees into position so that the feet stand flat on the table top and the Hen is not leaning to one side.
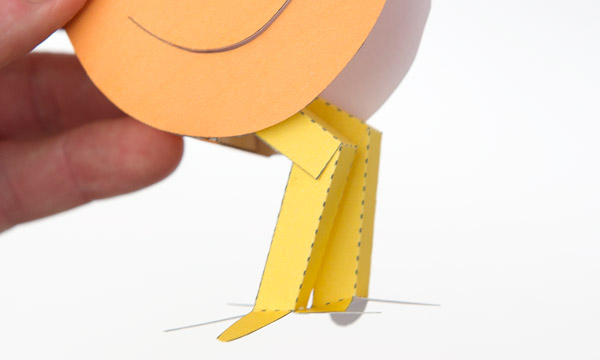
The leg stop prevents the Hen from tipping over backwards. Position it so that the Hen has a natural posture when in its upright position.
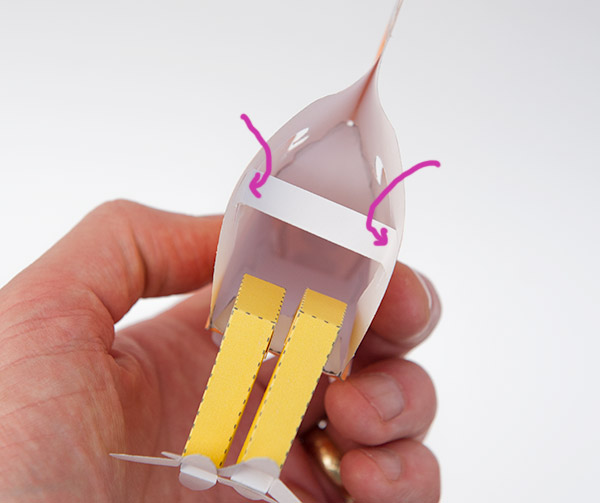
Finish off the model by gluing the head into position.
Ta daa! Show your delightful Paper Hen to your amazed friends!
In the next project we’ll be bringing the Paper Hen to life.
