£5.00
Paper Pencil
Here’s a quick, fun paper project for you to download and make. Members can download the paper pencil for free, non members can add it to the their cart for £2.50
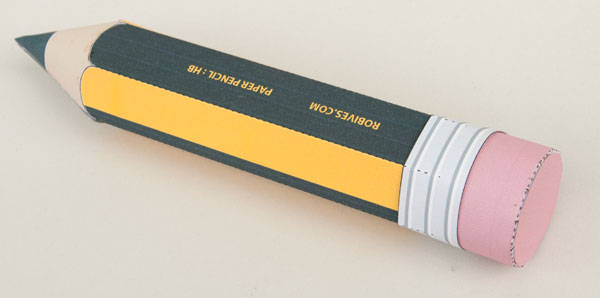
Print out the parts onto thin card (230gsm / 67lb)

Score along the dotted lines then carefully cut out the parts.
Before you assemble the point of the pencil, score along the short lines between the scalloped grey areas and fold them slightly. Once the cone is rolled round and glued this will make a hexagonal shape at the end of the cone so that it matches with the pencil body.
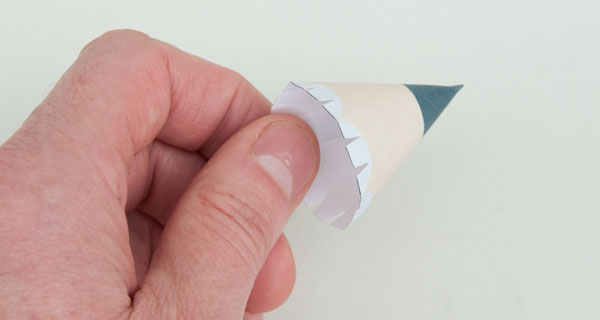
Roll round the cone and glue it together. Make sure the two edges are lined up with each other.
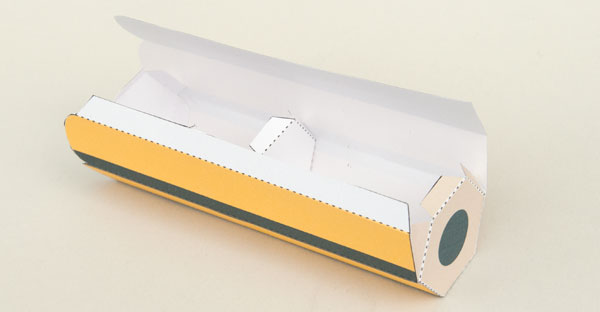
Space the three pencil inners along the length of the pencil and glue down three of the tabs on each. The inner at the front of the pencil should be about 12mm from the end of the pencil to allow room for the cone to be fitted shortly.
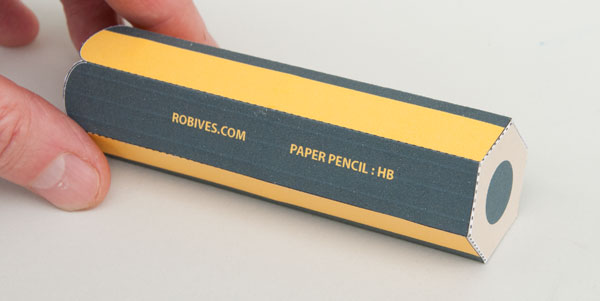
Fold round and glue closed the pencil body. Make sure that it is straight and square.
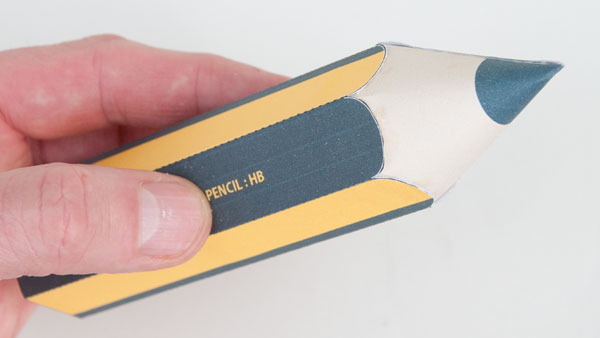
Glue the cone into place. Do this one tab at a time. A coffee stirring stick is handing for applying glue.
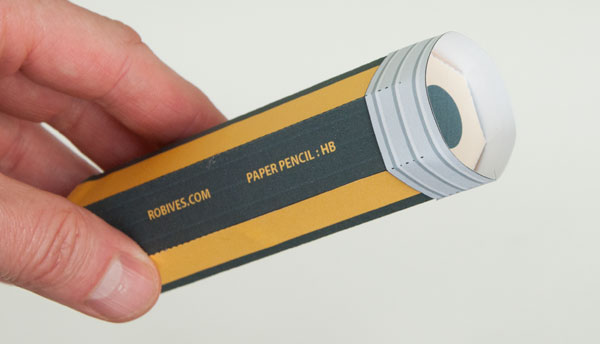
If you are attaching the eraser, roll round and glue together the ferrule. Note that it is scored six times, half way across its depth. This makes one side a hexagon to match with the pencil body whilst the other side remains as a circle to house the eraser. Glue the ferrule to the pencil end so that the end of the pencil is roughly half way into the ferrule.
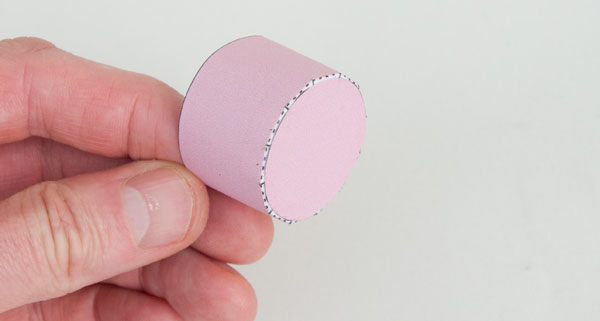
Glue together the two halves of the eraser.
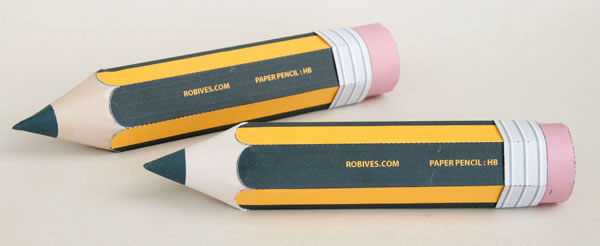
Fit the eraser into the ferrule.
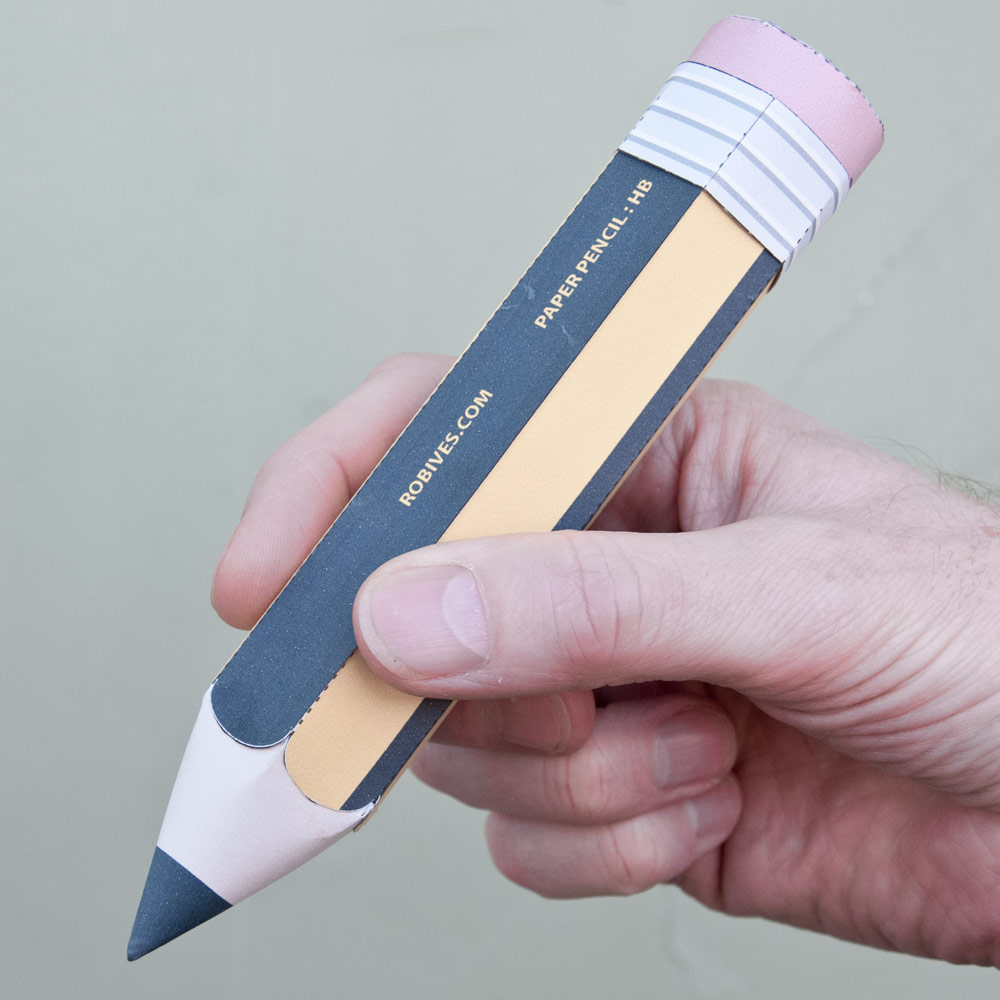
Done! The paper pencil makes a surprisingly attractive desk ornament. I hope you enjoy it.

