£5.00
Shark Attack
Categories automata, download, highlight, ll Tags Most Used, Mesh gear, project, shark, shark attack
Shark Attack!
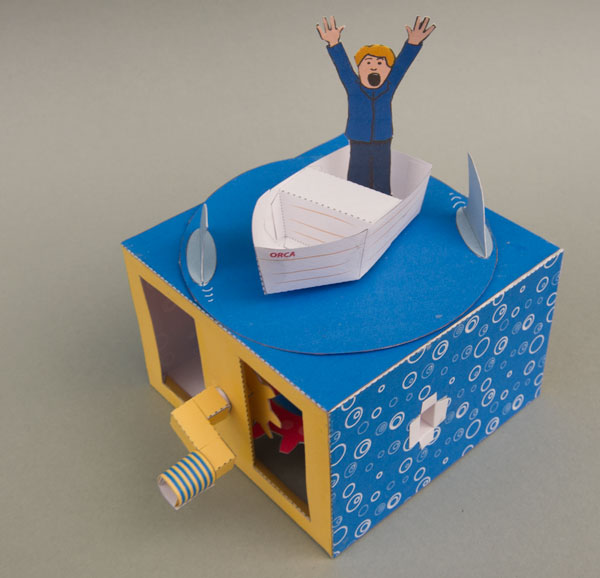
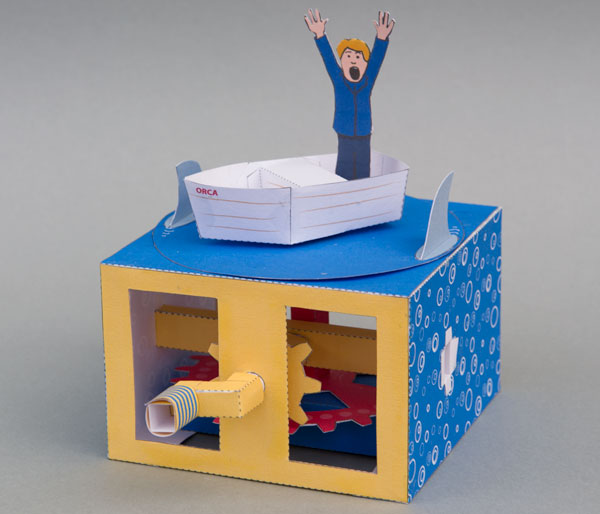
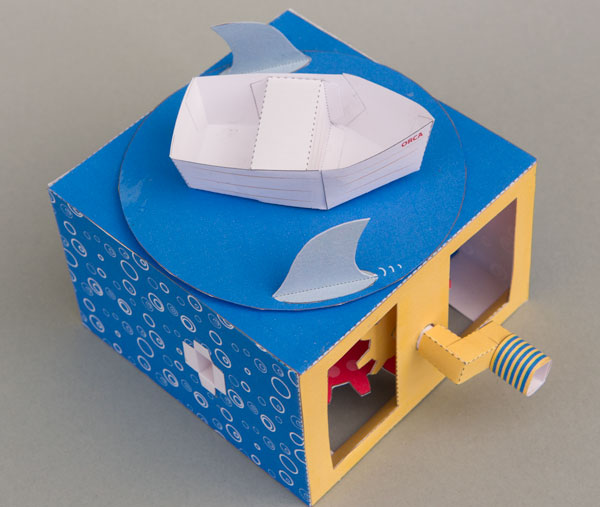
Turn the handle and the sharks circle menacing around the boat. Duuh duh! Duuh duh!
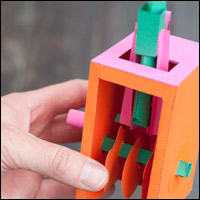
This model uses a variant of the mesh gear essential mechanism which I will shortly be releasing as a stand alone project.
Paid subscribers to robives.com can download the model for free at the link, thanks for your support! Non-members can download the parts file for £5.00
The model comes in both coloured and non-coloured versions. Print out the one you choose onto thin card. (230gsm/67lb is ideal) Score along the dotted and dashed lines and cut out the holes before carefully cutting out the pieces.

Fold over the gears to make double thickness card and glue them down.
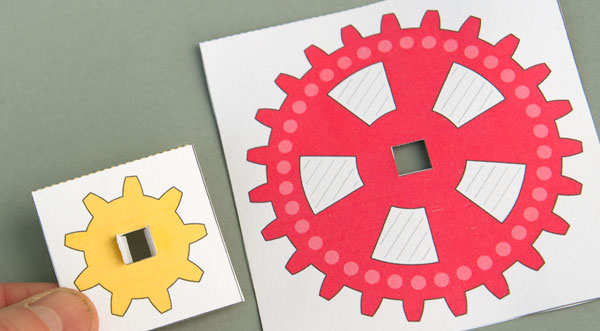
Once the glue is dry carefully cut them out.
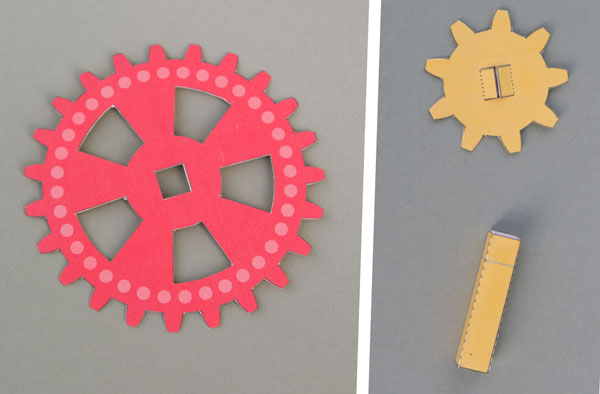
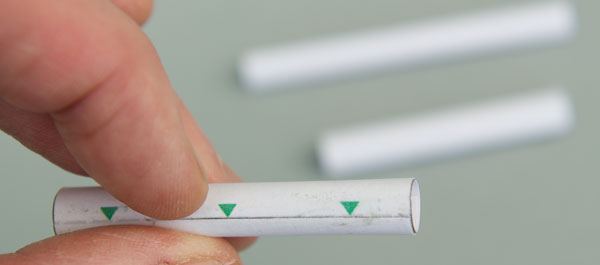
Roll up the three axle tubes carefully lining up the edges with the arrows as shown.
Fit the pinion gear into the pinion tube lining it up with the grey line and gluing it into place with the tabs.
Fit the 8mm tube into the square tube lining it up between the two grey lines.
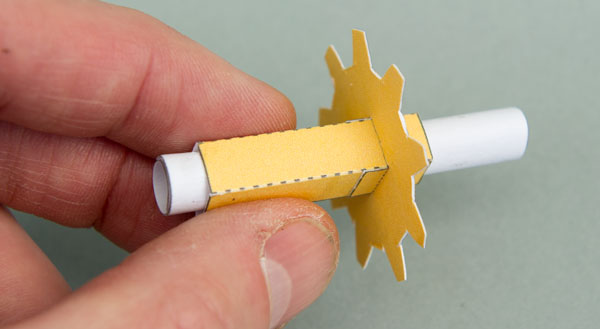
Fit the gear shaft into the large gear and thread in the 9mm axle tube so that it lines up at the bottom face of the gear.
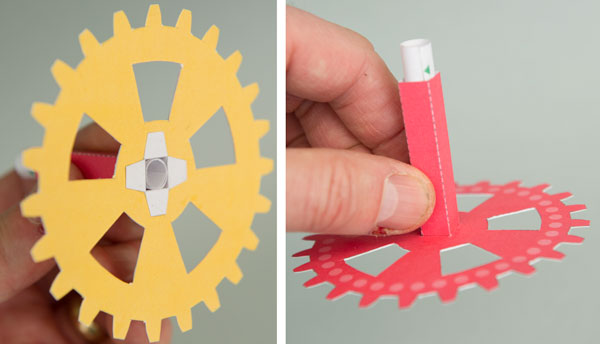
Fold round and glue the base piece leaving the ends unglued. Fit the base spacer into position. The end of a chop stick can be handy for reaching inside the base when gluing the tabs on the spacer down.
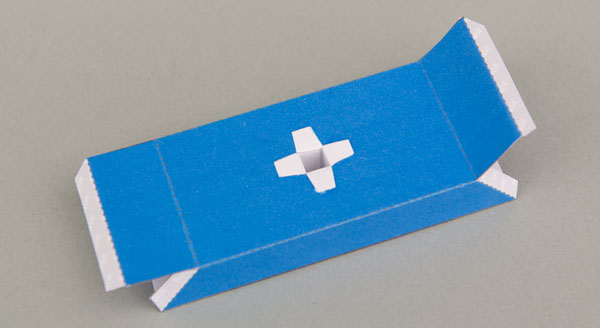
Glue closed to complete the base.
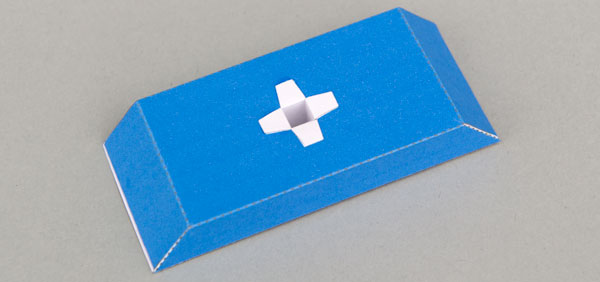
Fold up and glue the box front and box back. Note that the long triangle tube is a right angled triangle.
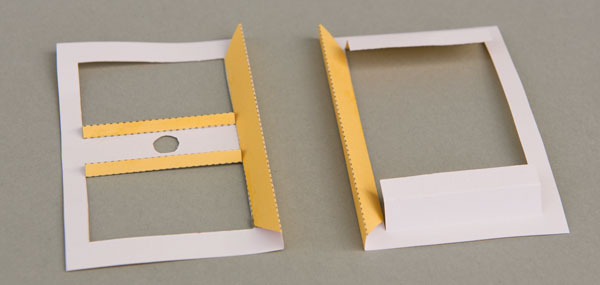
Crease the score lines on the box sides in preparation for assembly.
Note the four grey alignment arrows, arrowed in the picture.
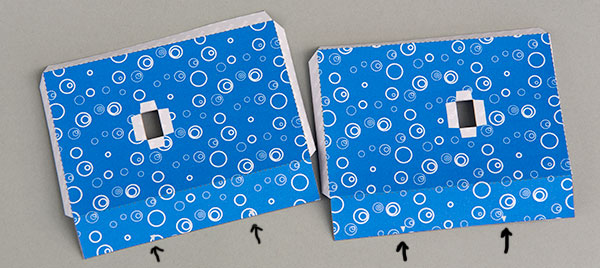
Glue the two sides to the base between the alignment arrows.
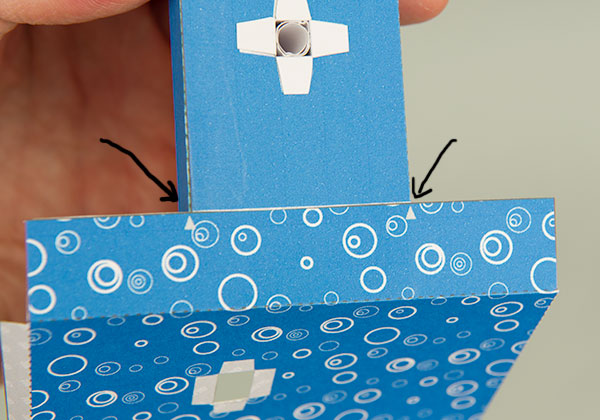
With the two sides glued into place, glue and push home the 7mm tube.
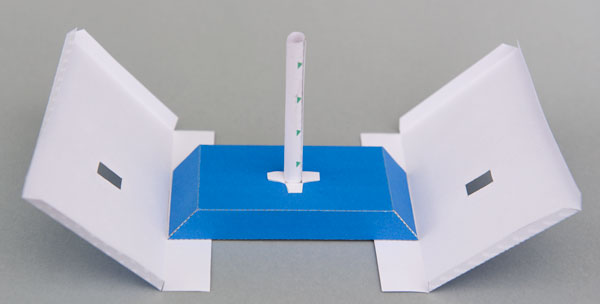
Fit the large gear over the 7mm tube. It should be free to turn smoothly.
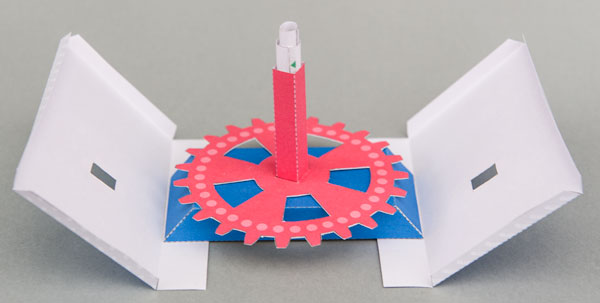
Glue the box front to one of the box sides. Make sure you glue it to one of the edges closest to the rectangular holes in the side pieces.
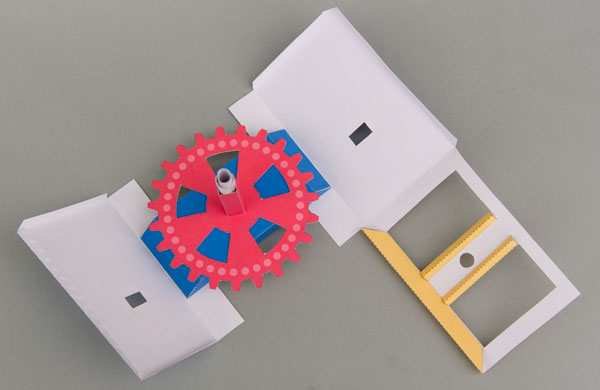
Join the box front to the other box side.
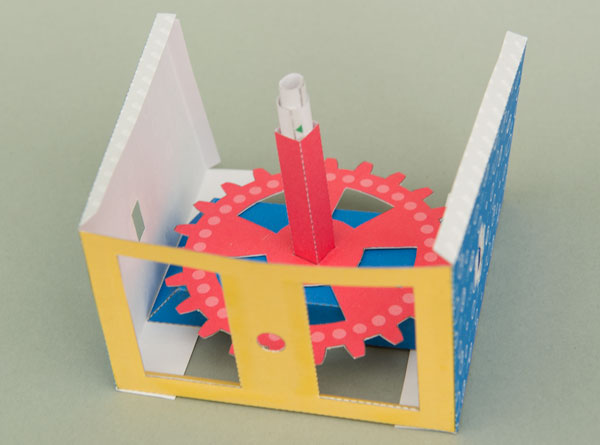
Fit the axle support between the two box sides making sure that the circular hole is facing towards the front of the box.
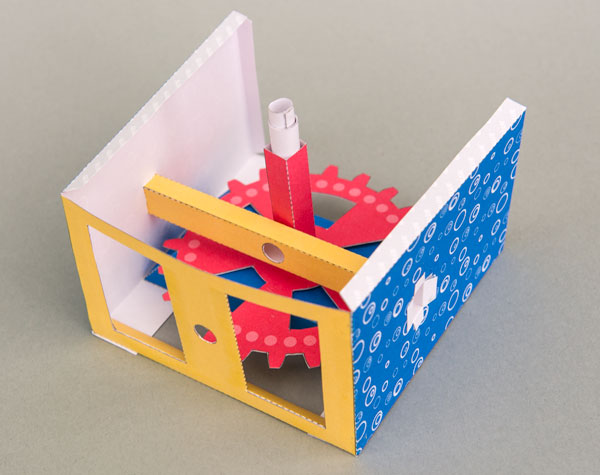
Thread the pinion gear into place between the box front and the axle support.
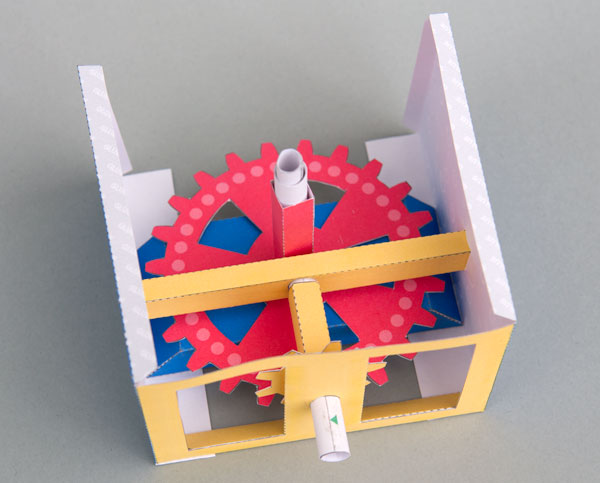
Glue the box back into place.
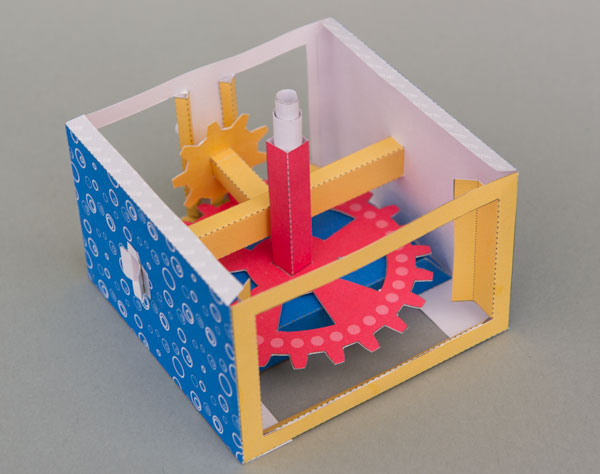
Thread the box top down over the vertical axle tubes and glue the top into place.
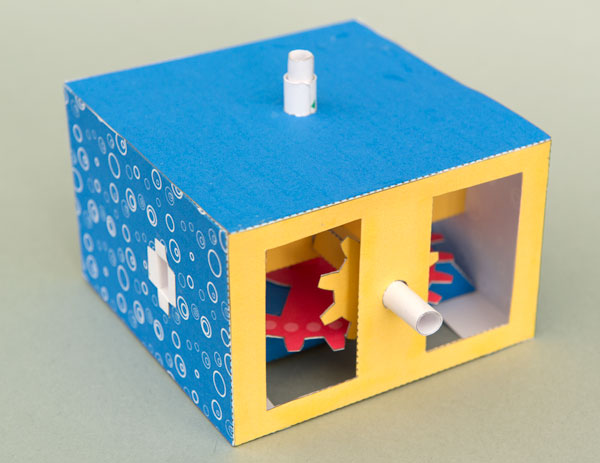
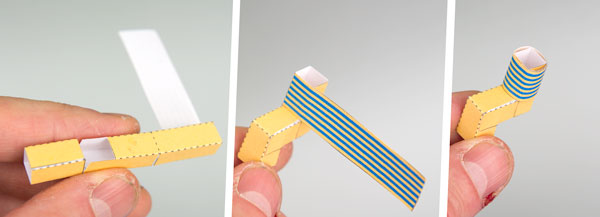
Assemble the handle in three steps as shown.
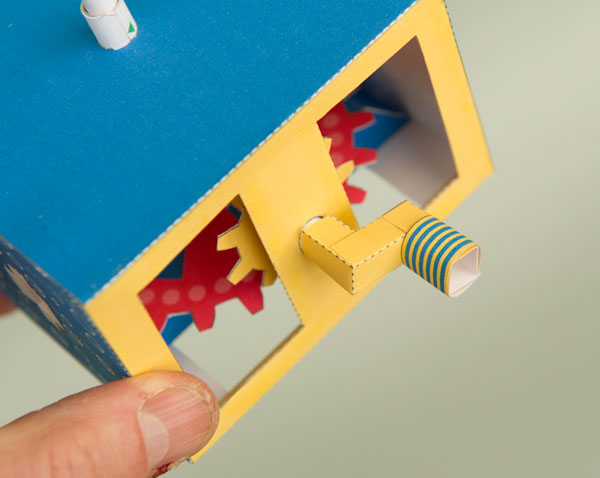
Glue the handle to the pinion shaft.
Once the glue is dry turning the handle should turn the outer of the two vertical shafts. The centre vertical shaft should remain stationary.
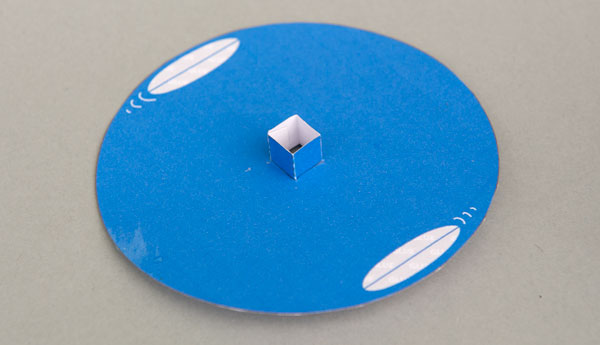
Glue together the rotating disk and tube.
Make up the shark fins from double thickness card. Once the glue has dried carefully cut them out.
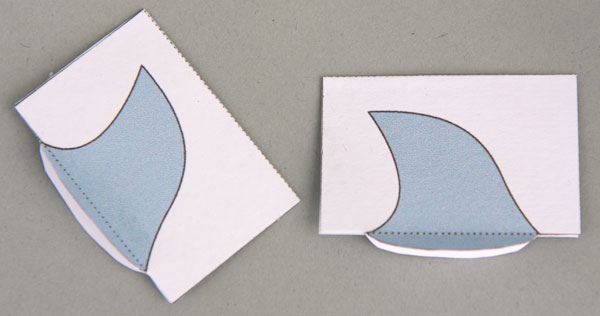
Glue the fins to the disk. The wake pattern on the disk should be behind the fin.
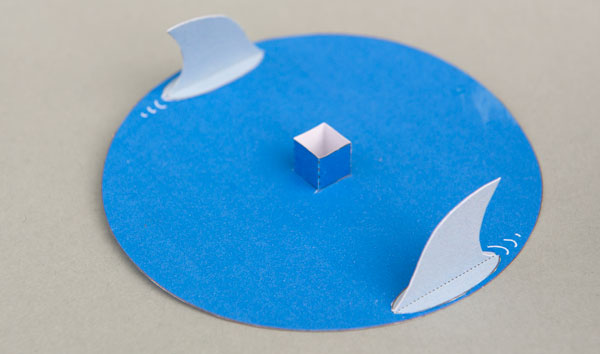
Fit the rotating disk to the outer vertical tube. Turn the handle and test that the disk turns properly.
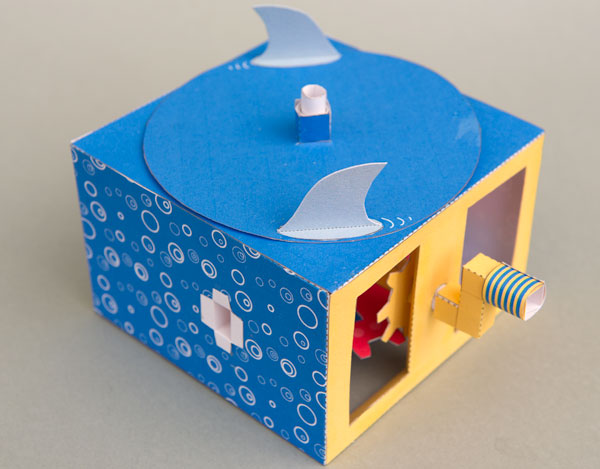
Assemble the boat stand and boat stand inner.
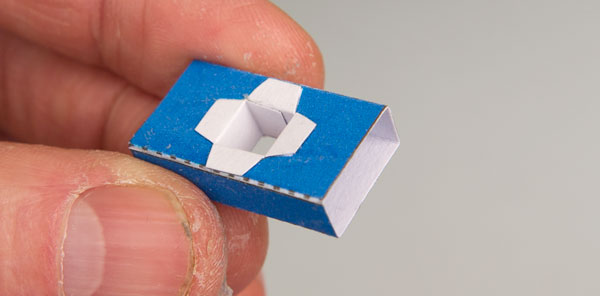
Fit the boat stand to the inner vertical tube.
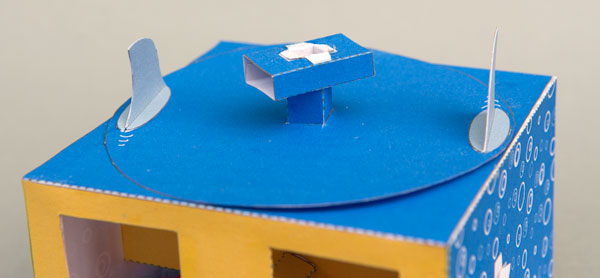
Assemble the two parts of the boat.
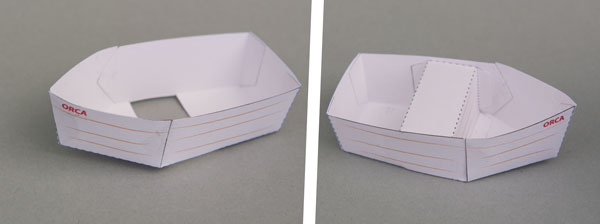
Fit the boat onto the boat stand, you won’t need to glue it down.
Assemble the boater man from double thickness card.
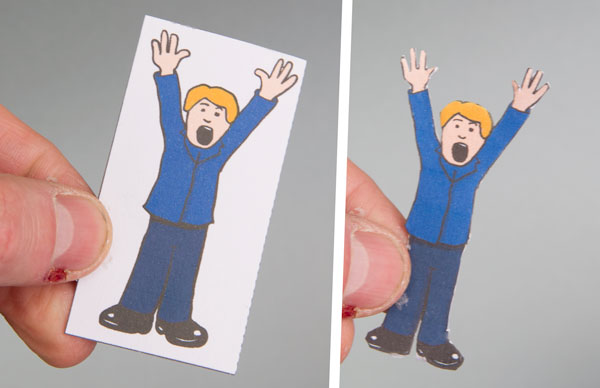
Glue him into the back of the boat to complete the model.
Turn the handle to see the sharks circle menacingly round the boat!
